How to Make a Reusable Coffee Cup Sleeve
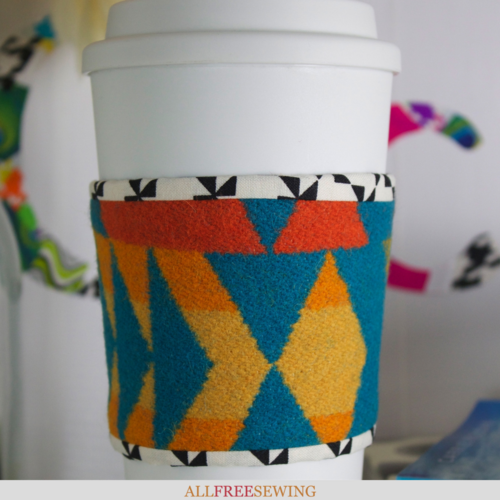
Want an out-of-the-box coffee cup koozie sewing pattern or tutorial? Try this stylish and sturdy DIY coffee wrap!
If you're like many, you run on coffee. A cup in the morning to start you off, a cup in the afternoon to get over the midday hump, and another cup just for fun.
Add some flair and keep your hands warm but not too hot by learning how to make a reusable coffee cup sleeve.
Also, make your love of coffee as eco-friendly as possible with this DIY reusable coffee cup sleeve. Even though the cardboard versions aren't terrible, this one is far more sturdy and stylish and can be reused for years and years.
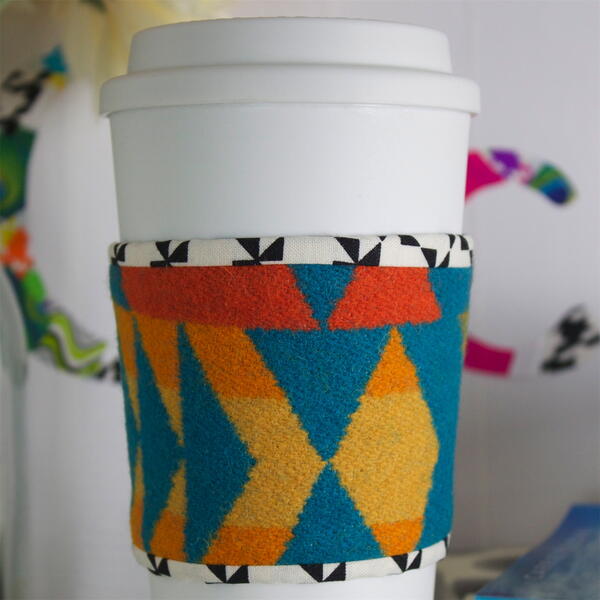
This reusable coffee cup cozy DIY shows you how to make one of the coolest cup covers you've seen. It's washable, so you can rinse out any coffee stains in a snap.
It's also measured from disposable coffee sleeves, so it's sure to fit your own cup. A Velcro fastening makes getting this sleeve on and off your cup a piece of cake! So, just scroll for this awesome tutorial from Emma at Fiskars and start choosing your fabric for your next sewing project today!
Sign Up For More Free Patterns
Reusable Coffee Cup Sleeve DIY
Materials List:
• Fiskars Rotary Cutter and Ruler Combo (12" x 12")
• Fiskars Self Healing Cutting Mat: Large (24" x 36")
• Fiskars Amplify® RazorEdge™ Fabric Scissors (10")
• Scrap of wool fabric
• Scrap of cotton print
• Velcro
• Hem gauge or ruler
• Sewing machine
• Needle
• Thread
• Pins
• Disposable coffee cup sleeve to use as a template
• Cardstock
• Iron and ironing board
Skill Level: Easy
Project Type: Make a Project
Time to Complete: Under an Hour
Sewn By: Both Hand and Machine
How to Make a Reusable Coffee Cup Sleeve:
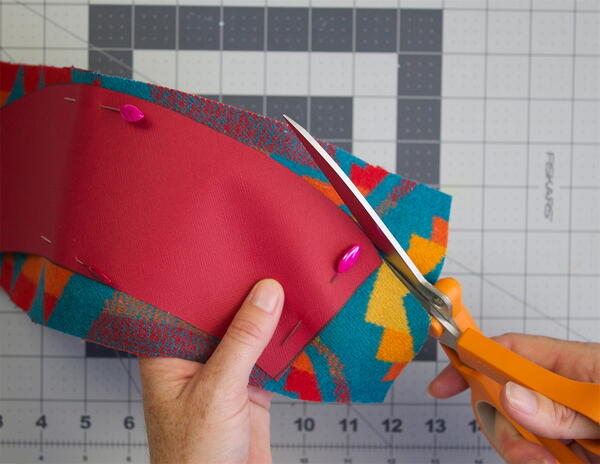
- Use the disposable coffee sleeve to create a template for cutting fabric. Draw around the sleeve 1/2" from the edge and cut out.
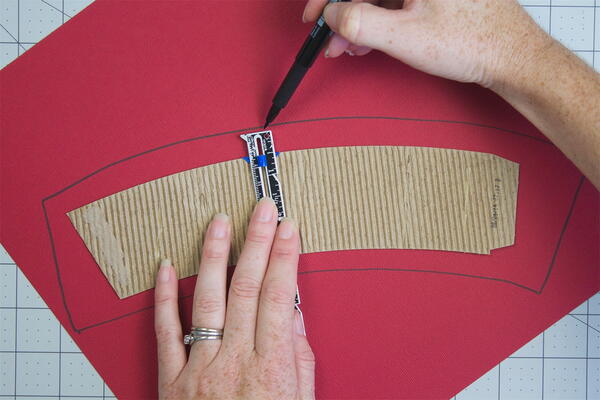
- Pin the template to the wool fabric and cut it out using the 10" fabric shears.
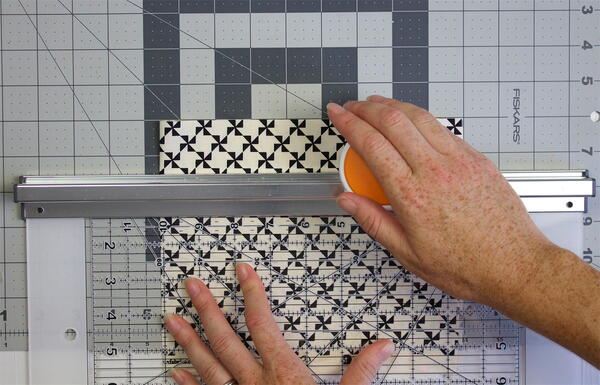
- Use the rotary cutter, ruler, and cutting mat to cut strips of cotton print fabric, measuring 1-1/2" wide.
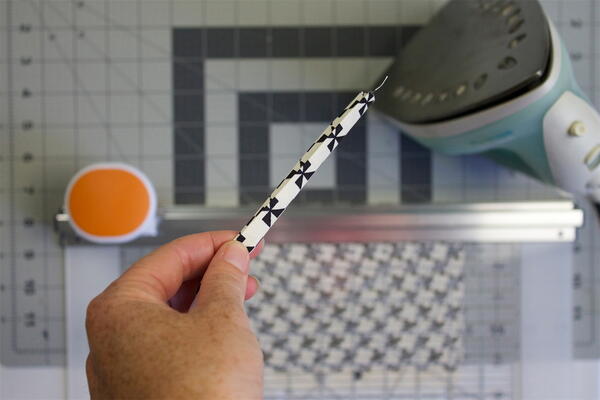
- To create the binding, use a hot iron to press the strips of fabric first in half lengthways, wrong sides facing. Then, press the outside edges in towards the center fold.
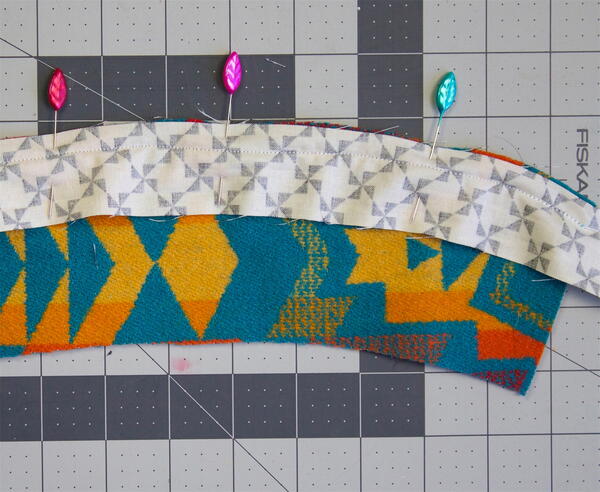
- Pin, then sew the opening binding to the right side of one long edge of the cut wool. Trim the seam with the fabric shears.
- Fold the binding to the wrong side of the wool fabric and hand stitch in place with needle and thread.
- Repeat Step 5 for the remaining edges of the wool fabric.
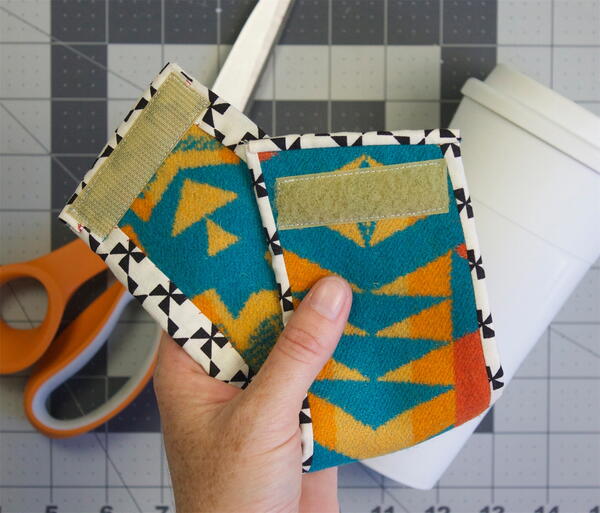
- Sew Velcro strips to the two short ends for the wool cup sleeve to complete.
Want More?
20+ Wine Bag Patterns to Sew >>
What is your favorite part about the holiday season?
Let us know in the comments!
Read NextEasy Peasy Potholders

