How to Make a Wrap Skirt Using a Long Wrap Skirt Pattern
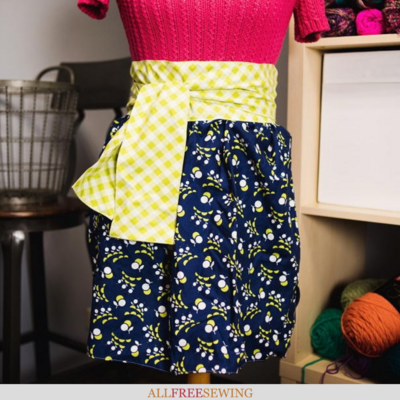
Struggling with wrap skirt patterns? Learn how to make an adorable wrap skirt with ties when you follow along with our how-to video.
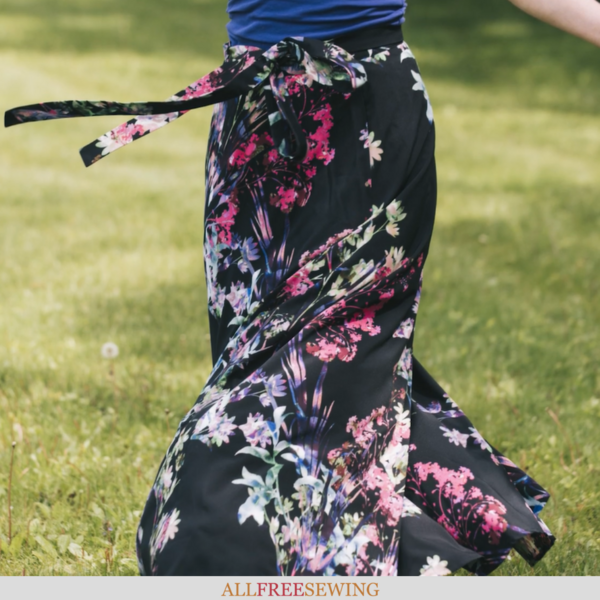
Give your wardrobe an elegant and beachy vibe with this video tutorial that's perfect for summer.
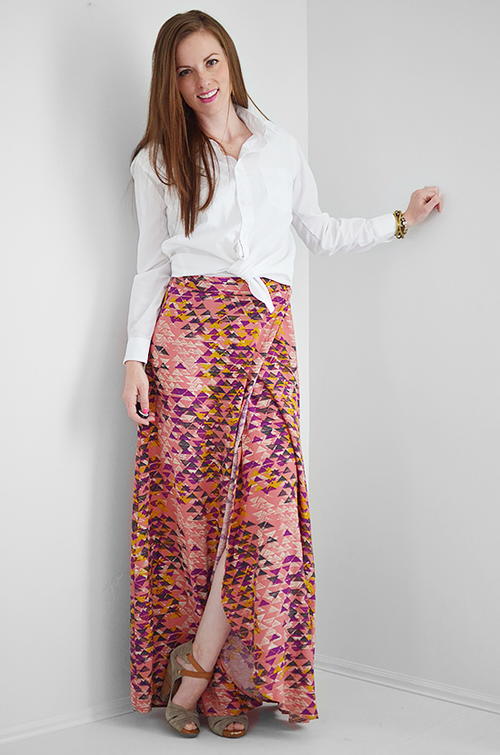
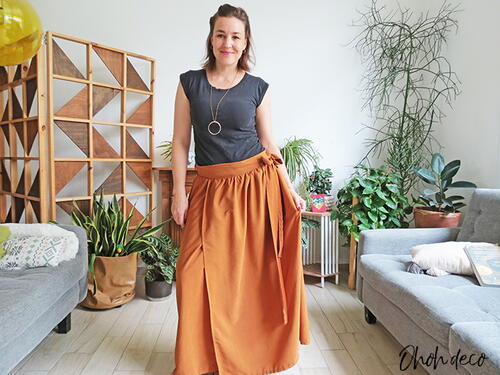
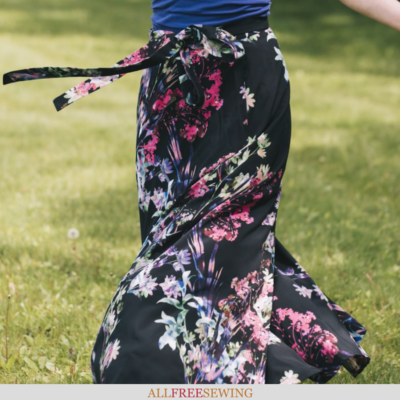
Using a long wrap skirt pattern, preferably commercial, this written tutorial plus how-to video shows you how to make a wrap skirt. DIYing your own will result in a perfectly customized and flowy design you'll love!
The benefit of using a commercial pattern and fabric with a fantastic drape is that you'll have a high-quality garment.
However, for some of us, using a purchased pattern can be nerve-wracking since there are so many details to follow. Not anymore!
If you're new to sewing or have never used a traditional pattern, then you're in luck, because Carolina Moore provides detailed tips on reading your sewing pattern and laying out your pattern pieces.
This tutorial for how to make a wrap skirt (and maxi skirts) also features tips and tricks to working with polyester and spandex fabric, finishing your seams, and using interfacing. Get ready to hit the beach in style with this DIY wrap skirt tutorial.
Watch the video right below and then scroll for our written tutorial. Plus, after that, check out our additional free long wrap skirt patterns and tutorials you'll want to make later.
Project TypeMake a Project
Time to CompleteIn an evening
Sewn byMachine

Materials List
- Wrap Skirt Pattern (this tutorial uses Simplicity's New Look Pattern 6456 Misses' Easy Wrap Skirts pattern)
- Fabric (Notes: Check pattern to see how much you will need. Be sure to measure your body instead of focusing on the off-the-rack size. Find a fabric that drapes nicely. We used a polyester-spandex blend.)
- Scissors
- Pins
- Measuring Tape
- Lightweight Interfacing
- Sewing Machine
How to Make a Wrap Skirt:
-
Open up your pattern and unfold your pattern pieces. Cut out the right pieces, check instructions for which pieces to use.
-
Lay fabric out with selvages lined up, put the pattern on fabric (right or wrong side) according to the pattern instructions.
-
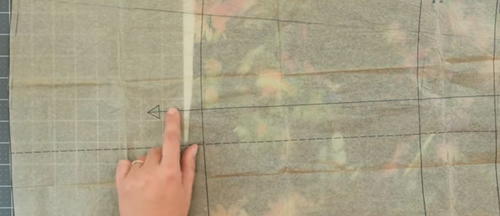
Check the long arrow on your pattern to determine what direction your fabric should be going in.
-
Pin pattern to your fabric and cut out your pieces.
-
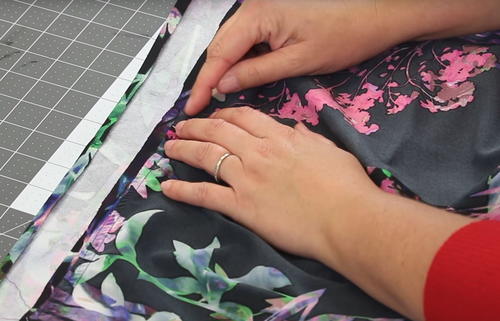
Do a quick stitch around the waistband of all of your pieces to help keep the waistband the right shape for your final product. A curved edge means the fabric will stretch and warp as it is handled.
This stitch helps eliminate these issues. Use a longer stitch week if you’d like. Stitch it inside your 5/8 seam allowance. Repeat all 4 of the skirt panels. -
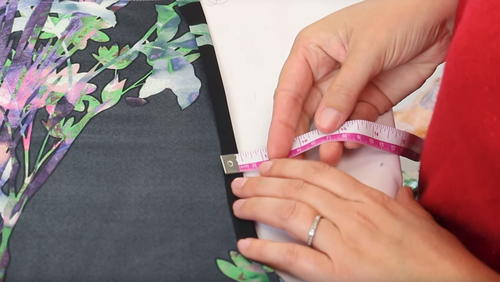
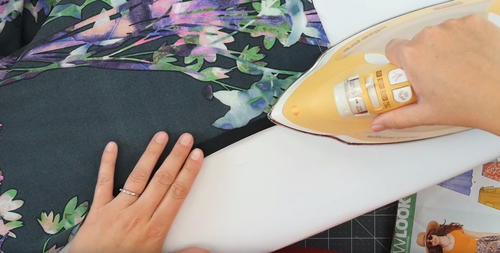
Sew the hem on the front of your garment. This will be on both the front pieces. Create hem by ironing, use measuring tape to insure an even hem, fold over once and then twice. Make sure to check your iron heat on a small swatch of your fabric before ironing to make sure that your iron will not melt your fabric.
Press hem for both sides of your pattern and then sew with a straight stitch. Make sure to use a thread that matches your fabric. If your seam is rippled, press again to smooth it out. -
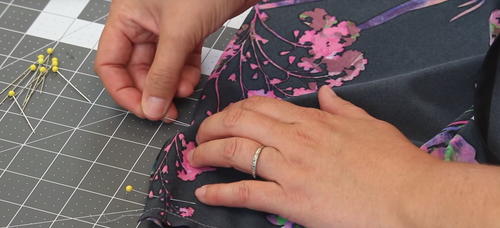
Put your pieces together by lining up the correct side seams. You should have notches on both to let you know you are doing it correctly. Pin all the way down your seam with your pins perpendicular to your fabric.
-
Sew your seams and use a 5/8-inch seam allowance (on your stitch plate). Stitch all the way down, be careful not to stretch your fabric.
-
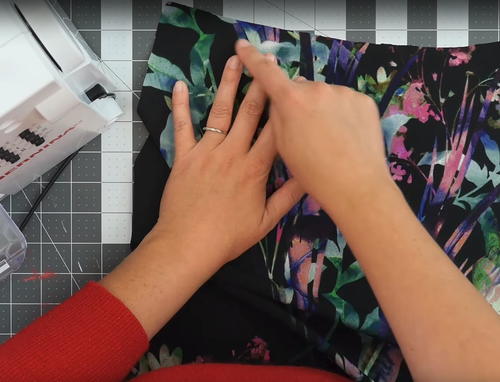
Press your seams open. Make sure to finish your edges on this pattern.
-
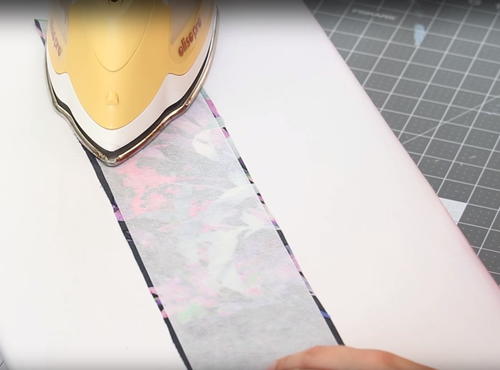
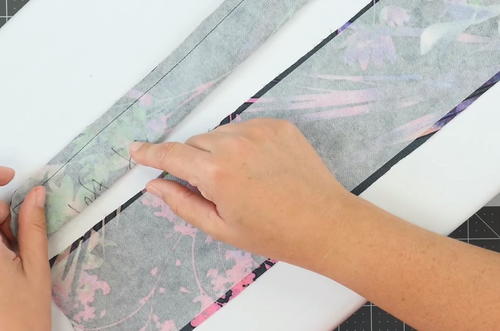
If your pattern requires it, cut your interfacing for the waist band and ties before ironing it on with the smooth side is up to press it in place. Check interfacing for exact instructions and times.
-
Prepare the ties. Consider marking each tie so do not mix the two up. Fold the fabric in half with interface on the outside.
Stitch on the short end, going back and forth to secure before sewing to the corner and rotating your fabric. Clip your corners to reduce the bulk. -
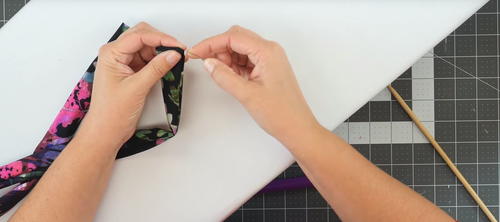
Turn the tube right side out. Use a tube to pull it out, a safety pin, or your fingers.
-
Pull your corner seams out carefully with a pin before pressing the tie.
-
Repeat for the second tie.
-
Attach your waistband by finding the center back seam. Fold your waistband in half or use your markings to find the center. Pin with right sides together all the way along to both sides. Your waistband will be a little longer than the skirt piece.
-
Trim and layer your seams. Layering your seams means to lay your seams down so they are not directly on top of one another. This helps reduce bulk in the seam of the final garment. Sew the two pieces together.
-
Pin on your ties. The ties are different sizes, so make sure you are attaching right to right and left to left.
-
Stitch your tie to your garment. Make sure to stitch forward and backwards to secure it in place. Reduce the bulk where your tie is attached by trimming excess.
-
PIn your waistband in place and sew it with the 5/8 inch, starting with a couple stitches forward and backwards to secure all layers.
-
Press your waistband all the way down.
-
Finish the bottom hem. This is at a curve, but since your fabric has some stretch so it should be easy to finish.
More Wrap Skirt Patterns:
Looking for more wrap skirt patterns or need a pattern to complete the project above? We have plenty of free skirt patterns to pick from.
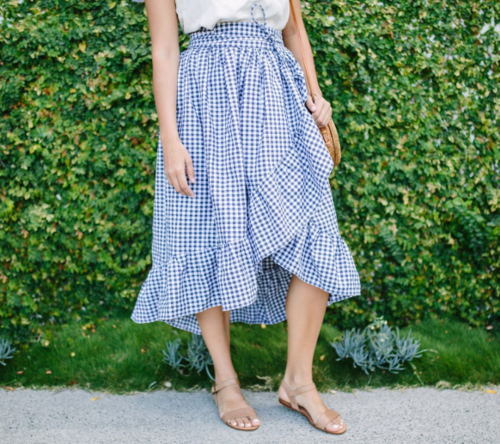
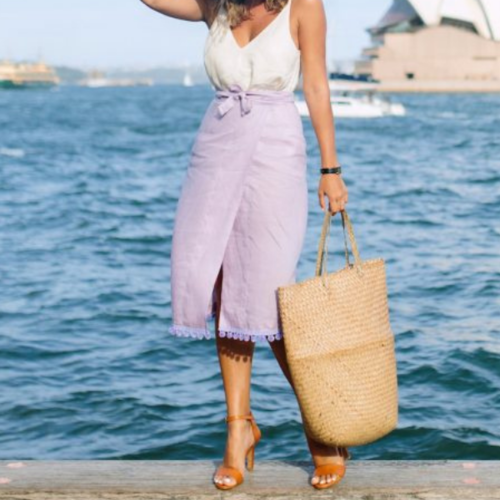
These swishy summer skirts are ideal for casual or fancier events. Check out our collection of 15 Wrap Dress and Skirt Patterns for even more ideas.
Up Next
38 Modern Sewing Patterns for Women >>
What's your favorite style of skirt?
Let us know in the comments!
Your Recently Viewed Projects
KLC
Dec 01, 2021
What a great tutorial. I am nervous to do commercial patterns without a walkthrough. This is ideal for my next wrap skirt project!
IreneMachine
Jun 04, 2018
I positively love wrap dresses and skirts because they're equal parts girly, sexy, and fun! I think it would be a great idea to use a light fabric, like chiffon, to make yourself a semi-sheer beach cover-up with this tutorial.
Weberme
Apr 25, 2018
Have you ever wanted to make a long wrap skirt and was unsure of the directions on the pattern then you need to watch this video with Carolina Moore. She does a great job going over every step and a few good pointers of best way to do it. She speaks very clear and not to fast. She starts with how to lay out and cut the fabric the right way to sewing the skirt. Anyone can make this by following her. This skirt can be worn to a formal to casual. Love it.
Report Inappropriate Comment
Are you sure you would like to report this comment? It will be flagged for our moderators to take action.
Thank you for taking the time to improve the content on our site.

