Adorable Half Apron Pattern
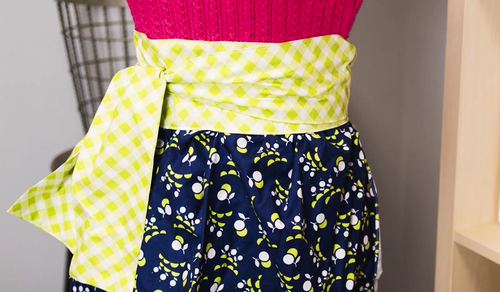
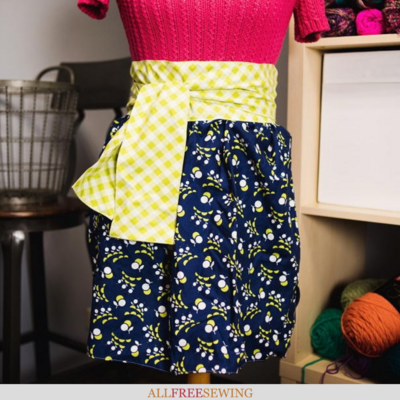
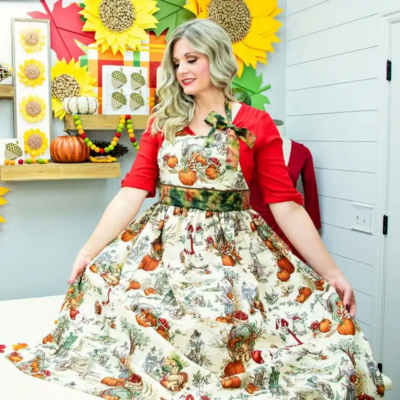
This gathered half apron pattern is easy enough for beginners! Follow along with our video and written tutorial to see for yourself.
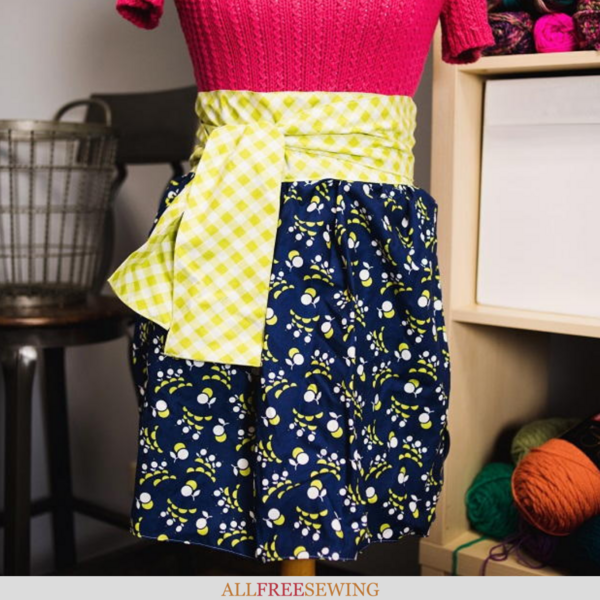
Everyone knows that aprons are one of the more useful patterns around, but some patterns can be difficult to sew. Not this one! Our design for this Adorable Half Apron Pattern is an easy sewing project that even beginners can master.
An apron this cute seems complicated, but it's easier than it looks. Plus, it only requires one yard of fabric, making it perfect for sewists who have extra fabric leftover from previous projects.
You can make this apron for yourself, or it would make a great gift for the stylish baker in your life.
Plus, for you visual learners, there's a simple video tutorial to help you follow along. Our written tutorial is also helpful as it explains the steps with photo visuals to help.
Sign Up For More Free Patterns >>>
Press the play button on the video below to see how it's done and then scroll for the materials needed and the written instructions.
Project TypeMake a Project
Time to CompleteIn an evening
Sewn byMachine

Materials List
- 1/2-yard of Fabric A
- 1/2-yard Fabric B (size 8 or smaller, 3/4 for larger size)
- Plate
- Rotary cutter
- Turning and edging foot attachments (optional but helpful)
- Iron
- Additional standard sewing notions
Want to DIY your own personal body form? Learn how to make one in the thriftiest way here:How to Make a Body Form
Adorable Half Apron Pattern
Half Apron Instructions:
Click on any image to enlarge.
-
Cut off fabric selvages.
-
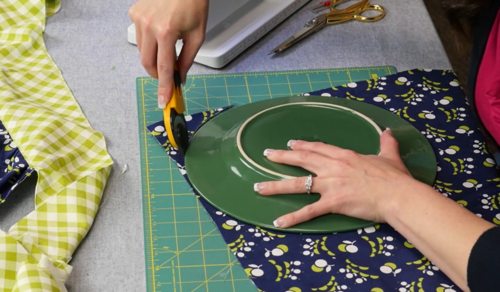
Using the plate as a guide, round the corner of the outside of Fabric A, folded in half. From Fabric B, cut two 9-inch by 40-inch strips.
-
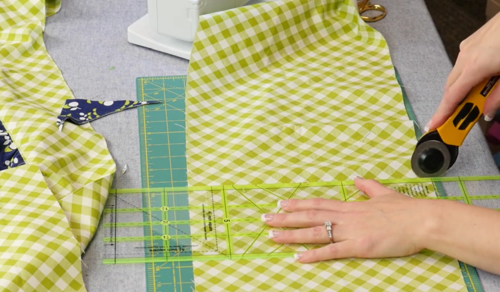
(Using Fabric B) Take one strip and cut in half, so you have one strip that is 9-inches by 40-inches and two that are 9-inches by 20-inches.
-
For the waistband (Fabric B), sew the three strips into one piece, right sides together, using a 1/2-inch seam allowance.
-
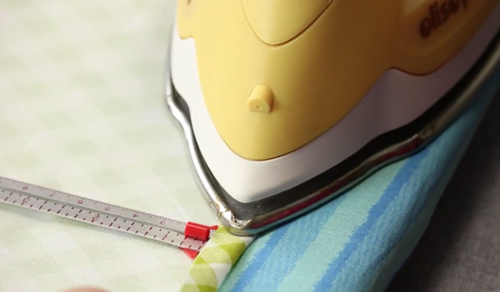
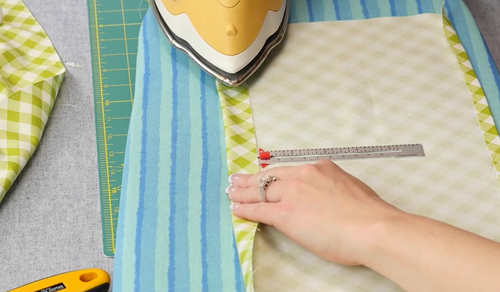
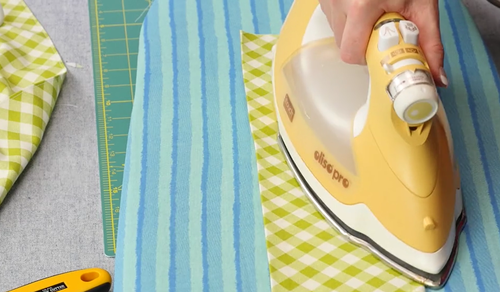
With a heated iron, press Fabric B using the following process: With the fabric wrong side up, turn one edge up 1/2-inch (lengthwise) and press. On the opposite side of the fabric, turn the other up 1-inch (lengthwise) and press.
Note: Use a ruler guide if needed while pressing. -
Fold the Fabric B strip lengthwise, leaving the top side a tiny bit longer than the other (wrong sides together). Press carefully across.
-
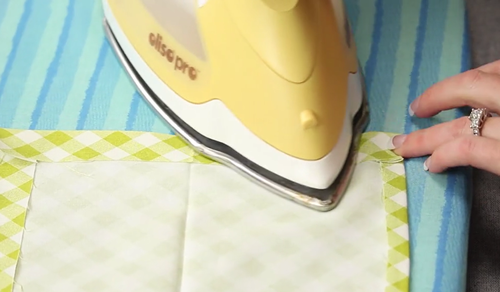
To make nice ends, turn the remaining raw edges of Fabric B in about 1-inch. Press.
-
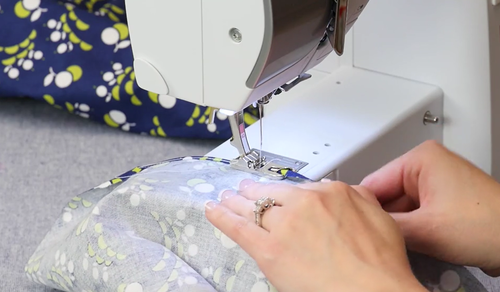
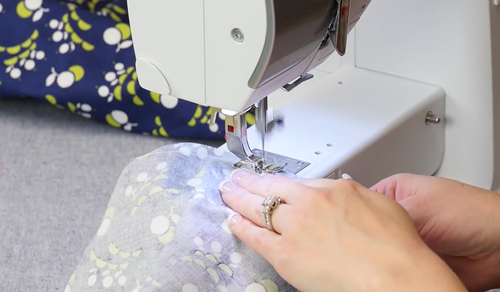
(Using Fabric A) With your machine, sew a baby hem all around, except for the top of the apron skirt.
-
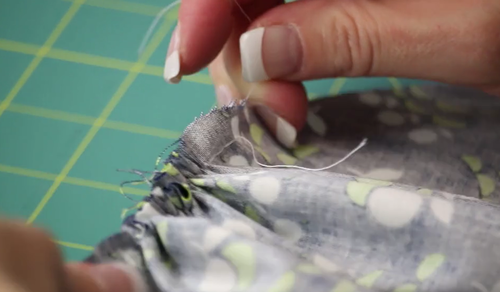
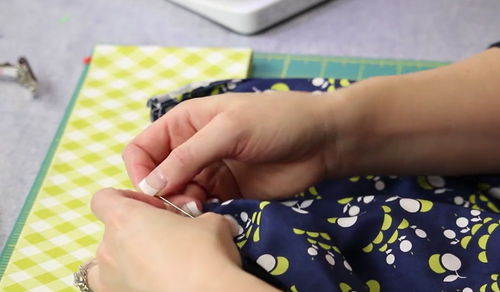
(Fabric A) To finish the top, gather using your machine first, then finishing by hand. Use a long basting stitch or preferred method. Finish the gathering by hand. It can be a light or medium ruffle, whichever you prefer.
-
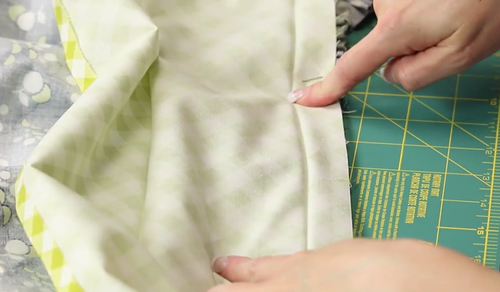
Fold the Fabric B sash in half crosswise and mark the halfway point with a pin. Fold the Fabric A skirt in half crosswise and mark the halfway point with a pin.
-
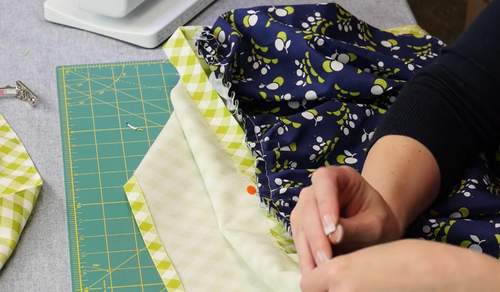
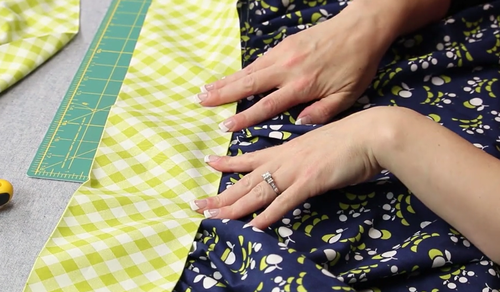
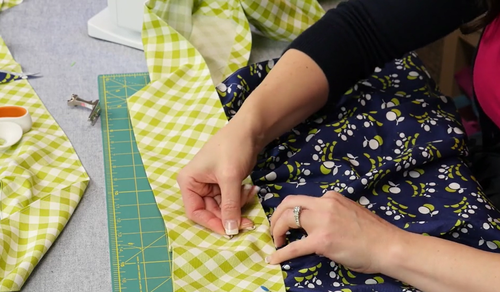
Unfold both fabrics. Take the wrong side of the skirt (Fabric A) and meet it up with the 1-inch right side of the sash fabric (Fabric B). Pin all the way across.
-
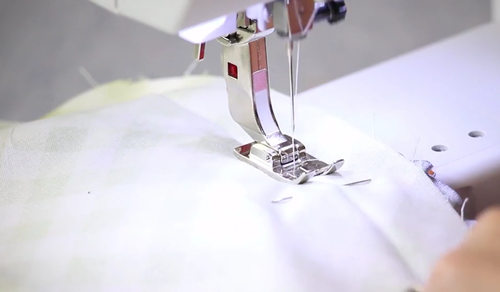
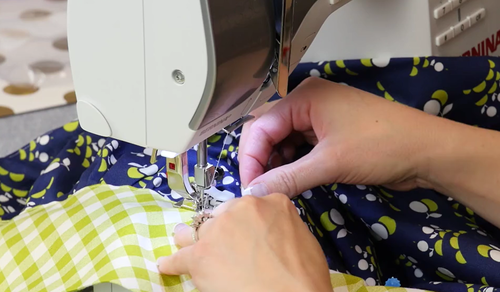
Like bias tape, use the pressed crease as the sewing guide. Sew across in the crease using a straight stitch and locking the stitch at the end.
-
Fold over the sash using the folded crease lengthwise. Cover the seams you just gathered and sewed. Pin in place across, starting at the end of the sash.
-
Topstitch while also finishing the edges: Using an edging foot if possible, sew down the end of the sash, turn the corner to the long side, and sew all the way across to the other side, then around to the end.
Optional: Sew around the top of the sash for a nice, finished piece.
Want More?
Looking for more aprons?
Check out all of our free apron patterns >>
Do like to wear and apron in the kitchen?

