This project was submitted by one of our readers, just like you.
Line a Basket in 15 Minutes or Less
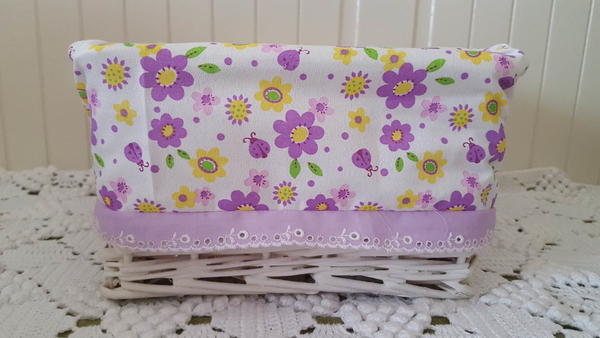
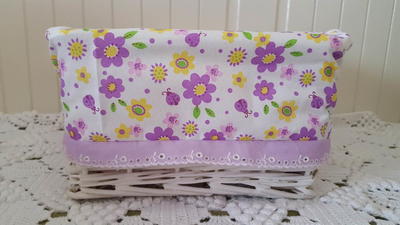
From the Blogger: "How to create a basket lining in a quick and easy way. It's great to upcycle old baskets, to create unique custom decor, or to add a bit of flair to your organization efforts. It is also great to create gift baskets: buy an inexpensive basket, add a cute lining, fill it with goodies, and you have a lovely gift. It works for virtually any kind of basket, square, rectangular, or round, the tutorial is very easy to follow, and it perfect for beginners, too."
Project TypeMake a Project
Time to CompleteUnder an hour
Sewn byEither Hand or Machine

Materials List
- One basket
- Fabric for the lining
- Ribbon, lace edging, or trim (optional, only needed if you want to embellish the edge of the lining)
- Matching sewing thread
Instructions:
-
Place the basket on top of the fabric and trace the bottom with chalk or disappearing ink. By tracing the outside of the basket, you are automatically creating your seam allowance. Cut the bottom piece of the lining.
-
Cut a piece of fabric wide enough to go around the outside of the basket and high enough to fold over the edge. This will be the side lining.
-
Sew the short edges of the side lining right sides together, and then pin the side lining piece to the bottom of the lining (right sides together), creating little pleats at the corners.
-
Sew all around.
-
Test your lining. It should perfectly fit the inside of the basket. As to the folded part, you have three alternatives: (i) fold it over again to hide the raw edge, (ii) sew a simple hem or (iii) add a bit of lace or a cute ribbon.
-
If you choose option (i) above, you're done.
-
If you choose options (ii) or (iii), sew the hem or sew your ribbon/trim in place and then you're done too.
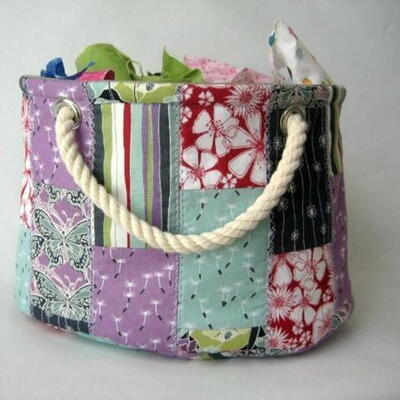
Read NextThe Scrap Bucket Basket


