Halloween Bandana Pumpkins
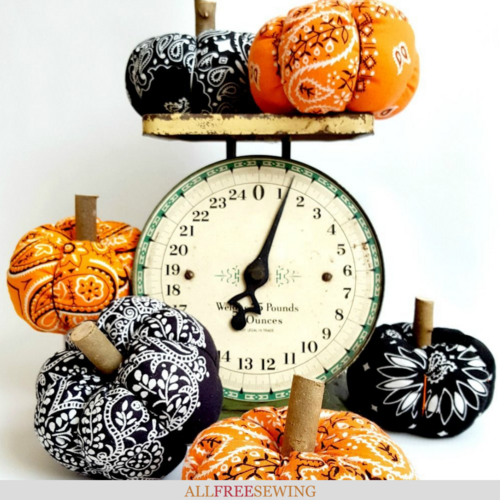
Meet the perfect fall craft for pumpkin lovers! These cute DIY bandana pumpkins make fantastic decorations.
These Halloween Bandana Pumpkins involve little sewing and are so easy to make. Plus, these cute little decorations are incredibly thrifty and versatile for anywhere in your home.
Whether you want them as part of your Halloween decor or want to keep them up from late August into December, you're going to love setting these up and moving them around to fit your latest holiday look.
Using bandanas makes these DIY fabric pumpkins thrifty and inexpensive, not to mention super creative and unique. You can't buy such cute holiday decor, that's for sure.
Plus, with so many colors and patterns you can find for bandanas, there's no stopping your creativity! These thrifty pumpkin decorations are certainly one of the best pumpkin crafts for adults because they look like something you'd find in a boutique or upscale craft fair.
Get the latest free sewing patterns and tutorials by signing up for our Sewing It Up newsletter!
Editor's Note: This tutorial originally appeared on Sadie Seasongoods. It is reposted here with permission. Here's the tutorial from Sarah:
After making these vintage bandana bowl covers, I couldn’t stop myself from snapping up vintage bandanas wherever I went. Over the years, I’ve collected them in all the colors of the rainbow, including plenty in orange and black. So I decided they would be perfect for some fabric pumpkins for Halloween decor.
Bandana Pumpkins Materials Needed:
- Bandana Fabric twice as long as it is wide (14'' x7'', 6.5'')
- Embroidery Floss in matching hues
- Fabric Shears (8-in. recommended)
- Sewing Machine
- Fiber Fill
- Doll Hand Needle
- Hot Glue Gun
- Lopper
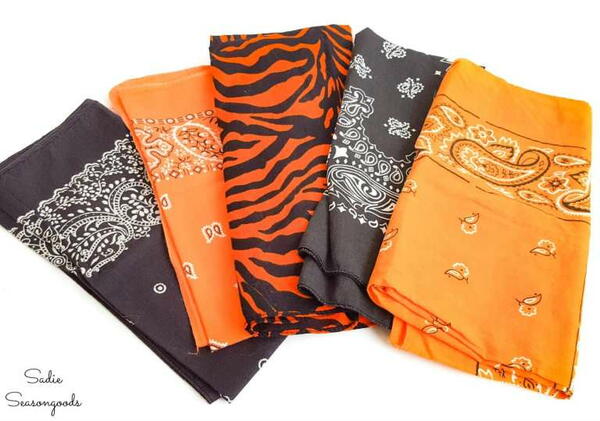
I also bought some embroidery floss in matching hues.
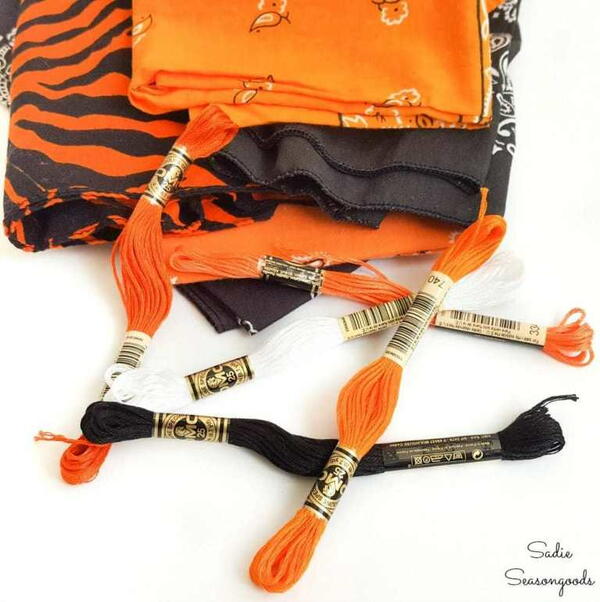
I have a sneaking suspicion that bandana pumpkins are just going to be ADORABLE – what do you think?
Now, these fabric pumpkins are not a new idea and tutorials for them are all over the internet. In fact, I believe Martha Stewart might be the originator of the idea. But, I just think they will be extra special when made with Halloween bandanas. Ready to find out?
But, I just think they will be extra special when made with Halloween bandanas. Ready to find out?
Beginning Steps for Fabric Pumpkins
- To create a bandana pumpkin for Halloween decor, I needed a piece of bandana fabric that was twice as long as it was wide (14” x 7”, 13” x 6.5”…etc.).
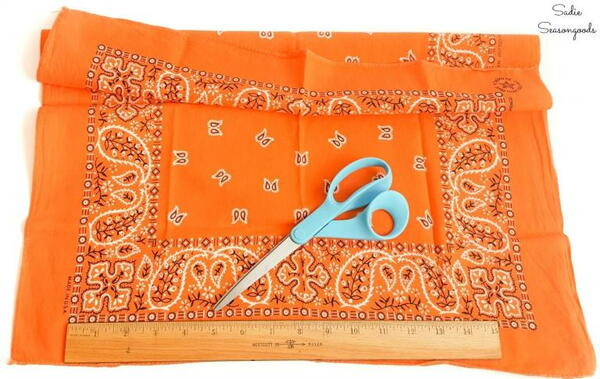
- Next, I cut out my bandana rectangle, trying to capture as much fabric pattern as possible.
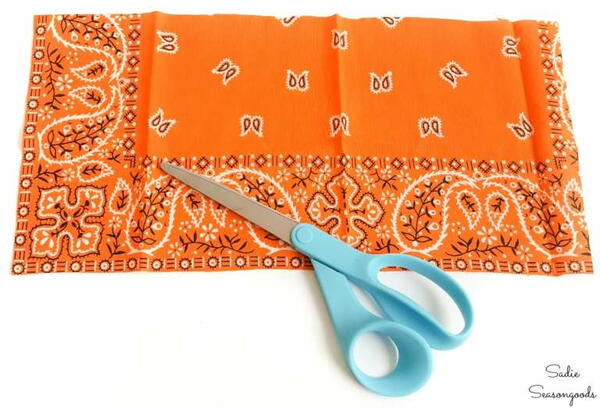
- Next, I folded the rectangle of bandana fabric over on itself, short ends together and “good” sides of the fabric facing together (on the inside).
- Then, I stitched along those short edges on my sewing machine so that it formed a fabric tube/cylinder.
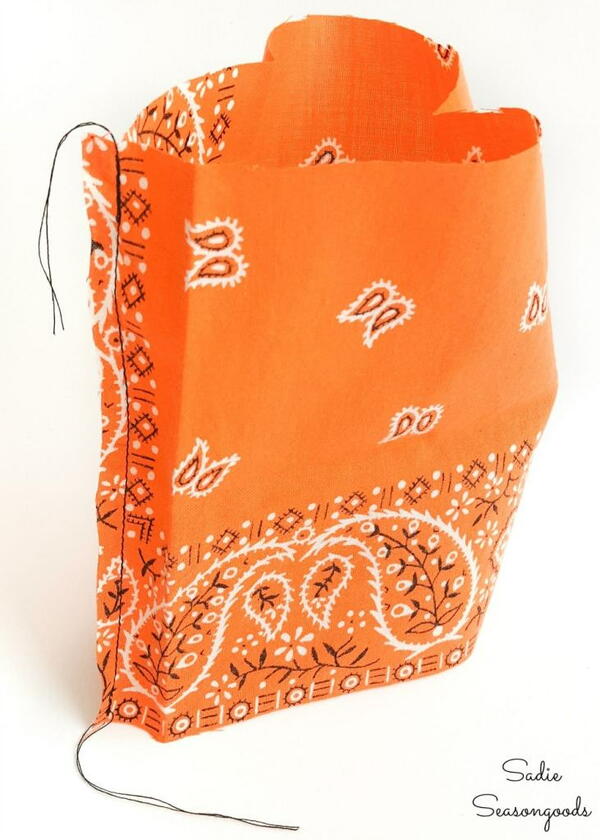
- After that was done, I ran a wide running stitch along one edge of the fabric, all the way around the “tube”.
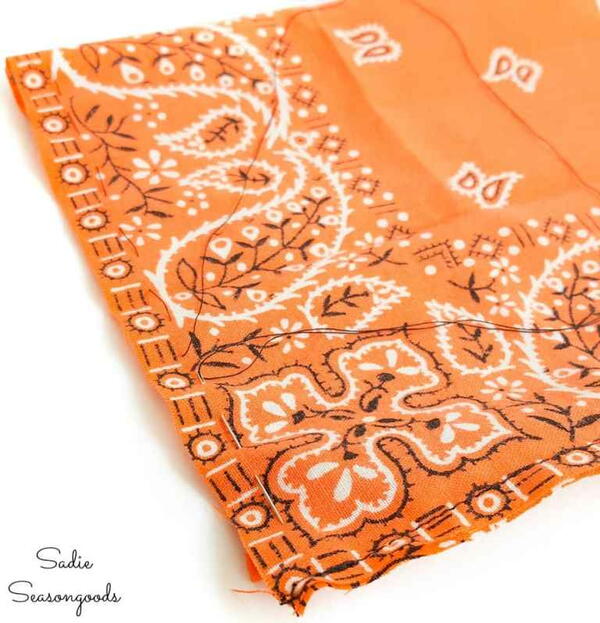
- I know it still doesn’t look anything like a fabric pumpkin yet, but bear with me!
Filling the Fabric Pumpkins
- Next, I gathered the fabric by pulling the thread tightly (but not pulling the knotted end through).
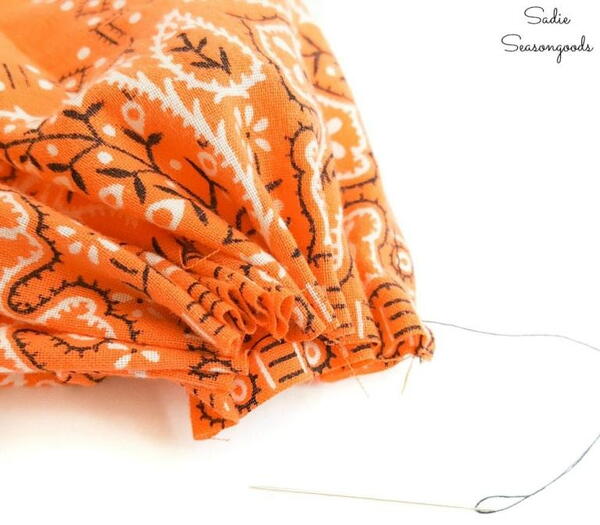
- After it was cinched, I pushed my needle through the ruffled fabric a few times before knotting off the end.
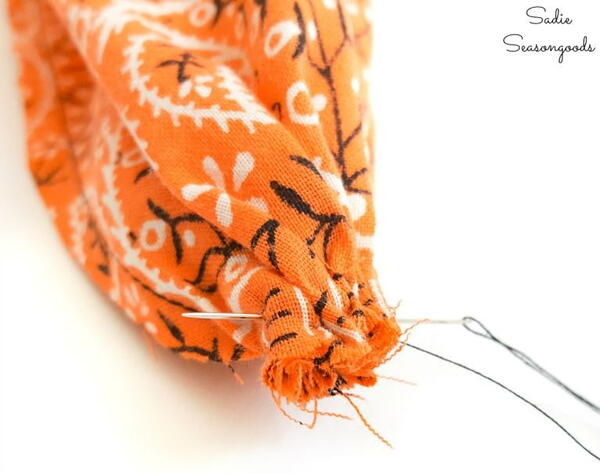
- Then, I turned my Halloween bandana my right-side-out. What had once been a fabric tube was now like a little bag.
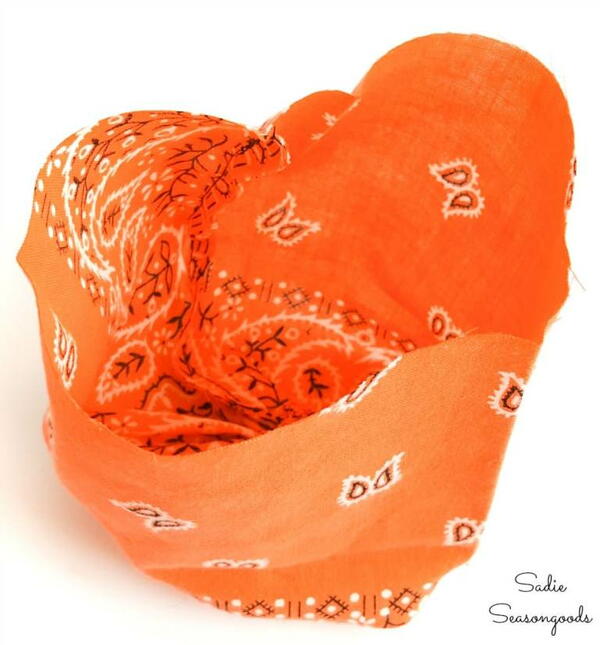
- Then, I stuffed it positively FULL with fiber fill. When it was positively stuffed, I once again ran a wide running stitch along the raw edge.
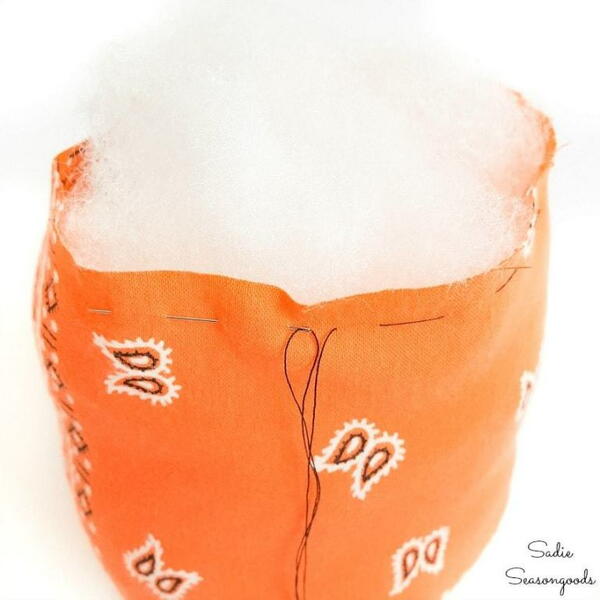
The first of my fabric pumpkins was coming together!
- Next, I gathered the bandana fabric as I had before, tucking the fiberfill in as much as possible. Finally, I stitched the opening closed and knotted off the thread.
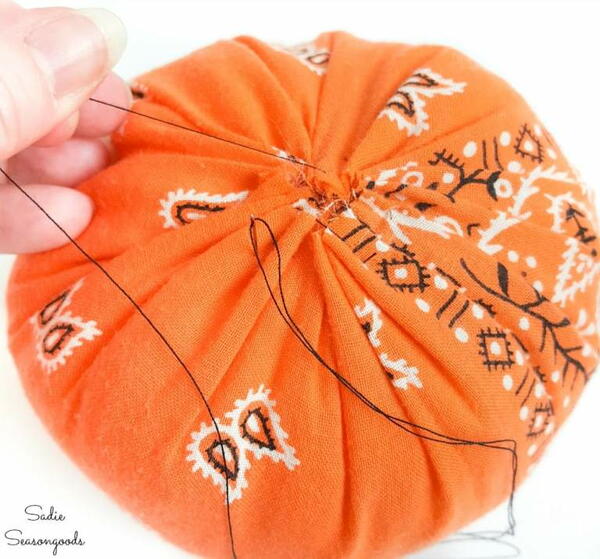
Now came the fun part – turning my bandana sphere into a bandana pumpkin!
Finishing the Fabric Pumpkins for Halloween Decor
- I still needed to add “ridges” to my fabric pumpkins. So, gathered some embroidery floss and a doll needle for this step.
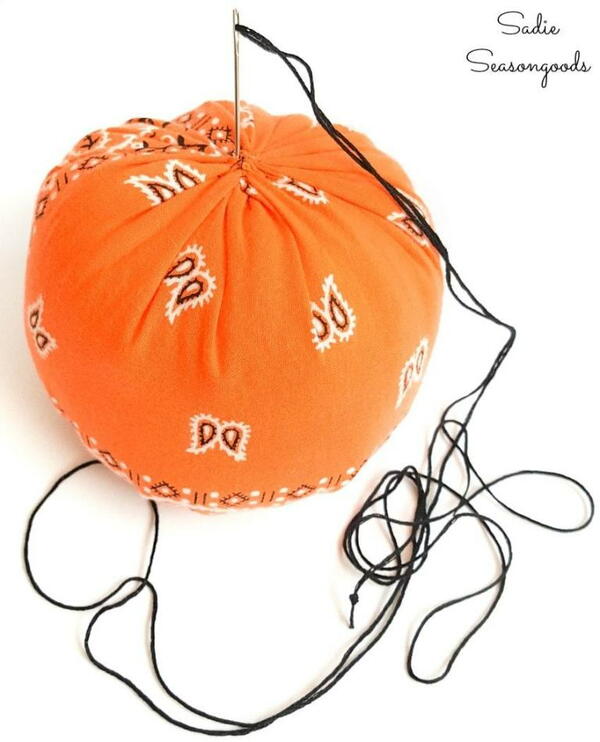
- First, I pulled a long strand of floss (triple-knotted at one end) through the center and pushed it back into my bandana pumpkin at the top.
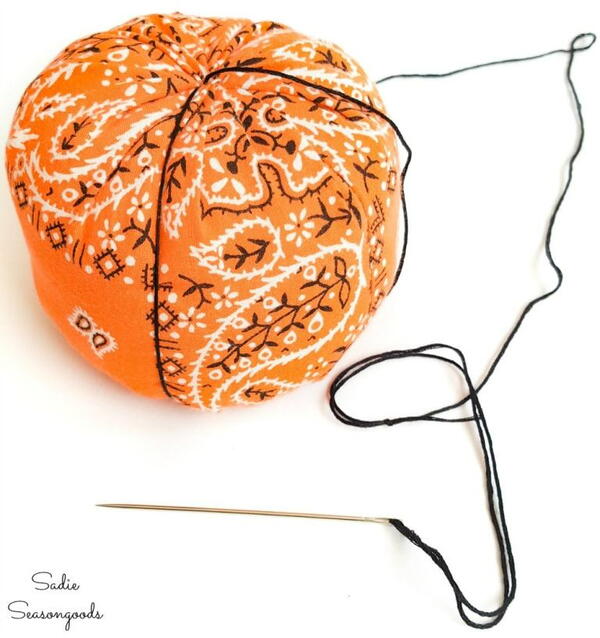
- I pushed the doll needle all the way through the other puckered end and pulled the floss super tight, squishing the fabric pumpkin. I did this over and over again, pulling super tight, to create ridges.
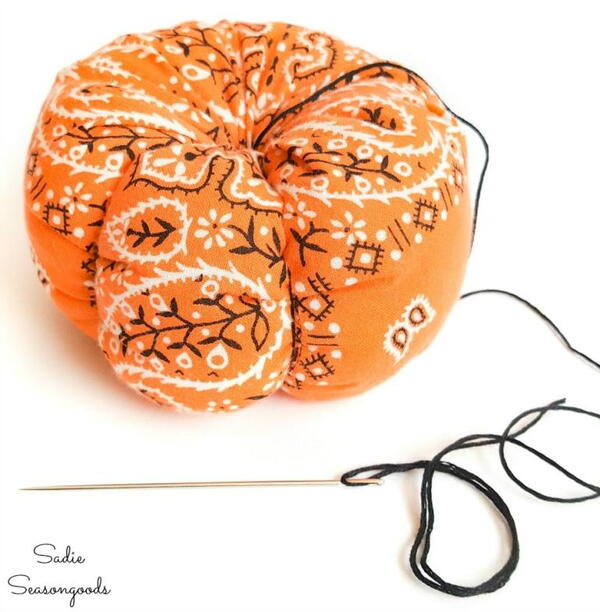
I’m telling ya, the doll needle made this SO much easier than an embroidery needle would have. I tried it with an embroidery needle and nearly lost it inside my bandana pumpkin!
- After pulling my floss through about 6 or 7 times around the fabric pumpkin, I knotted off the floss (while pulled tight).
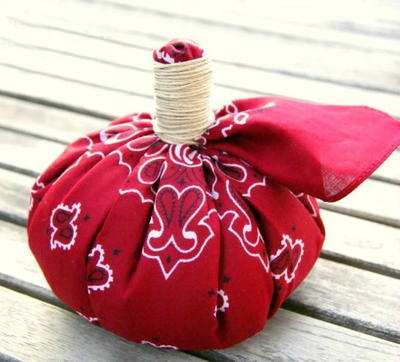
And there it was…a little fabric pumpkin that was very much indeed a bandana pumpkin.
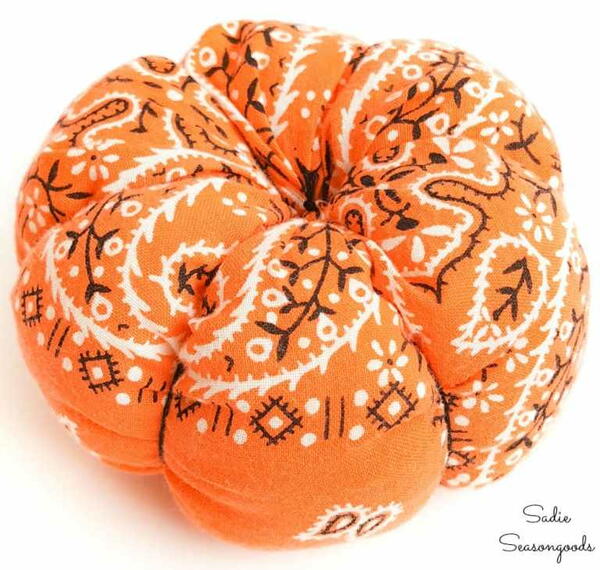
- To finish off my bandana pumpkin, I just needed a stem. And while you weren’t looking, I made several more fabric pumpkins from my Halloween bandana collection!
- But back to the stems – I wanted a rustic look to complement the bandana pumpkins. So, I grabbed some sticks from the yard.
Can I check “yard work” off my to-do list now?
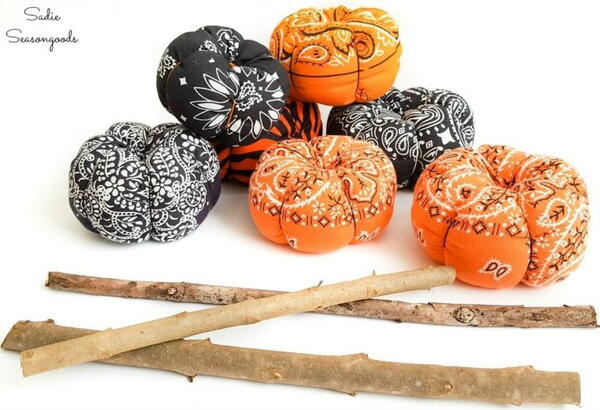
Fabric Pumpkins from a Halloween Bandana
- I lopped off 1” and 1-1/2” stick stems and hot-glued them to the center of each fabric pumpkin.
So easy and the sticks had the perfect against the Halloween bandana fabric.
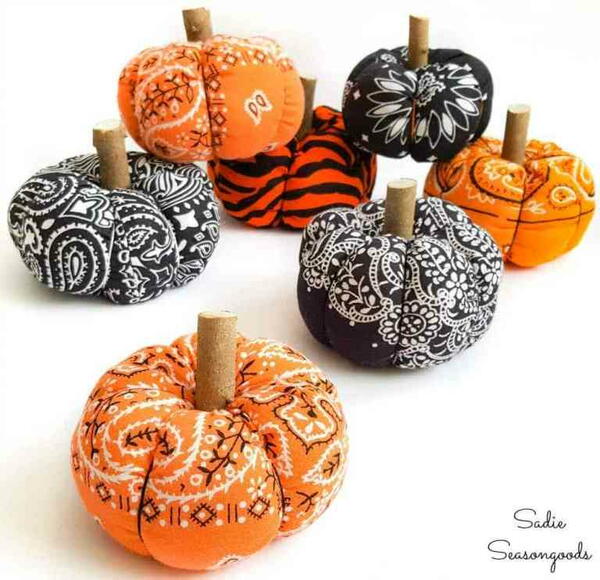
And that was it! I had a whole collection of fabric pumpkins or bandana pumpkins for my Halloween decor. I mean, DOES IT GET ANY CUTER THAN THIS?
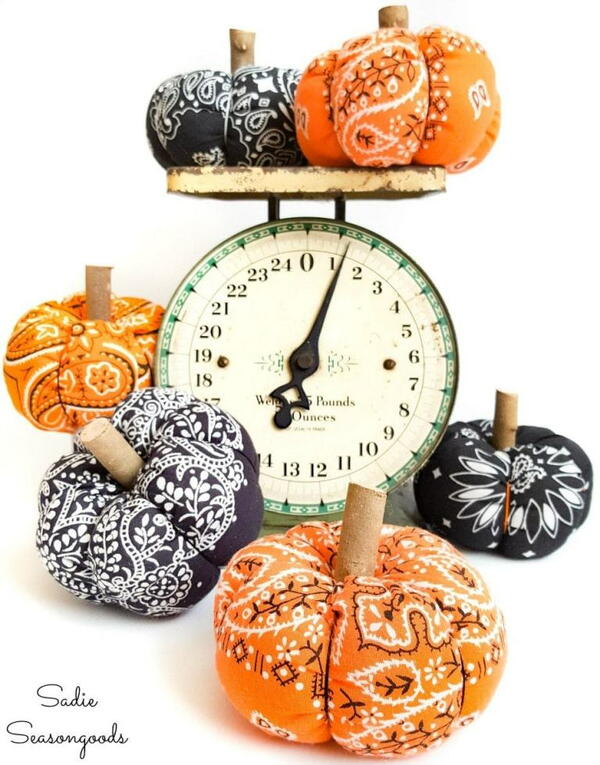
Aren’t they adorable?? I think the bandana fabric is just divine, and you can get at least two fabric pumpkins out of each one. That makes this a really affordable Halloween craft project, as well.
Now I can fill a bowl or small vintage crate with my fabric pumpkins and they’ll look wonderful for autumn and Halloween!
Read Next28 Free Owl Sewing Patterns

