DIY Ugly Christmas Face Masks [Printable Templates]
We all know about ugly Christmas sweaters, so how about an ugly Christmas mask? This unique idea will have you and everyone else cracking up.
Ugly Christmas sweaters are such a fun and festive delight! If you are unfamiliar with the idea, it's a yearly popular trend that involves finding or making the ugliest holiday sweater possible.
Many people and businesses throw parties and hold contests to see who has the ugliest. In recent years, it's gotten even more competitive, especially with making your own.
We're taking this idea and applying it to our DIY face masks. As we know, this year looks different in how we live, work, and celebrate. Masks are a part of everyday life for most. To lighten things up, we thought of this creative idea. One look at this DIY "Ugly" Christmas Face Mask, and we guarantee you'll chuckle.
It's a fun project and a great addition to your ugly sweater outfit, whether you are staying at home or attending a socially-distant party. If you'd like a "normal" Christmas face mask, check out our tutorial here.
Also, since it's meant to be worn during the holidays, it can be made with multiple layers or warm fabric (think fleece or flannel) to help keep half of your face warm. Customize the warmth level along with the embellishments and you'll be hooked and wanting to make more.
Let's get started!
Face Mask Materials Needed:
- 100% cotton fabric with a holiday, Christmas, or ugly pattern and backing fabric such as flannel or similar soft cotton (4 template-sized pieces for a two-layer mask, 6 pieces for a three-layer mask)
- Embellishments for the mask. Suggestions: Mini string of Christmas lights, Christmas buttons, ribbon, pins, earrings, jewels/gems, glitter/puffy/fabric paint
- Fabric glue (optional if needed for attaching embellishments)
- Hand needle and thread (optional if needed for attaching embellishments)
- Matching or complementary thread (for machine)
- Sewing machine
- Scissors (and rotary cutter/self-healing mat if desired)
- Iron and ironing board
- Fabric pins or clips
- Elastic or adjustable earloop bands
- Face mask template (available in different styles and adult/child sizes) or face mask template of choice
- Filter liner - learn about filters here (optional)
How to Make an Ugly Christmas Mask:
Skill Level: Easy
Approximate Time to Complete: About 1 hour (longer if embellishments need drying time)
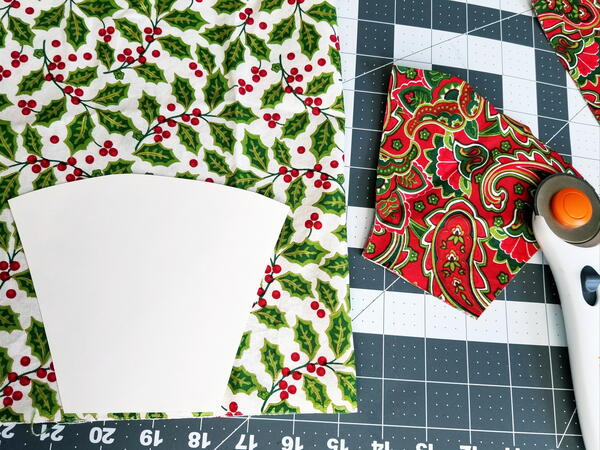
- Print the mask template PDF in the style and size desired. Or use your own template/another you like. Cut out the mask template.
Note: Read through the tips and details on the template page before printing.
- Using your template, cut out two decorative fabric pieces for the front of the mask. You can even use two different fabrics for each side of the mask to make it even more unique!
Cut two additional fabric pieces for the back (and middle if you are making a three-layer mask. We'd recommend soft and comfortable fabric - like t-shirt fabric, flannel, or fleece).
Note: If the print is directional or has a specific image you'd like to feature, make sure you are placing the template in the correct place before cutting.
- Place two fabric pieces right sides together and pin to hold. Sew along the curved edge with a 1/4" to 3/8" seam allowance. Lock stitches at the start and end.
Cut excess thread and clip curves along the sewn edge. Be careful not to cut the seams. Repeat for all pairs.
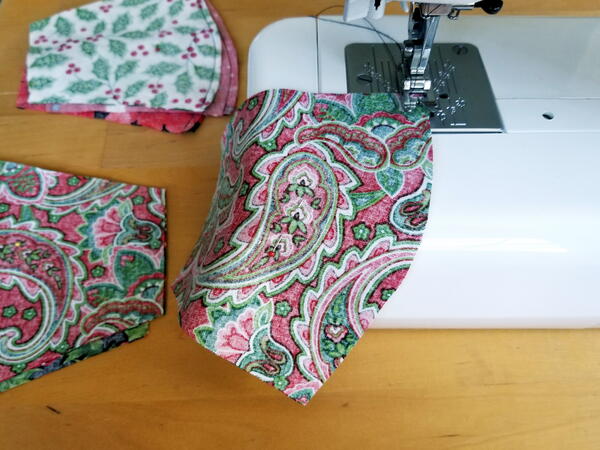
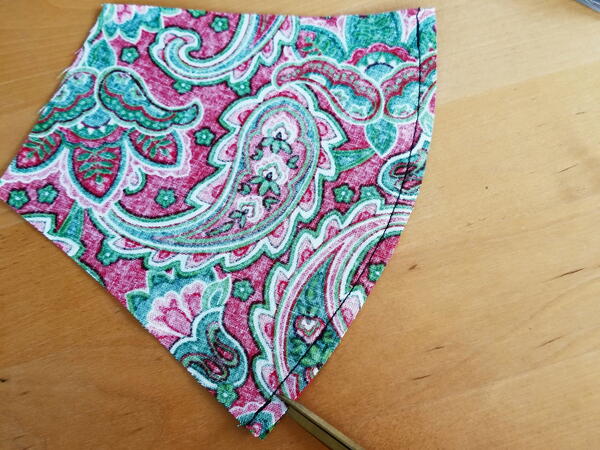
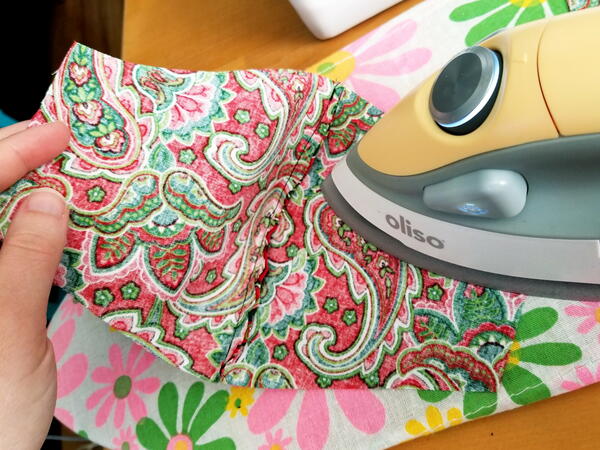
- Open and press the seams to one side for all pieces.
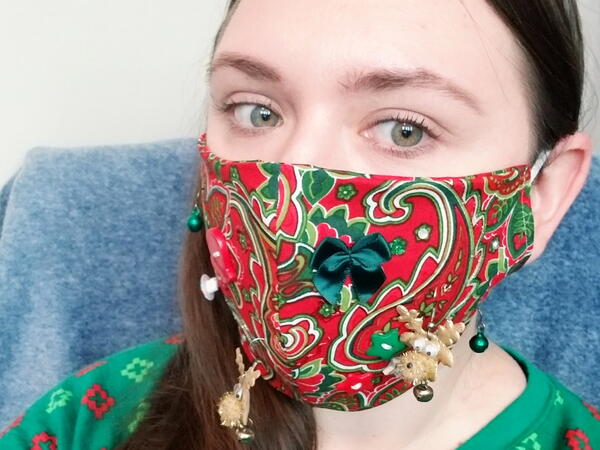
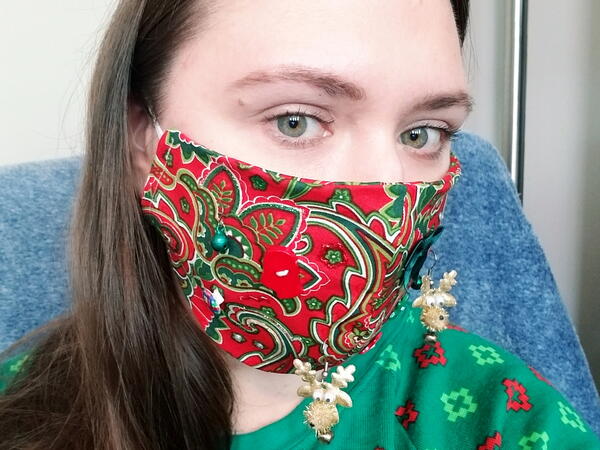
- Decorate the front of the mask any way you want. This is the fun part. There isn't any rhyme or reason: the goal is be obnoxious! Of course, you can go a prettier route if you'd like.
I simply went through my craft stash and pulled out anything I thought might look "ugly" on a mask. I also found some old reindeer and bell earrings that I could add.
Important Note: If you are poking holes through the mask (with earrings, pins, or buttons), try to seal them with glue or make sure you are adding an additional fabric layer or filter protection pocket during COVID-19.
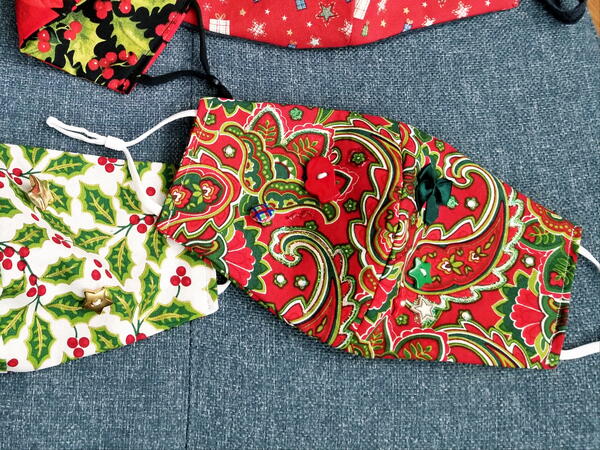
See some emebellishment examples below:
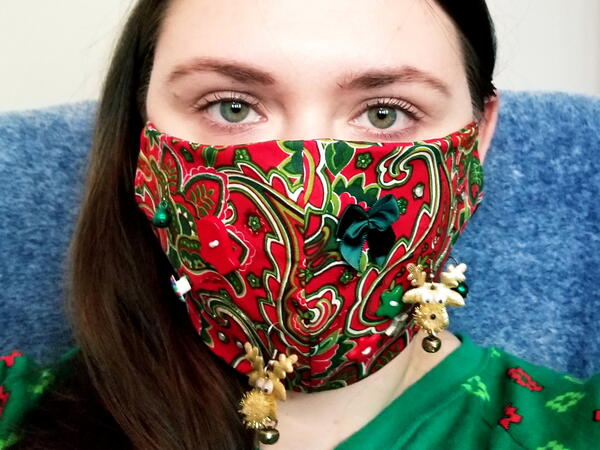
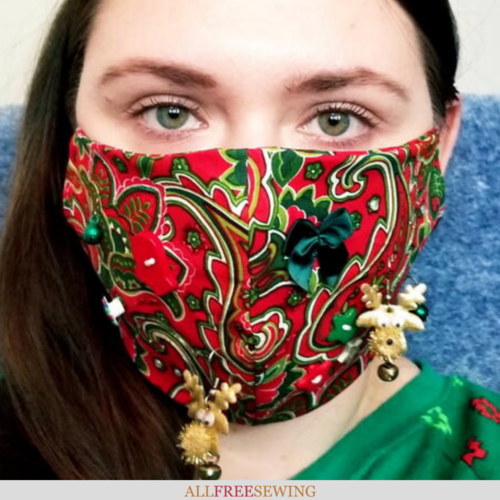
- In this example right below, I used a plaid shank button, a red mitten button, a green star button, a red star button, a white star button, a green ribbon bow, iron-on jewel embellishments, red glitter paint, green glitter paint, and silver glitter paint. The pictures do not do justice to this ugly face mask!
After the mask was complete, I added a few more earring embellishments which can be seen in other images on this page: two reindeer earrings, two green jingle bell earrings, and a few others.
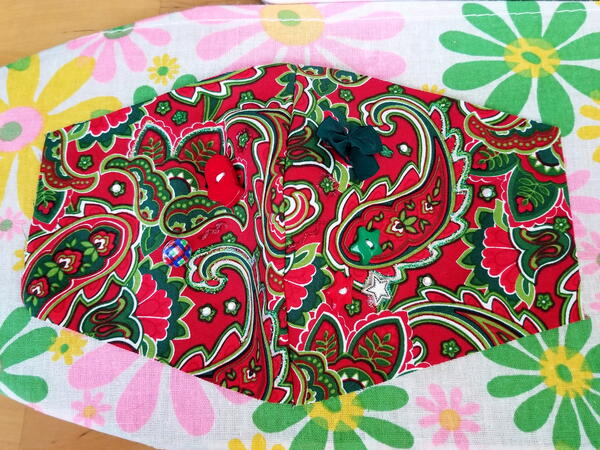
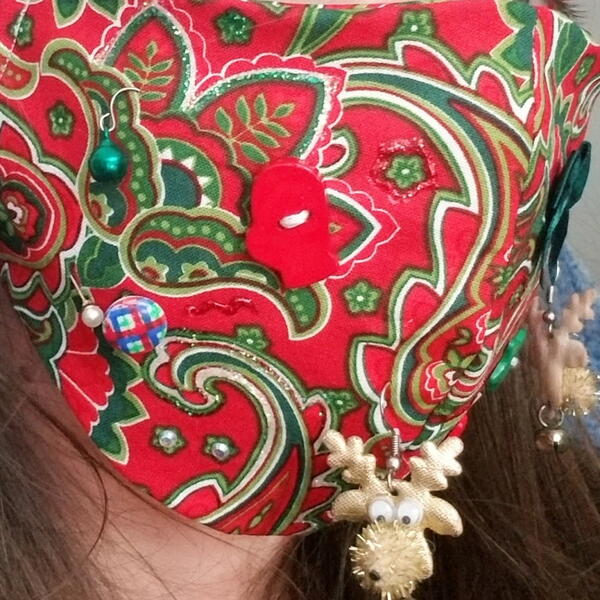
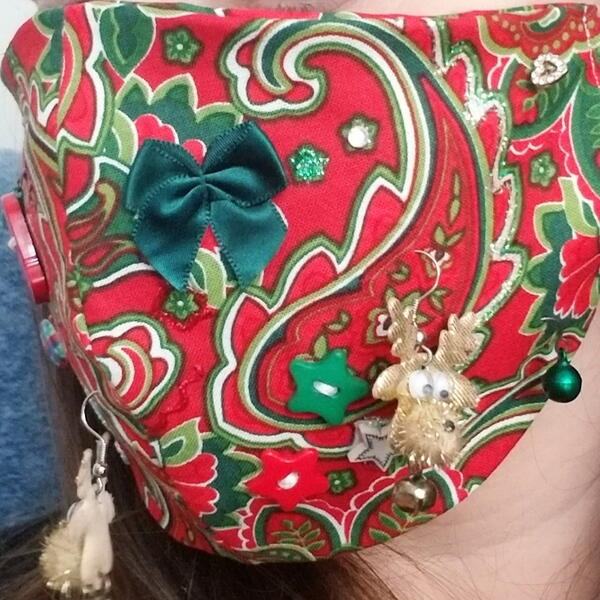
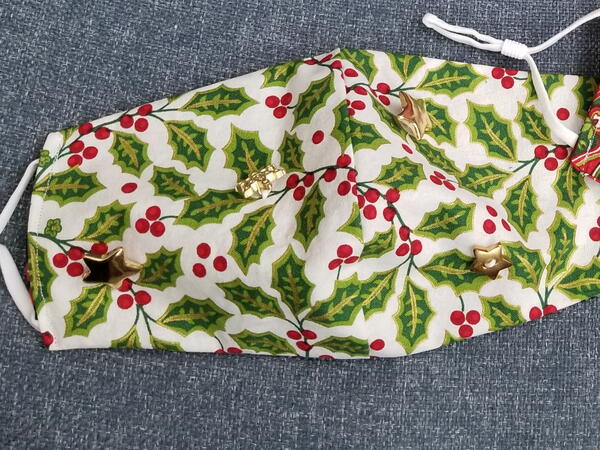
- In this example right below, I went very simple with just a few gold buttons of stars and snowflakes.
- Add a filter pocket if desired. Put the sewn mask pieces right sides together and pin to secure. Line up the middle seams (which is more important than lining up the sides). Sew along the top and bottom with a 1/4" to 3/8" seam allowance to attach. Lock stitches at the start and end.
- Cut excess thread and clip curves along the sewn edges. Do not cut the seams.
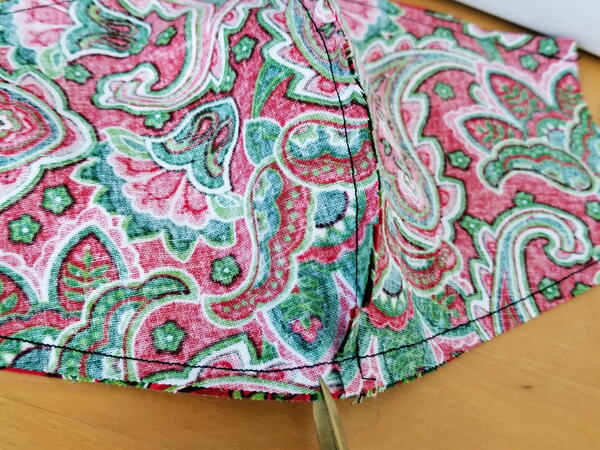
- Turn out your DIY mask.
- Press both sides of the mask to flatten seams and remove any wrinkles.
- Fold in sides about 1/2-inch. Sew on elastic (should be about 7" for adults and 5" for children) or adjustable earloops. Lock stitches going over the earloops to secure.

Pair this with your favorite ugly sweater and get ready to turn heads!
Want More?
350+ Free Christmas Sewing Patterns >>>
What are your thoughts on ugly sweaters or ugly masks?
Let us know in the comments!
Read NextReversible Casserole Carrier

![DIY Ugly Christmas Face Masks [Printable Templates]](http://irepo.primecp.com/2021/10/506869/Ugly-Christmas-Face-Mask-square21-nw1_Large400_ID-4506155.png?v=4506155)
