DIY Couture Cropped Pants Tutorial

If you're in the market for versatile, comfortable, and high fashion trousers, look no further than this DIY Couture Cropped Pants Tutorial!
This above-ankle cut is flattering on any body type, and it can be dressed up or down. Pair these DIY pleated trousers with a blazer and a pair of heels, and you're ready for the office. Pair them with a classic white tee and sneakers, and you're ready for a picnic in the park.
However you dress this cropped pants pattern, professional or laid-back, it's guaranteed to be your new favorite piece of clothing! Fastened with a front zipper, these pants couldn't be a better fit.
When it comes to couture clothing, you know it's going to be delicate, chic, and fashion-forward. These pants are tailor-made to showcase and can be worn in so many ways. You're sure to have fun sewing these DIY pants and wearing them, too!
Sign Up For More Free Patterns >>>
Project TypeMake a Project
Time to CompleteIn an evening
Sewn byMachine

Materials List
- 8'' Scissors
- 8'' Fabric shears
- 6'' Shears
- Pants pattern with fly front (e.g. Vogue V9032)
- Fabric (according to pattern requirements)
- Zipper
- Zipper foot
- Pins
- Sewing machine and thread
Want to give your other pants a trendy cropped cut? Check out this tutorial on hemming pants and give your trousers the update they need!3 Ways to Hem Pants Like a Pro
Instructions
-
Follow the pattern directions to cut all paper pattern pieces using the 8'' scissors.
-
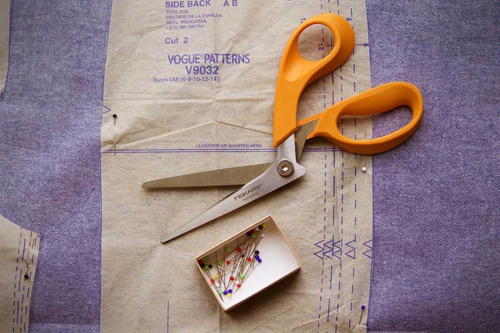
Pin the pattern pieces to your fabric and cut using the 8'' fabric shears.
-
Depending on your pattern directions, you may need to trim your zipper to size. If so, cut the zipper using the 6” shears.
-
To create a fly front, interface both extensions of the fly front on the wrong side of the fabric. Follow manufacturer's guidelines for applying the interfacing.
-
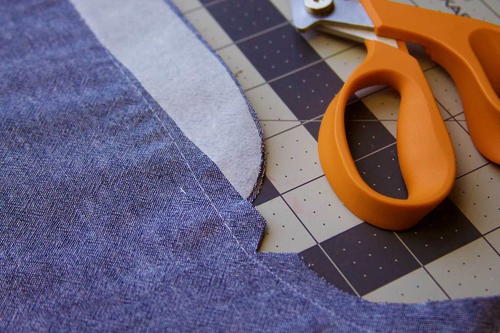
Baste the fly fronts together from the top of the pants' raw edge to the marking where the zipper will end. Stitch with a regular stitch from the bottom of the zipper marking to about 1” from the crotch. Use the 6'' shears to clip the seam in the curve.
-
Press the extensions open with an iron.
-
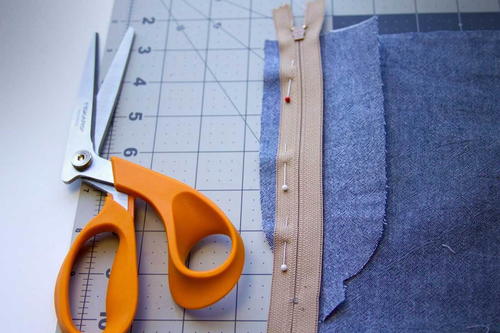
Align the edge of the zipper tape with the basted seam, making sure the zipper is closed and face down. Pin the opposite side of the zipper tape to the extension flap and stitch with a zipper foot.
-
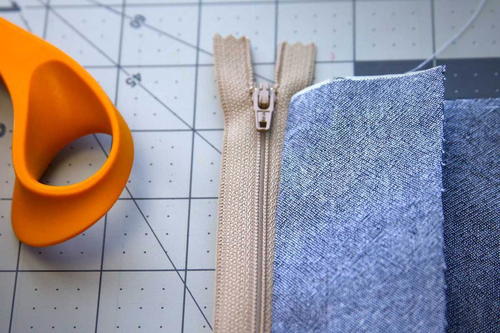
Turn the zipper back so that the right side of the zipper is facing you. Topstitch along the folded edge of the fabric and through the zipper tape.
-
Lay the zipper flat against the second fly front extension. Pin the zipper tape to the fly front and stitch.
-
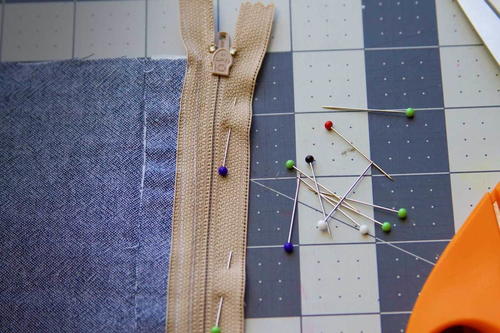
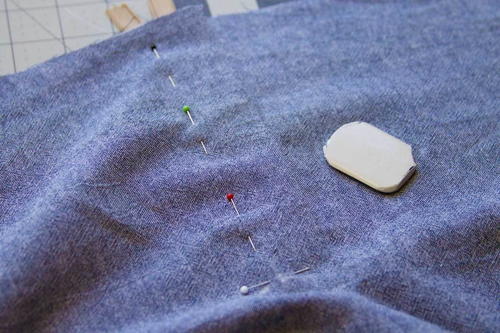
Place the pants flat on your work surface and prepare for topstitching around the fly opening. With tailor's chalk, mark the bottom stopper of the zipper on the right side of the fabric. Place pin 1/8” above the chalk line so that you avoid sewing over the stopper and breaking the needle.
-
Pin 1-1/4” away from the basted seam to give you a guide for topstitching. Start at the bottom of the fly and topstitch the fly front.
-
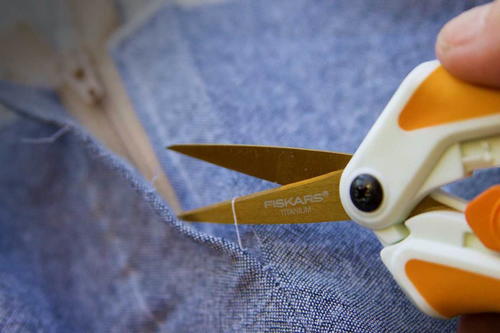
Use the 6'' scissors to open the basting stitches and give the fly front a final pressing.
Want More?
Read NextRachel Skirt Pattern

