Compact Crossbody Purse Pattern
This easy crossbody bag pattern is going to be your new favorite daily purse!
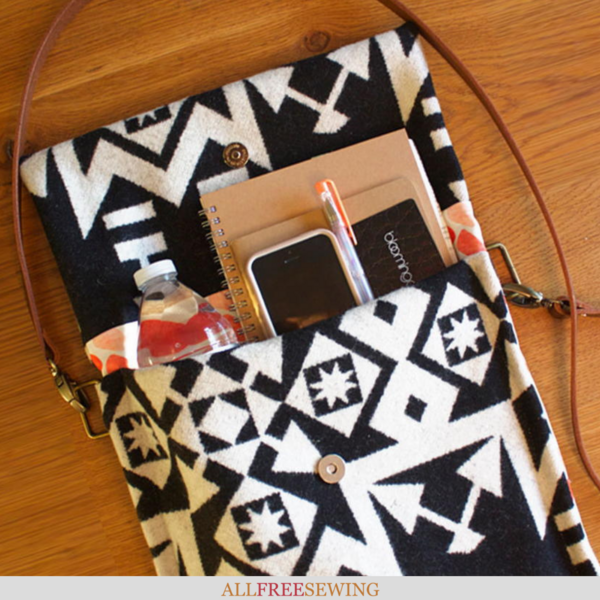
You may not have believed it before when you were told that the best things come in small packages. However, you'll be made into a believer after using this Compact Crossbody Purse Pattern!
This small accessory packs a big punch, with a snap closure and contrasting inner and outer fabric prints.
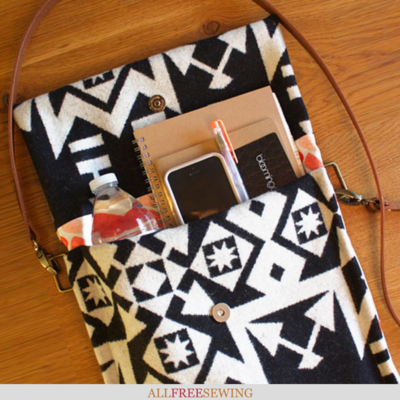
It's the perfect size bag for carrying your essentials plus a water bottle, book, or notepad, so you won't have to lug around a giant tote every time you leave the house!
This crossbody bag tutorial is finished with a handy leather strap for hands-free transport.
Sign Up For More Free Patterns >>>
Project TypeMake a Project
Time to CompleteIn an evening
Sewn byBoth Hand and Machine

Materials List
- 8'' Mixed media shears
- Rotary cutter
- Acrylic ruler (6'' x 24'')
- Cutting mat (24'' x 36'')
- Outer fabric
- Lining fabric
- Bag hardware (D rings, loops, and snaps)
- Leather crossbody shoulder strap
- Pins
- Sewing machine and thread
Crossbody bags are great for on-the-go, but if you want a purse for all of your styles, look no further than this free, downloadable eBook!
>>Sewing Bags: Tutorials You'll Love & 15 Free Purse Sewing Patterns Free eBook
Instructions
-
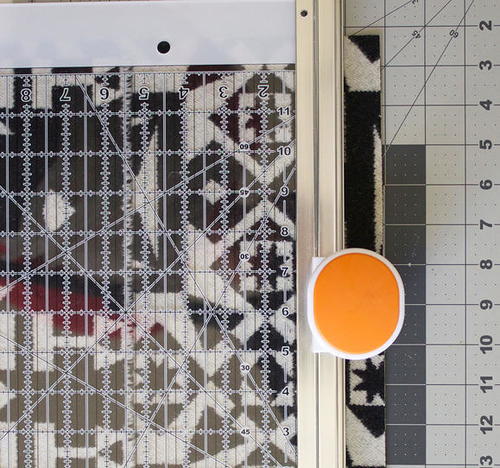
Cut one piece of outer fabric measuring 13” x 36” and one piece of lining fabric measuring 13” x 23” using the rotary cutter, cutting mat, and ruler.
-
Pin the top short edge of the bag’s outer layer and the top short edge of the lining together with right sides facing each other and sew.
-
Press the seam allowance towards the lining and repeat Steps 2 and 3 for the bottom short fabric edges.
-
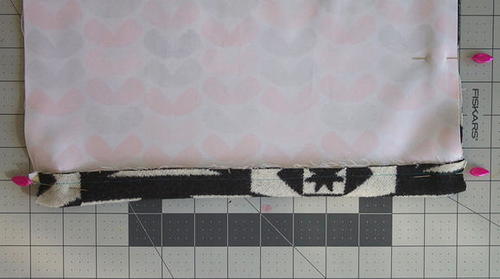
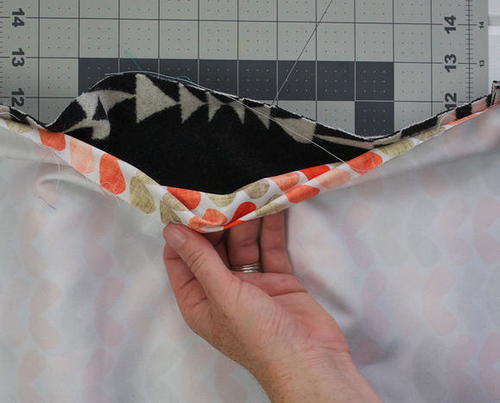
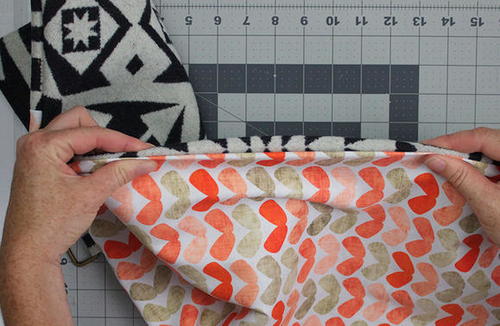
With the right sides of both fabrics facing each other, lay the lining on top and fold the bottom short edge so that 1” of the outer fabric is visible along the bottom and pin in place.
-
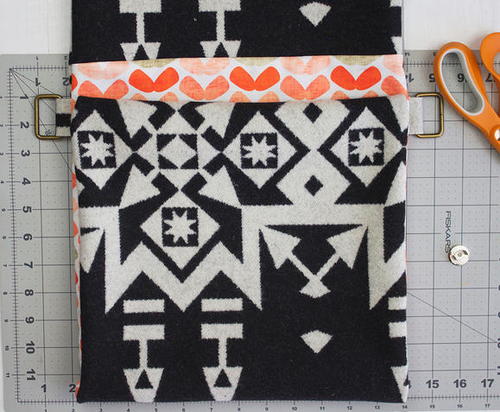
Spread the fabrics flat with your hand. In addition to the 1” of outer fabric visible along the bottom edge, there will also be 6” of outer fabric visible along the top edge.
-
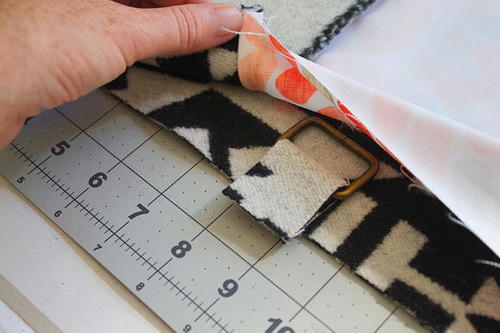
Cut two strips of scrap fabric and thread through metal bag loops. Pin the folded strips between the bag outer and bag lining about 1” down from the start of the bag outer. Sandwich the loops between the layers of fabric.
-
Sew the long sides of the bag outer and bag lining together being sure to catch the bag loops in your stitches. Leave a 6” turning hole in one of the sides.
-
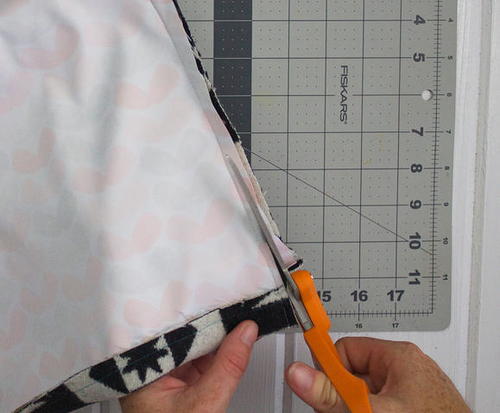
Trim the seam allowance and turn the bag so the right sides of the fabric are facing out, poking out the corners.
-
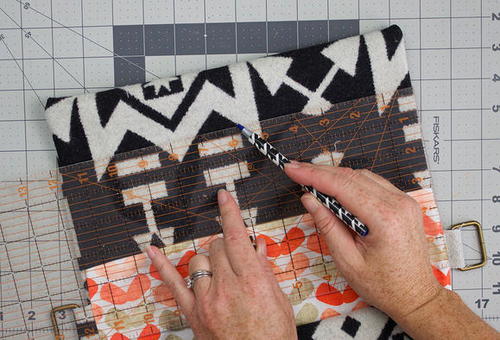
Insert snap into the center of the top flap.
-
Hand-stitch opening closed.
-
Fold up the bottom edge of the bag by about 11”. Pin in place and sew the side seams together to finish the bag.
-
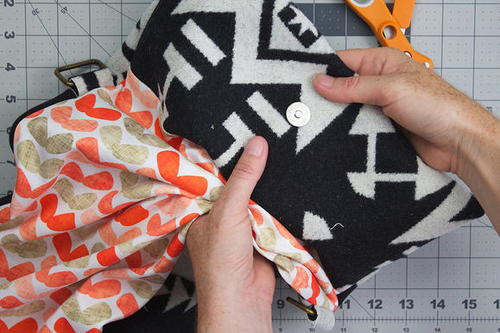
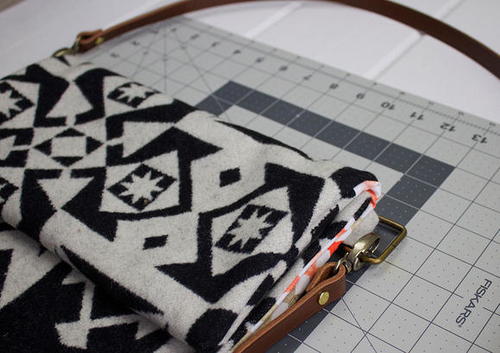
Insert bag snap into the bottom part of the bag at the point it meets the snap in the bag flap. Complete the purse by clipping a cross body leather strap to the bag loops.
Want More?
50+ Purse Sewing Patterns >>
What's your go-to purse style?
Let us know in the comments!
Read NextDrop Cloth Purse
Your Recently Viewed Projects
carole93 0115322
Feb 29, 2020
Anyone made this? I find the instructions confusing and I have made purses before. What am I missing with the lining being so much shorter? and is there an interfacing?
deborahpeach 92303 15
Aug 21, 2022
The outer layer 12 inches is for the corss over flap, this does not have the lining and is 6 inches on each side, so front and back that allows for 12 inches of the 13 inches difference between top outer material and lining material, the remaining 1 inch would be seam allowance, dont overthink it, sew the two pieces together at the short ends then lie it flat so the lining is completely flat on top of the outer material, then the remainder piece you have left in this loop will be outer material only and this then makes up the inside and outside of the flap cover.
Seth
Nov 30, 2018
This beautiful Simple Crossbody DIY Purse grabbed my eye and I simply have to make it TODAY, hahaha! Do you sometimes get those feelings too? I love everything about it - the size, shape, the fabric, the strap - and it doesn't seem at all difficult to make. What could be better!
Report Inappropriate Comment
Are you sure you would like to report this comment? It will be flagged for our moderators to take action.
Thank you for taking the time to improve the content on our site.

