How to Use a Rotary Cutter and Mat
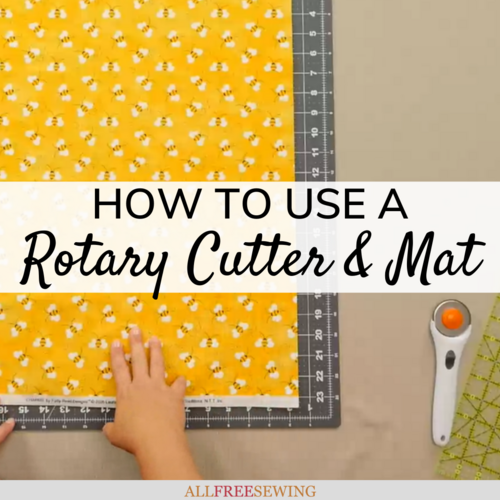
Learn how to use a rotary cutter to get a straight, clean cut on your fabric every time!
If you're like most sewists, you want every cut you make to be pristine. No ragged edges, no frayed seams, and no misshapen lines. However, scissors may not always do the trick.
They slip in your hands, double-cut fabric, and oftentimes veer off the straight path no matter how boldly you mark it. In short, cutting fabric can be a nightmare.
It doesn't have to be, though.
Get a perfect edge every time you cut by learning How to Use a Rotary Cutter and Mat! A piece of cake to use and a terrific time-saver, a rotary cutter will change your life once added to your collection of sewing tools.
Don't be daunted by the rotary cutter's sharp edge. Despite its severe appearance, a rotary cutter is a breeze to use and is a safe tool when wielded correctly.
This simple tutorial will teach you all you need to know about how to use a rotary cutter and cutting mat. After reading this how-to guide, you'll be able to cut foot-long edges with divine precision and never have to stop to shake out your aching hand.
Though you won't throw out your scissors forever, you'll surely be tempted after learning this new technique! We have lots of additional information about rotary cutters and mats on this page as well, so be sure to scroll down.
Sign Up For More Free Patterns
Materials Needed:
- Rotary Cutter
- Fabric
- Ruler
- Mat/cutting surface
Project Type: Learn a Technique
Time to Complete: Under an hour
Sewn By: None
What is a Rotary Cutter?
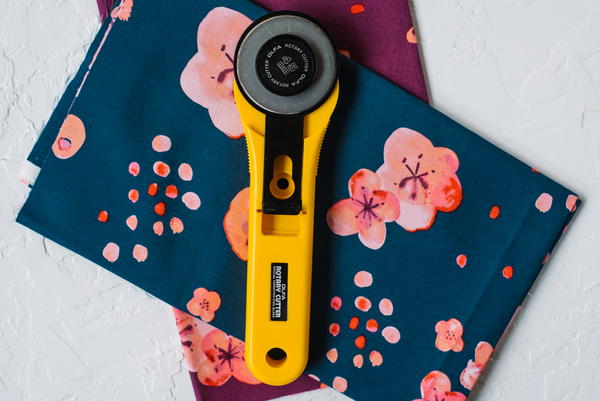
A rotary cutter is a tool used to cut straight lines of fabric with a circular blade attached to a single handle. A rotary cutter looks similar to a pizza cutter, but it has a sharper blade so that it can cut through thick fabrics.
This tool comes in many different shapes, sizes, and styles. Some may be curved, have a different blade exposing mechanism or a larger blade diameter. Choose whatever model works best for you, and you'll still get a clean cut!
Why Use a Rotary Cutter?
Unlike scissors, rotary cutters allow you to cut fabric in a perfectly straight line every time. This cutting technique keeps seams from becoming ragged.
Using a rotary cutter also takes less physical effort than cutting with scissors because you don't have to move your fingers around to manipulate the rotary cutter or hold your fabric up as you cut.
What Is a Cutting Mat?
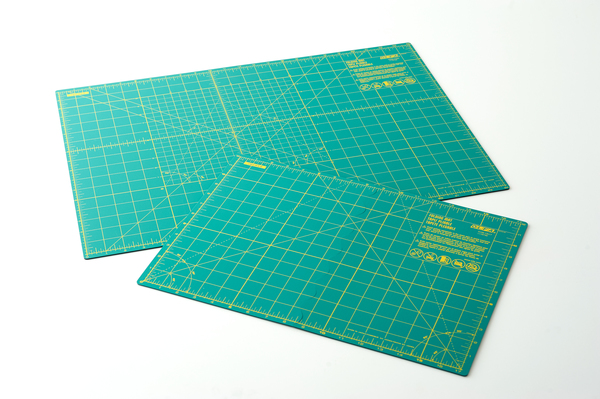
A cutting mat is a surface on which you cut fabric with a rotary cutter. It is used to both protect a surface from the blade of the rotary cutter and keep the blade of the rotary cutter from becoming dull.
Most often, cutting mats will have a measured grid printed on their surface to help make straight, measured cuts on fabric. Cutting mats can either be hard-surface, which are less flexible and do not retain any marks from the rotary cutter's blade, or self-healing.
Self-healing mats are generally thinner and more flexible than hard-surface cutting mats, and they are often coated with a thin layer of vinyl. When you use self-healing mats, they receive tiny marks from the rotary cutter's blade, which they then reclose.
Why Use a Cutting Mat?
A cutting mat protects your work surface so that it does not receive any marks from the rotary cutter's blade. It also prolongs the life of the blade by keeping it from becoming dull.
Many cutting mats also have grid lines or rulers, which helps you to measure as you cut. Once you get used to using sewing tools you'll be better able to decide if you prefer the mat's measuring guides, separate rulers, or both.
How to Use a Rotary Cutter Video Tutorial
Once you've watched the How to Rotary Cut Fabric video tutorial from Carolina Moore, you'll have a better understanding of this sewing and quilting tool. Don't forget to keep scrolling for the written instructions and more!
How to Use a Rotary Cutter and Mat:
Note: Always exercise caution when working with a rotary cutter. The blade is sharp and can cause harm if used incorrectly.
- Make sure the blade of your rotary cutter is sharp. Replace if dull.
- Lay your fabric down on the cutting mat, and smooth out any wrinkles. Line up the edge or fold your fabric so that it is in line with the grid on the mat. Every part of the fabric that you want to cut should be on the mat. There should be at least one inch of the mat exposed beneath your fabric's edge.
Tip: Iron your fabric before cutting it so that it lays extra flat on the cutting mat.
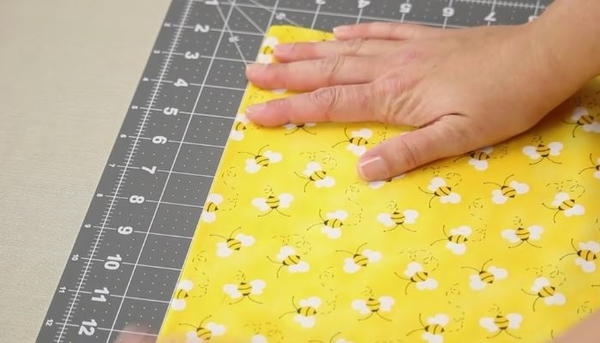
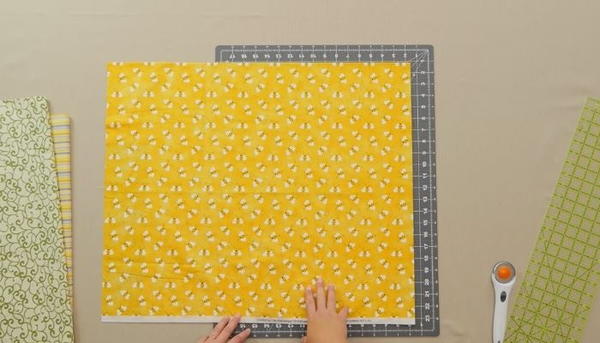
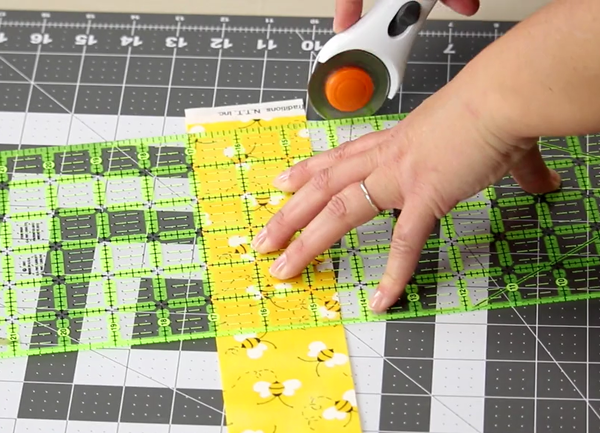
- Position the ruler over your fabric so that the ruler's edge lines up with where you want to make the cut. Make sure you hold the ruler firmly in place. For a straight, measured edge, line the ruler up with the grid markings on your mat.
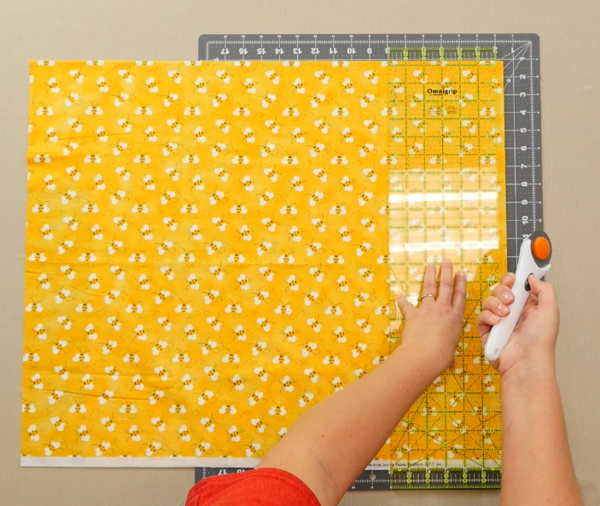
- Expose blade on your rotary cutter with your other hand, and position it against the ruler's edge, just below the bottom hem of the fabric. To cut through the fabric, maintain consistent, downwards pressure on the rotary cutter and push it forwards across the fabric, moving away from your body. Roll the fabric cutter until you pass the opposite end of the fabric.
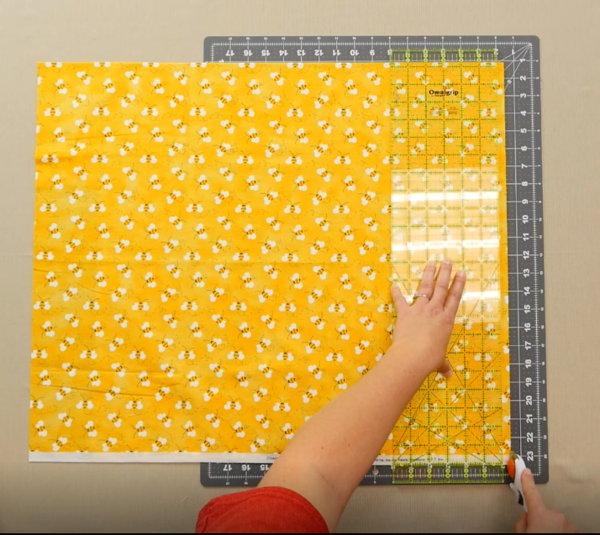
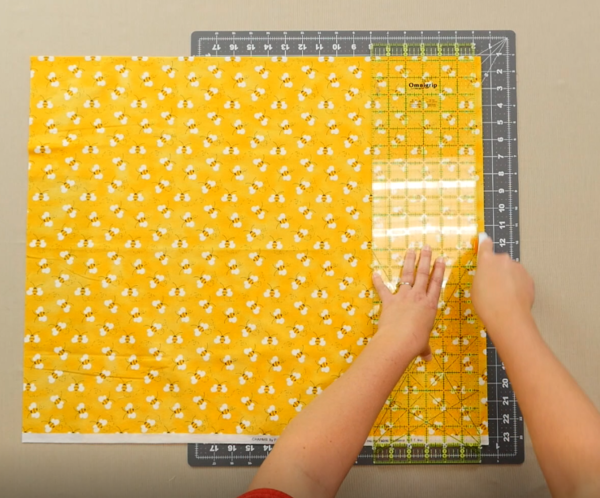
- Close your blade and remove excess fabric. If you find that any part of the fabric was not thoroughly cut, make another pass with your rotary cutter.
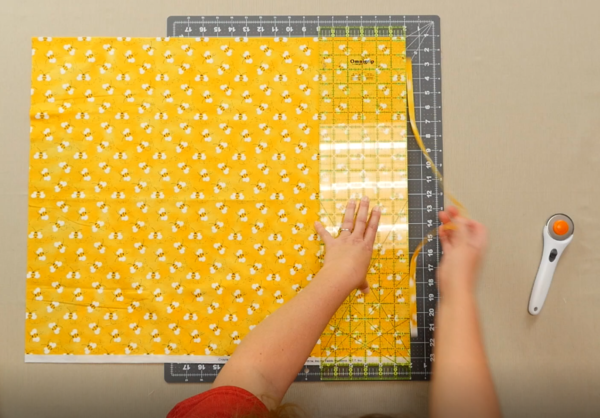
- To make another cut, turn the mat and/or fabric, and repeat Steps 2–5.
How to Rotary Cut Strips and Squares:
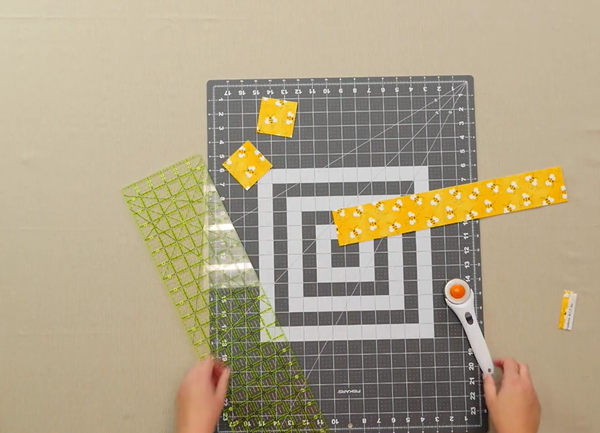
- Base your second cut off your first clean cut. For this tutorial, we will be cutting a 2.5-inch strip. Find the 2.5-inch mark on your ruler and line that up with your fabric.
Tip: It doesn't matter if the fabric is or is not lined up on the mat because you are using the ruler as measurement, but make sure your fold is still lined up. If it isn't, re-square the edge of your fabric before cutting.
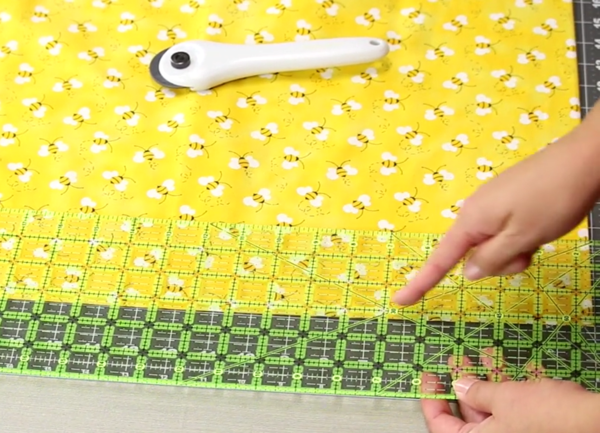
- Expose your blade and make one clean cut all the way to end again. Repeat to cut as many strips as you need.
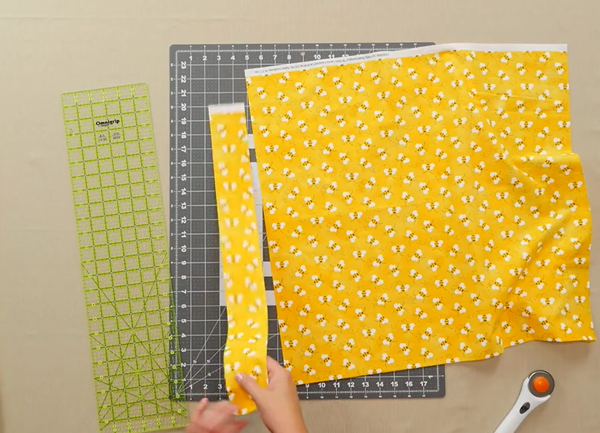
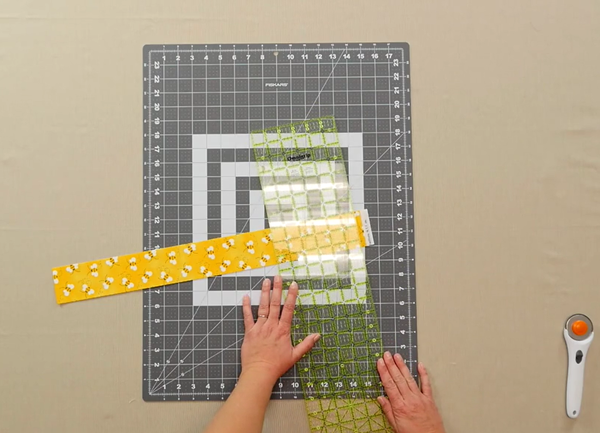
- To make squares you repeat the process making sure your ruler lines up with the cut you already made as well as the other side. Repeat the process until you have as many squares as you need.
Want More?
How to Square Up a Quilt Block >>
What is your favorite fabric cutting tool?
Let us know in the comment section!
Lynn K
Nov 28, 2018
Without my rotary cutter and mat I would spend an enormous amount of time hand cutting fabric for the patchwork cushions and bedcovers I make! It really is the perfect tool for straight edges and once you get used to using it you wonder how on earth you ever did without it.
Weberme
Aug 22, 2018
I use a rotary cutter and mat and still do not get a perfect edge. For some reason the first cut always is a little off and I line it up right on the mat line. Just cannot get the hang of it. Anyone else have the same problem?
IreneMachine
Jun 09, 2018
Confession I'm always the first to complain about imperfect cuts made by scissors, but I have never thought to change my ways. This tutorial has finally given me the confidence I need to wield a rotary cutter and give my sloppy snips a much-needed tune-up!
Weberme
Mar 02, 2017
I have the rotary cutter but have not used it yet because I have been afraid to try it. The rotary cutter makes a smoother clean cut and so much easier and it evens it out a lot better than using a pair of scissors especially when cutting squares fora quilt. I need to get a mat and ruler so I can start using the rotary cuter. I am so glad I watched this video to see proper way to cut with it. Makes me feel more confidant. So if you are unsure about the rotary cutter check this out.
Report Inappropriate Comment
Are you sure you would like to report this comment? It will be flagged for our moderators to take action.
Thank you for taking the time to improve the content on our site.

