DIY Soft Doll
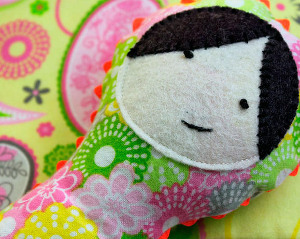
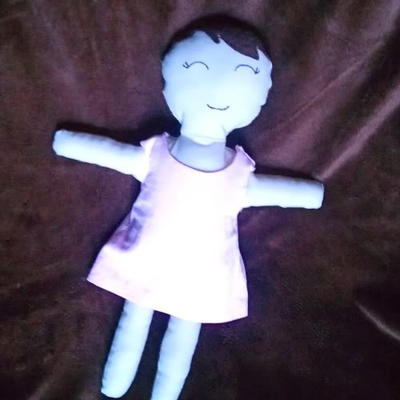
The DIY Soft Doll is the perfect handmade doll to make as a baby shower present. This simple tutorial offers pictures each step of the way to keep you on course. Made of soft flannel and felt, and stuffed with the filling of your choice, this handmade doll will be the perfect gift for a newborn. A sewing machine is recommended to sew the doll together, but you can hand stitch the facial details yourself. You can pick any type of fabric to craft this tender and colorful plush doll.

Materials:
- Soft flannel fabric
- Small amount of wool felt
- Ric ric in various colors
- Hand sewing needle and embroidery floss
- Craft fiberfill
- Pin
- Sewing machine
-
Thread
Directions:
-
After selecting your fabrics, hand draw a little doll shape on a piece of paper. Use a ‘keyhole’ design to avoid having to worry about arms and legs.

-
Pin the pattern to your fabric and cut it out.

-
Stitch lengths of bright ric rac to the front of the doll as an embellishment.

-
Sketch a little face and hair onto paper and use it as a template for cutting the wool felt.

-
Stitch the eyes and mouth features by hand with embroidery floss. Using French knots for the eyes is much safer than using buttons. You can hand stitch the hair to the face using small stitches, then stitch the whole face to the front of the doll on your machine.

-
Pin more ric rac around the entire outside of the front of the doll and stitch it down through the center.

-
Pin on the back doll fabric and stitched it to the front, using the stitching line of the ric rac to guide you. Leave a 3” hole at the bottom of the doll for turning and stuffing.

-
After turning the doll right sides out and pressing it with an iron, stuff the doll with craft fiberfill and topstitch the hole closed.

-
You're all set!

Read NextInsanely Smart Toy Bag

