This project was submitted by one of our readers, just like you.
Make Your Own Cross Stitch Pattern
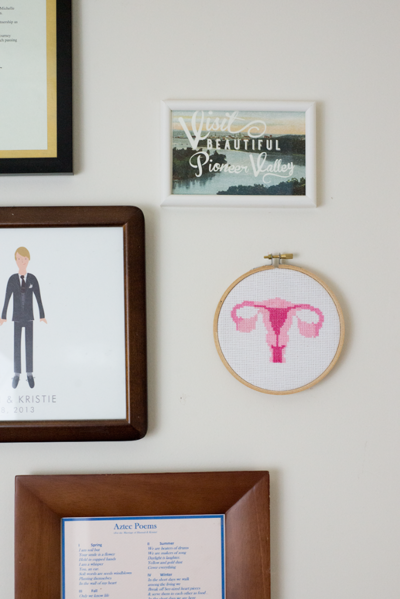
From the Designer: "Cross-stitching has been my couchtime jam lately. I love the patterns, and was inspired to try and make some of my own! Read on to learn one technique for making your own cross-stitch patterns (no Photoshop required)."
If you love cross stitch patterns, explore the collection of 31 Free Cross Stitch Patterns from our friends at FaveCrafts.
Project TypeLearn a Technique
Time to CompleteUnder an hour
Sewn byHand

Materials List
- A printer with scanning/copying capabilities
- Colored pencils
- Freezer paper
- Tape
Instructions
-
Start by finding an image you want to cross stitch. I searched Google and picked a nice, bright uterus clipart. Print it out.
-
Cut a piece of freezer paper the same size as the piece you just printed on.
-
On your newly cut freezer paper, print free graph paper.
-
Tape the freezer paper over your image.
-
With the colored pencils, "trace" the image that shows through the freezer paper by drawing an "X" in each little square. Don't be surprised if you end up with some ink/pencil on your hands after this step! It can get a little messy.
-
Once you're finished, detach the freezer paper. Because the ink can smudge sometimes and curly freezer paper can be hard to work with, make a color copy of the freezer paper, and discard the original.
Read Next50+ Sewing Crafts That Sell Well


