Magic Pillowcase Directions (Video Tutorial)
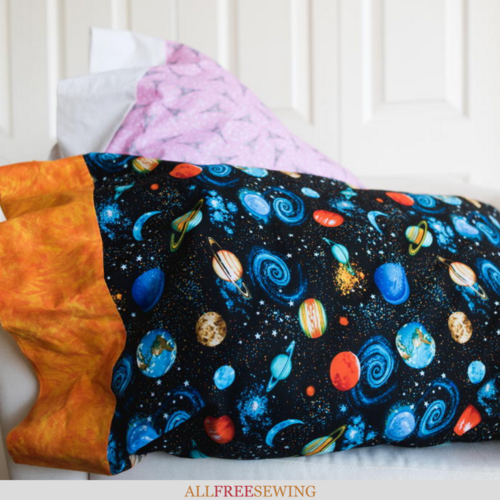
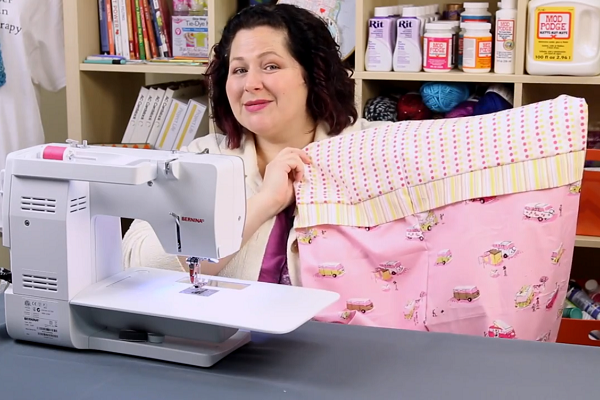
Learn how to sew a pillowcase using this simple "magic" style. This super easy DIY pillowcase works up fast and makes a great gift for kids or for charity.
This super easy DIY pillowcase is so fun because it's the magical kind! Learn how to sew a pillowcase with our video tutorial and written directions. These magic pillowcase instructions are so easy to follow. It is the perfect fast and easy pillowcase pattern for you to make in under 15 minutes.
This magic pillowcase method is also known as the taco, burrito, or cuffed, just depends on who you talk to. In any case, they are all roughly the same in that they are quick and easy to do.
This means that this is the perfect rolled pillowcase for you to work on to make for a charity drive.
With this sewing video tutorial being so quick and easy to make there is no reason for you to not make and give a little for a great cause as well as for your family and friends. It makes a unique gift for just about anyone!
This how to make a pillowcase with cuff video results in a pattern is also a fantastic choice for charity, like The 1 Million Pillowcase Challenge.
Magic Burrito Pillowcase Video Tutorial:
Click to play the video right below and then scroll down for the written instructions and images.
Magic Pillowcase Instructions:
Once you learn how to sew a pillowcase in this way, your life will be forever changed! This DIY pillowcase is one of the easiest methods around. It is sometimes referred to as a rolled pillowcase pattern, magic burrito pillowcase pattern, or even just a magic pillowcase pattern. No matter what you call it, we can all agree that this is one of the fastest and fun DIY pillowcases ever!
Follow along with the video above or read the instructions below to learn how to make your own pillowcase like this.
Materials
3/4 of a yard of your main fabric choice
1/4 of a yard for your cuff piece
Trim piece about 5 inches wide
Sewing machine
Thread
Pins
Scissors
- Start with your fabrics measured and cut. Press your fabrics flat, making sure there are no creases.
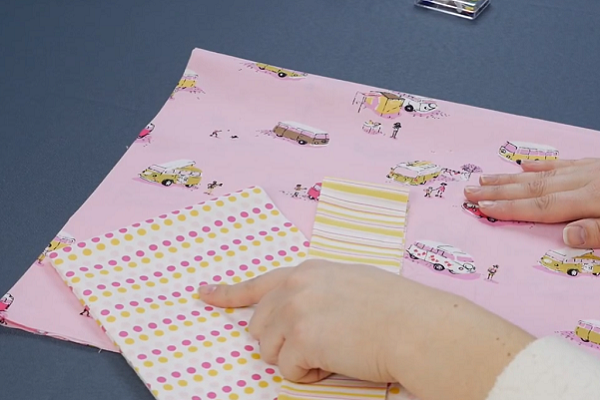
- Fold and press the trim fabric in half lengthwise, so that you have one piece that's long but 2-1/2 inches wide, wrong sides together in, correct side out.
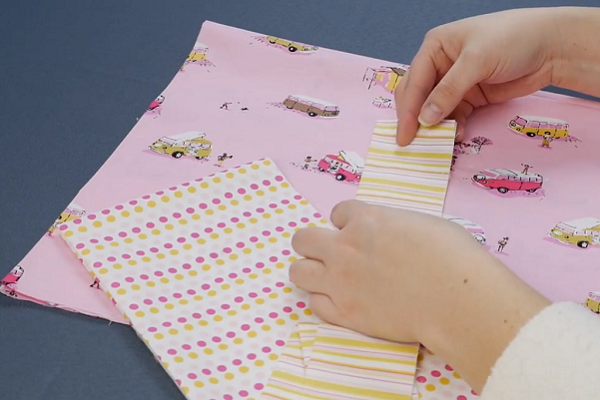
- Fold your 1/4-yard cuff lengthwise, and press it in half so that the wrong sides are together.
- Fold your main fabric in half, with the selvage edges together.
- Open up your cuff fabric and place it down on the table right side up.
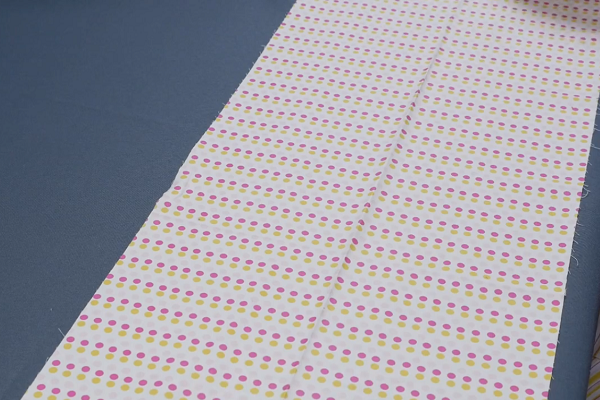
- Overlap and line up your trim fabric with one side of the cuff fabric, selvage to selvage.
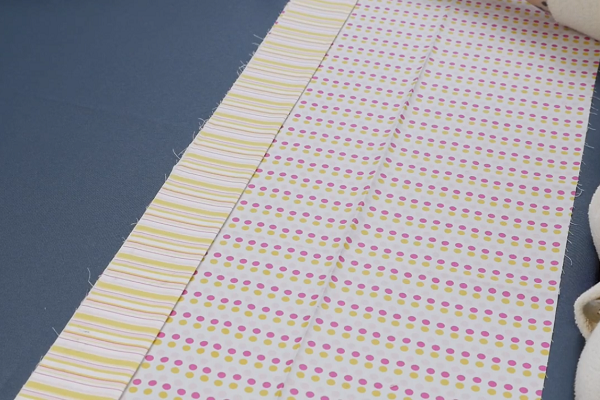
- Take your main body piece, right side down, and lay it on top of your cuff and trim pieces, lining up the edges.
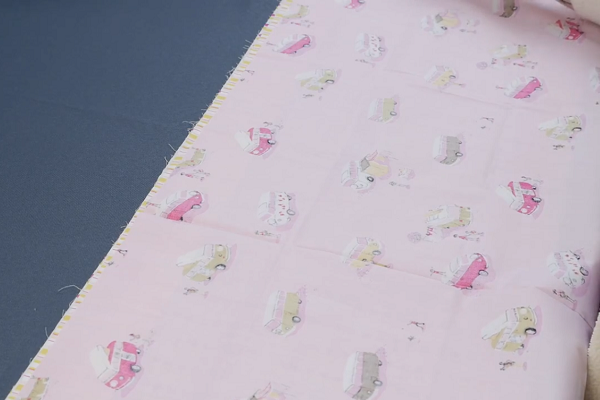
- Take the far end of your main piece and begin rolling it until you get to about the middle of the cuff piece, right above the fold line.
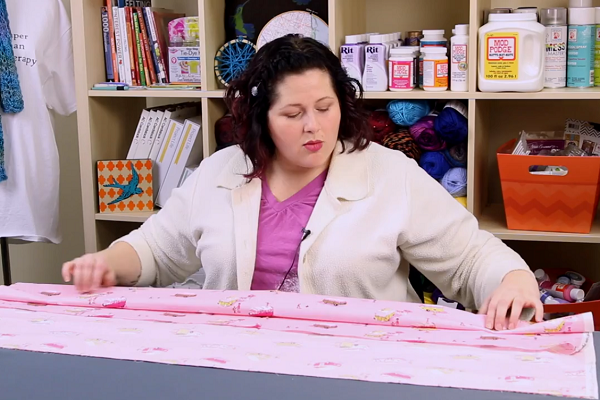
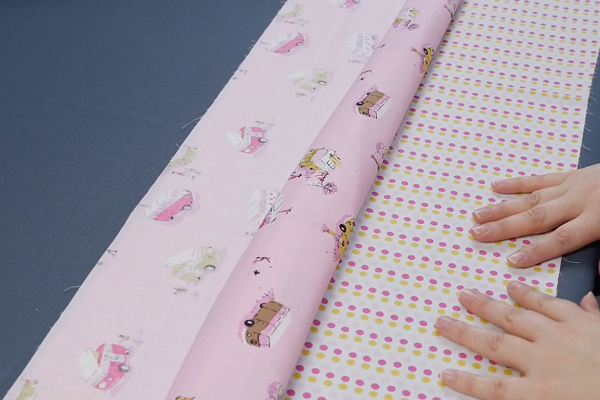
- Take the cuff piece and fold it over, so that the wrong side is shown, the edges are matched up, and the main fabric is "trapped." Pin this into place.
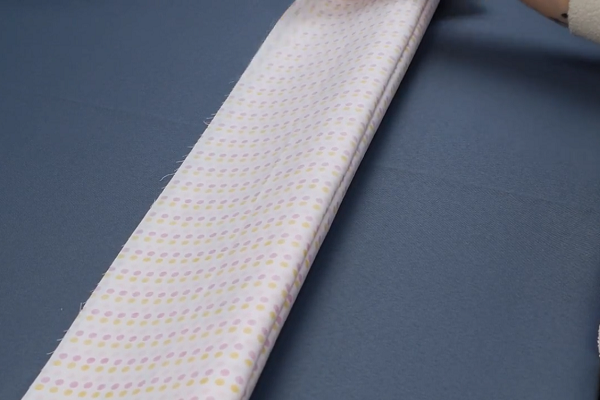
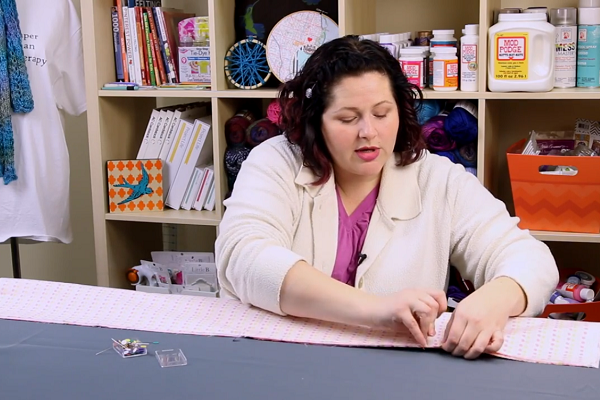
- Set up your sewing machine with a regular straight stitch. Sew along the pinned end using a 1/2-inch seam allowance.
Tip: Remember to do a locking stitch at the beginning and end of your strip.
Note: The first image below shows how the order of fabrics should look.
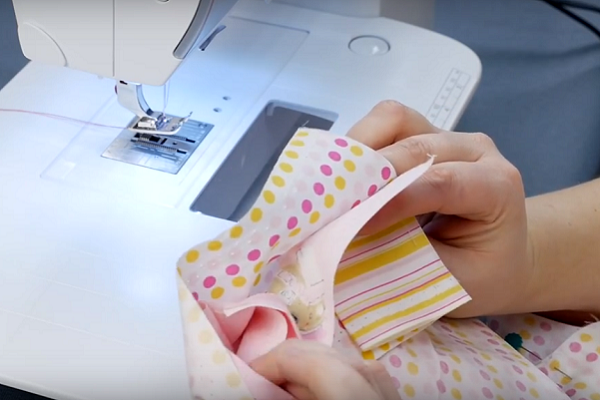
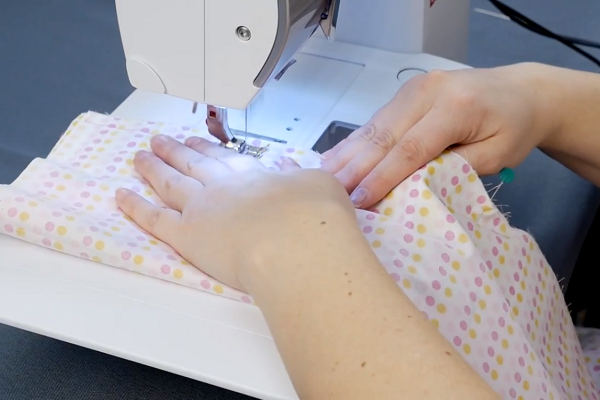
- Stick your hand in through the open side and pull all the fabric out.
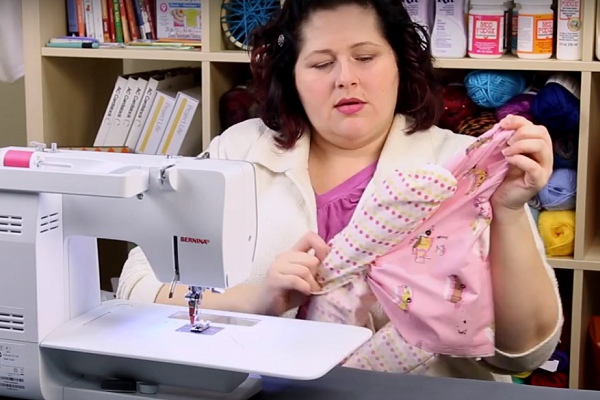
- Fold your pillowcase in half, right sides together, making sure the selvage edges match up as well as the cuff and trim seams. Pin if needed.
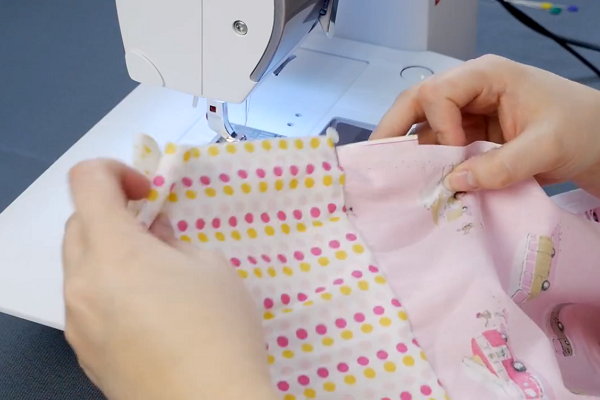
- Press your fabric if desired before moving on.
- At the sewing machine, start at the cuff side, give yourself a 1/2-inch seam allowance, and sew down one side and then the other.
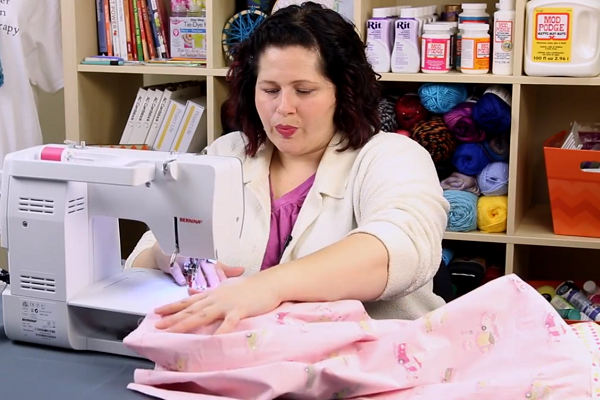
- Trim edges with scissors if desired.
Note: If a serger is used, no trimming is necessary.
- Turn your pillowcase out.
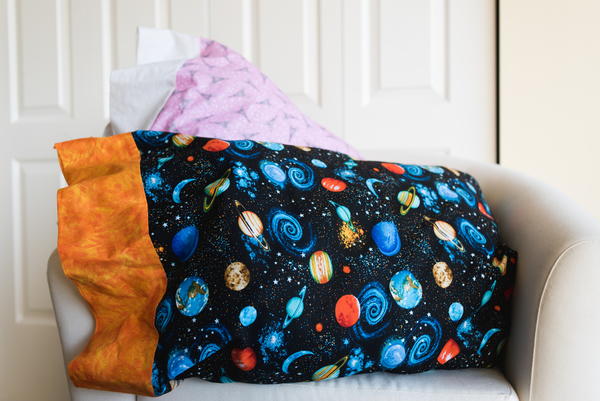
BONUS! Sewing Patterns for Pillowcases:
Variety is the spice of life. Now that you have seen the magic pillowcase instructions and learned how to sew a pillowcase like the one above, try some of these easy sewing patterns for pillowcases.
Some of these are for your bed, some for your couch, and some of these designs are left up to you as to where you want to put them!
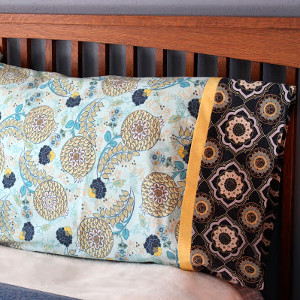
- Pillowcase with French Seams in Minutes: Shown below! Dressing up your bedroom can be a breeze. Make a Pillowcase with French Seams in Minutes by following this printable pattern.
- Simple Envelope Pillowcase Pattern: Maybe it's time to replace those old pillowcases of yours. Luckily, making pillow covers like this Simple Envelope Pillowcase Pattern is much cheaper and easier than you might expect.
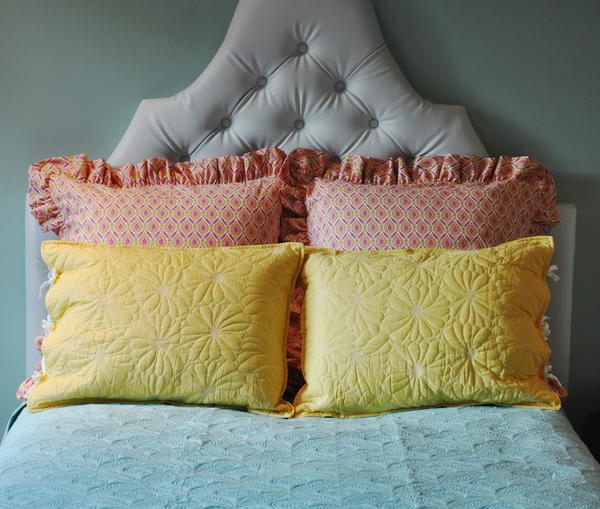
- Penthouse Pillow Sham Sewing Pattern: Shown below! This Penthouse Pillow Sham Sewing Pattern is a project fit for urban royalty. Use this free sewing pattern to bring a touch of sophistication to the piece of furniture you spend the most time with without breaking the bank.
- Tiny Toddler Pillowcases: These Tiny Toddler Pillowcases are perfect for kids that are in-between sizes. Smaller than regular pillows and bigger than pincushions, these inexpensive pillows can be bought for almost no money at any store.
- No-Sew Pillow Cover Video: With just a few basic materials and a few spare minutes of your time, you can create cute and crafty coverings that can be customized to fit your color scheme, or given away as gifts to your friends. With NO sewing!
- Hidden Zipper Free Pillowcase Pattern: Looking for a neat way to finish off your cushion covers? This tutorial provides instructions on how to add a zipper and enclose it for a beautiful end result. This is a more professional alternative to a regular envelope backing on cushions.
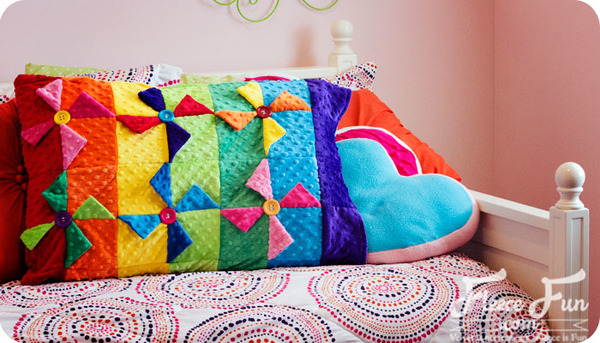
- How to Make a Pillowcase of Pinwheels: Shown below! If you are looking for a bright and cheerful way to add some cheery DIY home decor to your springtime or summertime home, look no further than this gorgeous and easy DIY pillowcase.
- The Magic Pillowcase: The Magic Pillowcase will serve all your pillow needs. This simple tutorial will show you how to make pillowcases fast, and easy.
- Love Knockoff Pillowcases: Create a charming and romantic look in your bedroom with Love Knockoff Pillowcases. Make decorative pillowcases with fabric paint, stencils, and ruffles galore.
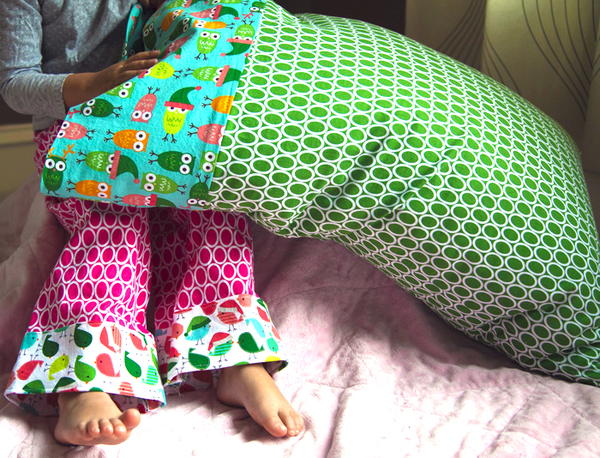
- Insanely Cute DIY Pillow Covers: Shown below! These Insanely Cute DIY Pillow Cases are indeed the cutest and easiest you'll ever see. If one of the kids needs their bedroom decor spiced up, these DIY pillow cases will do the job.
How many pillows do you sleep on?
Let us know in the comments!
Your Recently Viewed Projects
Michelle
Jun 26, 2020
Its mentioned in the video that demensioms would be added in comments but I dont see anything. What are the fabric lengths needed for this same design but king size? I am seeing varying information and want to make this exact one with the cuff and trim. Thanks!
FireFightersMoM
Jul 16, 2017
Thank you for such an easy to follow pattern. I am excited to start making these and donating them. As I was reading the pattern I thought of a few other great places to donate. People that are in the hospital for more than a couple days can you that little something to brighten the room. Call a local nursing home and get a head count and make up enough for each patient to open for a holiday.
Marilyn B
May 26, 2017
I just made two of these for my son's birthday but I added a one inch accent strip near the cuff. The French seams make for a nice clean finish and the finished project looks great! Pillowcases are always a welcome gift, my friend made one to help a sick boy in the hospital,with his favorite hero on it. Great instructions!
Cheryl E
May 15, 2017
This super easy pillow case tutorial is charming. With so many bright and cheery fabrics to choose from, and so quick to make, this is a great project for updating a bedroom dcor or for a kids sleep over. Only one yard of fabric total is needed. I am a great fan of quick and easy sewing projects like this one.
EditorLP
May 12, 2017
I'm not particularly great at sewing, but I think I could handle making this easy project! It's a great charity cause to sew for, and I'll probably make some for my bedroom afterward.
conleblanc 2842259
May 04, 2017
I really enjoyed your tutorial. I've made a couple for both of my grandson using Thomas The Train fabric and they love them. Your tutorial was very clear and easy to understand. I also would love to know what type of fabric should we use to make our own pillowcases when we want that nice soft feel? If we want to make them for "our" bedroom, what do you suggest?
Weberme
May 03, 2017
What! Where has this video been when I wanted to make pillowcases. This has got to be the best one I have ever seen. I am redoing two bedrooms including the bedding and cannot find what I want. I will be making some of these pillowcases. I love making my own things so I can get the colors I want. It even shows you how to sew the seams in a french seam so they look nice and will not fray. Also has a tutorial to go along with the video. What if you need a bigger size? Do you just need to make longer?
Grandma Barbara
May 02, 2017
You are an excellent instructor. I learned a lot watching your video. However, the video stopped and started every few seconds making it annoying. I am going to make some of these pillow cases.
EditorLP
May 12, 2017
Hi barwen! If you're having trouble with the video stopping and starting every few seconds, it can help to pause the video for a moment to let it "buffer" (load) before watching, especially if your internet connection isn't very fast. I hope that helps!
fidgeon118 0499471
May 01, 2017
In the video, it is mentioned that measurements would be provided in the comments for larger size pillowcases. Where are those measurements? Thanks for a great video!
Marilyn B
May 01, 2017
Super great instructions! This project can be modified to add extra bands of fabric to the cuff. I have seen this as a taco, burrito or jelly roll method. I plan on making these for gifts for my grown children in some sophisticated fabrics, but I am also going to look into the charity project! Pillowcases are always something people can use and is a lovely reminder of the maker, as I have four of them made for me by a dear friend in fabrics that she specifically chose for me, so I love it for sure! Thanks for this great tutorial and idea!
margiekins22
Apr 28, 2017
I'm not much of a sewer but I definitely want to try this out for a charity drive!
StartingOver
Apr 19, 2017
You are an excellent instructor. Clearly, you know what you're doing, but you manage to make the rest of us who aren't quite sure, feel really comfortable. I can't wait to make one for my son. Thank you ) Where do you prefer to buy your fabric? For gift pillows, I'd like a soft woven cotton. Any advice?
marygretticoakley 4765668
Apr 03, 2017
Once again your projects are beautiful,love the pillows especially the stars and planets.Thank you
Report Inappropriate Comment
Are you sure you would like to report this comment? It will be flagged for our moderators to take action.
Thank you for taking the time to improve the content on our site.

