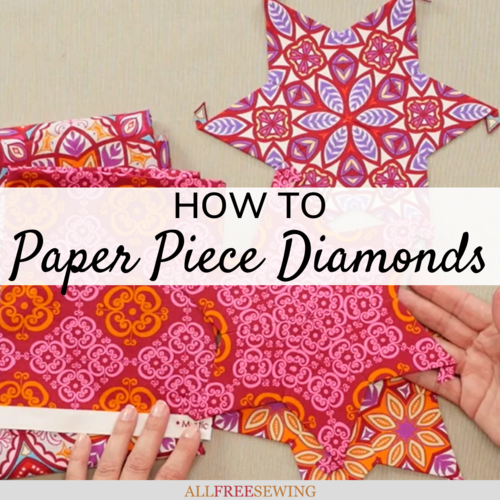
How to Paper Piece Diamonds
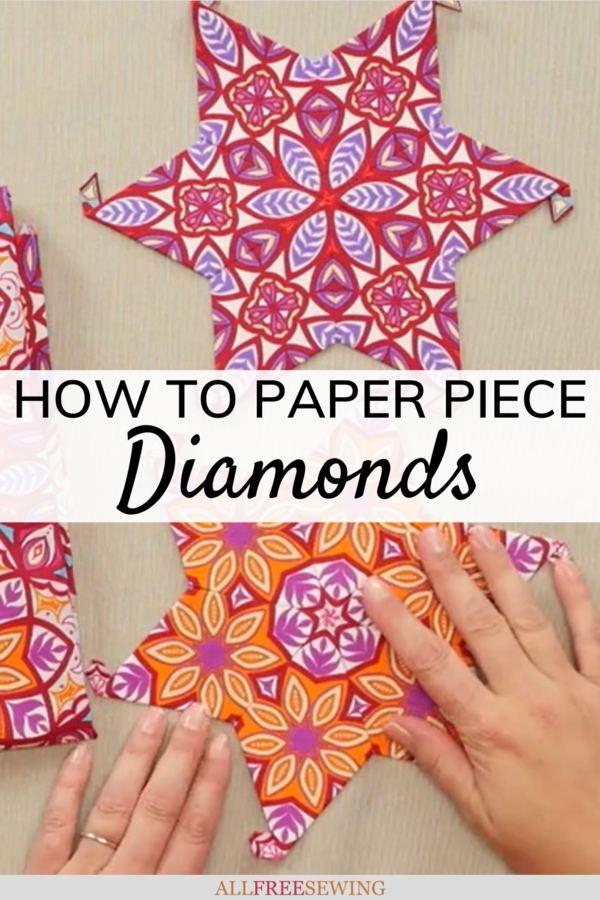
The English paper piecing technique is a must-learn for quilters. This tutorial walks you through the process for diamonds.
When it comes to making quilt patterns it is also about creating looks blocks that will look elegant and beautiful.
This How to Paper Piece Diamonds video tutorial is a must-watch for anyone starting in quilting, paper piecing, or both!
The paper piece diamond sewing technique is a fantastic method and this sewing video will show you how to get that perfect star shape. You wouldn't believe how easy this DIY quilt pattern is to make!
Whether you are new to sewing or have been sewing quilts for a long time, this quilting video shows you just how easy it is for you to achieve this pattern!
Plus, you can show off how great you are at making stars to all your friends.
By the way, if you're looking for a lesson on paper piecing hexagons, check out our tutorial here.
Sign Up For More Free Patterns >>>

Paper Piecing Diamonds Video Tutorial:
Attention visual learners! Watch this video before scrolling down to read our written and picture tutorial lower down on the page. Click the play button to watch the video right below.
How to Paper Piece Diamonds:
Project Type: Learn a Technique
Skill Level: Beginner
Time to Complete: Under an Hour
Sewn By: Hand
Materials List:
• Fabric
• Sharp fabric scissors
• Blue basting pen
• Water soluble marker
• Coordinating thread
• Needles
• Comfortable thimble
• Paper pieces
• For Fussy Cutting: ruler, card stock, pencil
How to English Paper Piece Diamonds Instructions:
- For Fussing Cutting: Make a template by tracing the diamond onto the cardstock.
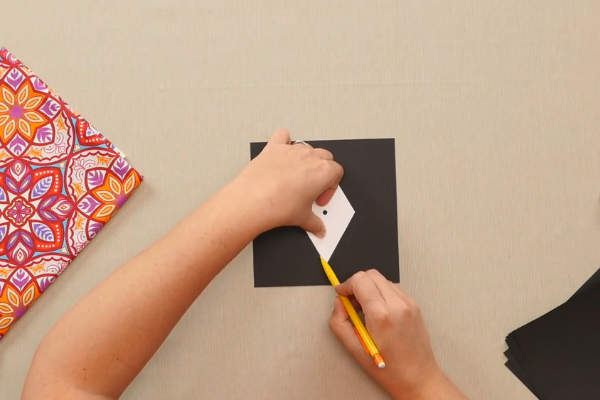
- Use the ruler to trace the seam allowance. This tutorial uses a 3/8-inch seam allowance.
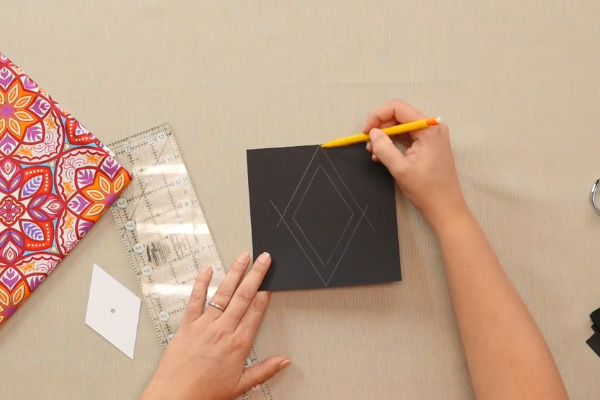
- Use paper scissors to cut around the edge and a craft knife to cut down the center. The template will look like the image shown below.
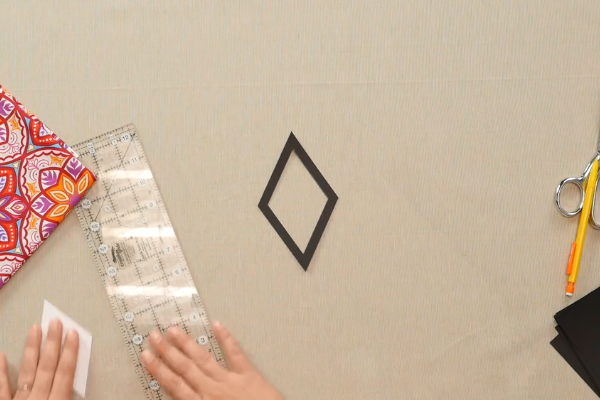
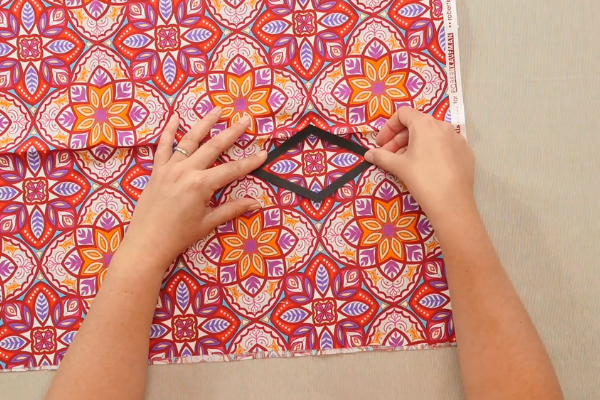
- Use the template to find the design you want to use on your fabric.
- Use your pencil to make registration marks on your template so you can line it up each time.
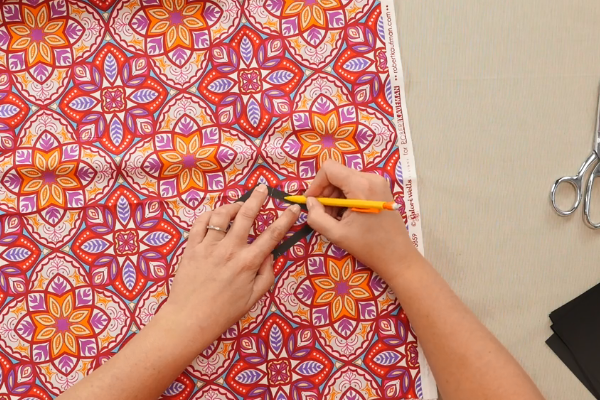
- Use your water-soluble pen to trace your template. For this tutorial, 6 diamonds are needed.
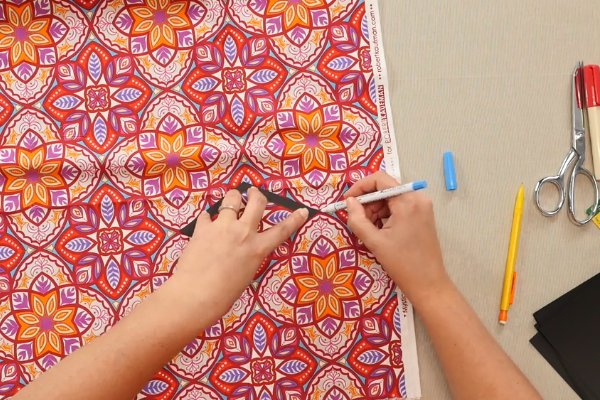
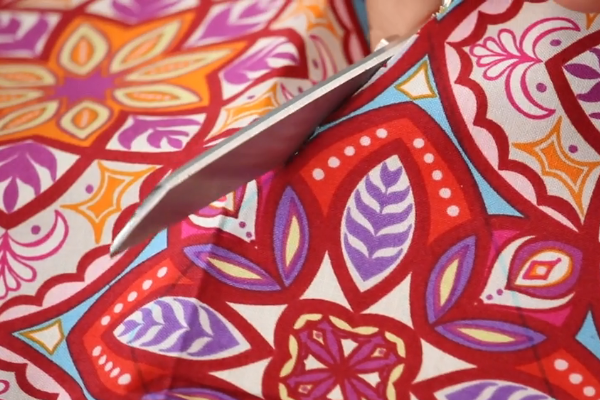
- Cut the fabric with your fabric scissors.
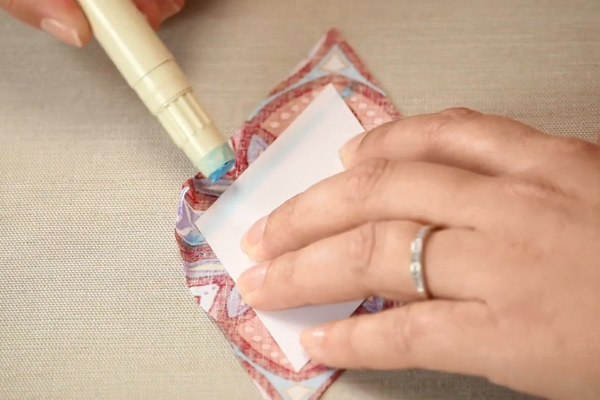
- After the pieces have been cut, glue them to the paper shapes using the basting pen.
Tip: Make sure your fabric has a little bit of tension but do not make it tight. You also do not want to put glue at the very edge of the paper because that will make it more difficult to sew later.
- Make sure the paper shapes line up and then put them together with the patterns facing each other.
Note: Do not trim the excess fabric from the diamond, just move it out of the way when sewing.
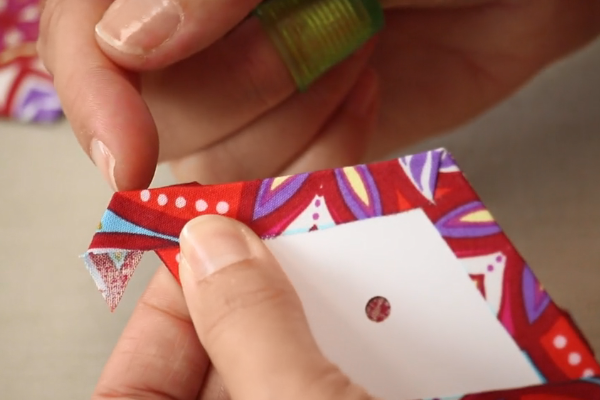
- Insert the thread from the seam allowance up. Stitch three stitches in place right at the tip.
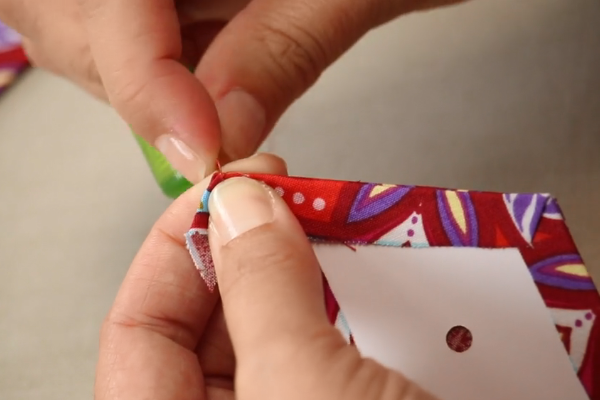
- Continue to stitch along the edges with stitches between 1/8 and 1/4-inch apart.
Tip: Do not go through the paper.
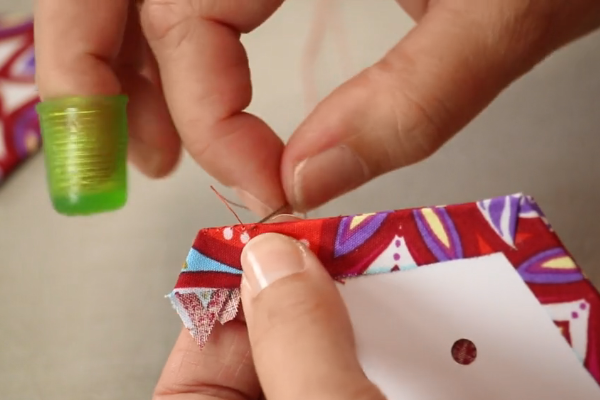
- Add three stitches in place at the end of your seam, bring it underneath the seam allowance, and cut the thread to bury it.
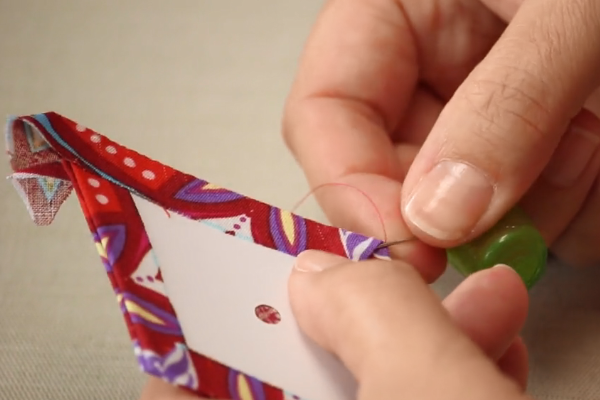
- Add a third diamond to create a half-star. Repeat this step to create two half-stars.
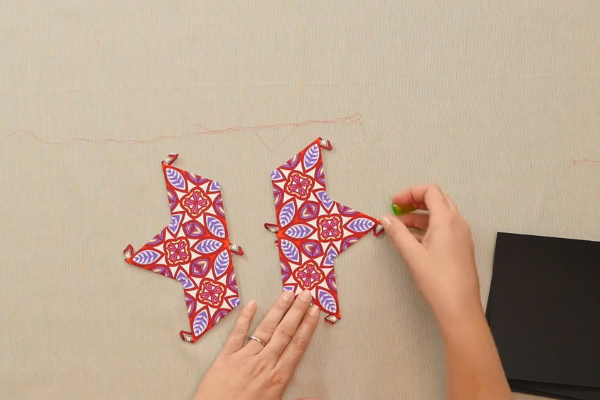
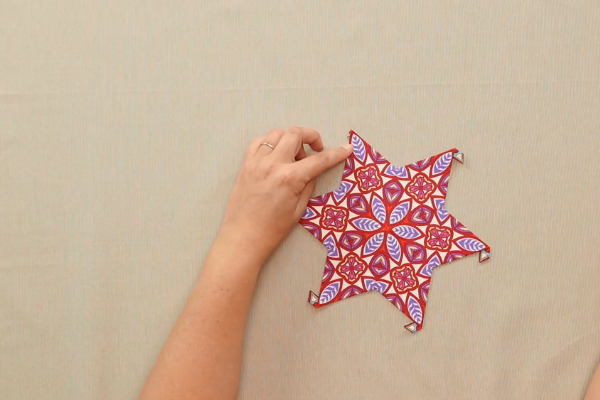
- Place the two half-stars' right sides together and stitch them together using the same method as above, starting in the middle.
Note: The shape will shift, so it's best to line up one side and stitch across and then line up the other and finish.
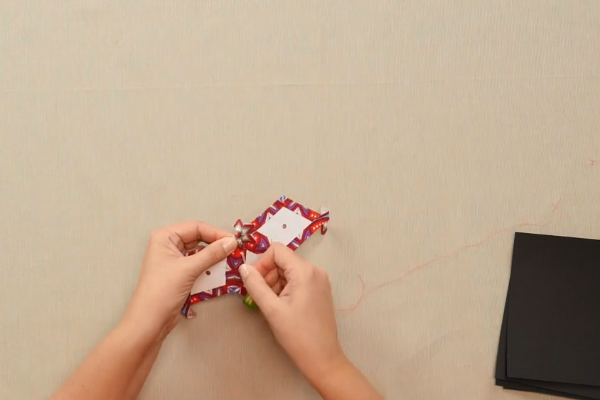
- Be sure to tuck in your dog ears at the points of your stars before you applique it down.
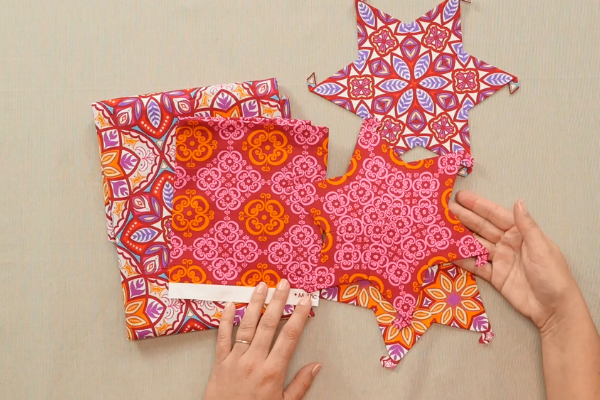
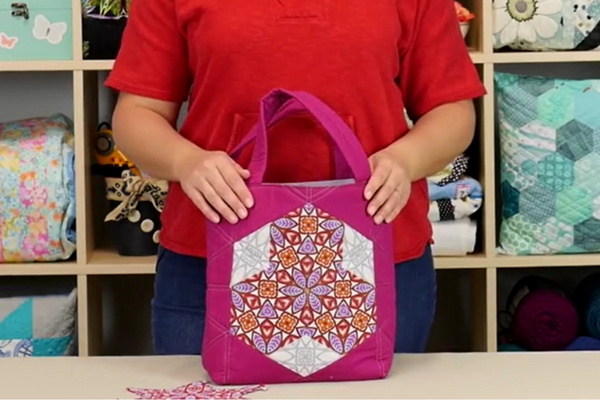
Tip: Experiment with different fabrics and cuts to create many distinctive designs. You can use these diamonds for quilts, bags, and more!
Pin This How to Paper Piece Diamonds Tutorial on Pinterest
Want More?
How to Square Up a Quilt Block >>
What is your favorite quilting technique?
Let us know in the comments!
Read NextDapper Free Throw Quilt Pattern

