Pretty Petals DIY Wall Clock
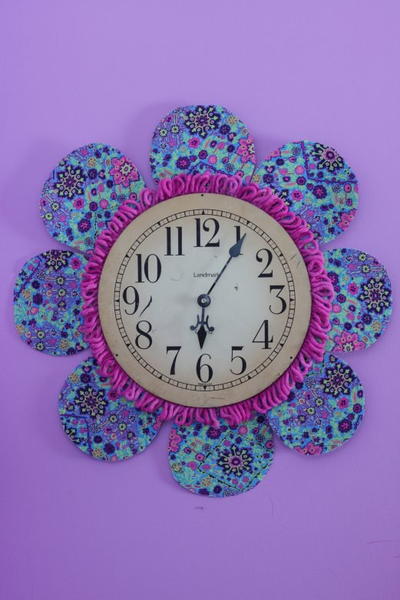
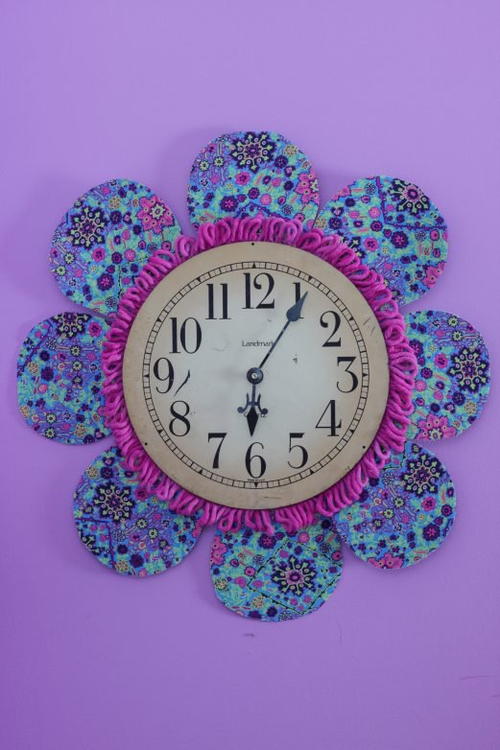
Create a fun and unique piece of decor for your daughter's bedroom with this Pretty Petals DIY Wall Clock from Fairfield. Inspired by pretty bohemian prints, this DIY wall art mixes fabric and yarn crafting, and is a budget-friendly way to decorate.
This simple wall clock is a project that all crafters will love to create, and is an easy way to give your daughter the boho bedroom of her dreams. Create a gorgeous piece of bedroom decor in vibrant shades of blue and purple with this sewing project for girls.
Click Here to check out even more sewing projects from Fairfield's Bohemian Bedroom Inspirations collection! They're a fun and whimsical way to get the designer bedroom look for less.
Project TypeMake a Project
Time to CompleteIn an evening
Sewn byBoth Hand and Machine

Materials List
- 1 YD Stiffen double sided fusible
- 1 YD Inner Vision (Marine) Soul Mate Fabric- Amy Butler
- 1 skein fuchsia yarn
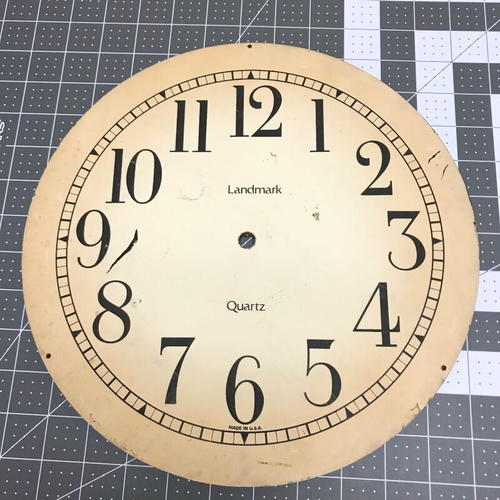
- 12” clock face vintage
- Clock movement kit with hands
- Fuchsia all purpose thread
- Fiskars scissors 8” razor edge
- Sewing machine
- Hot glue gun
- Iron
- Pencil
Looking for more fun sewing projects for kids? Don't miss this charming alpaca tuffet from Fairfield!Caya the Alpaca Tuffet
Making Your DIY Wall Clock
Step-by-Step Instructions
-
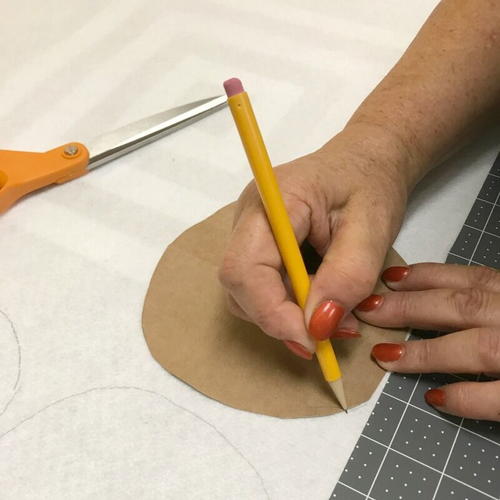
Download and print petal pattern (on Fairfield's site). Cut printed pattern out. Trace pattern on the Stiffen using a pencil. 8 petals are needed.
-
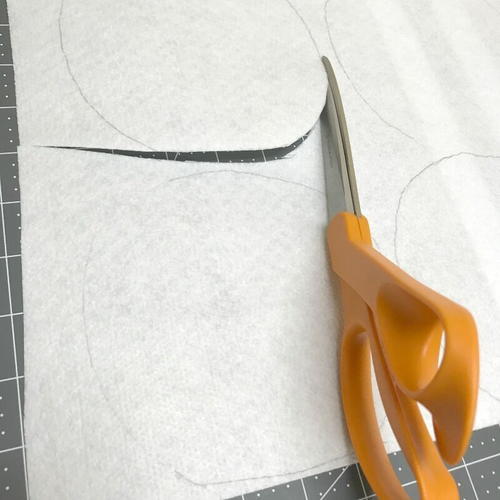
Cut all Stiffen petals out. (Adjust the petal count to accommodate larger or smaller clock face sizes).
-
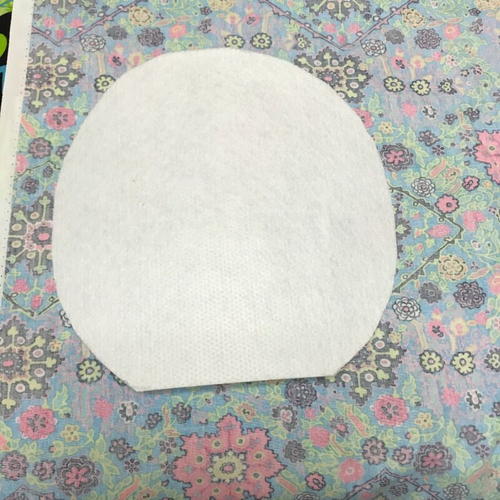
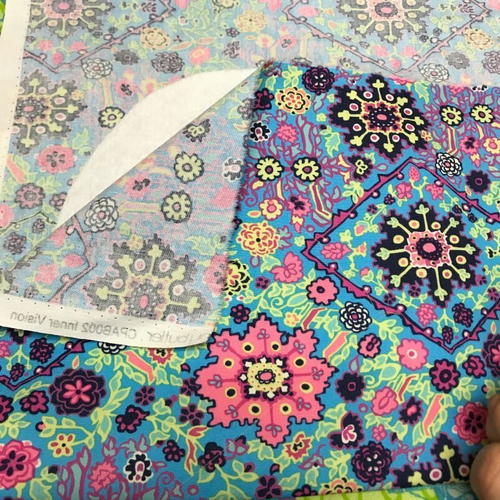
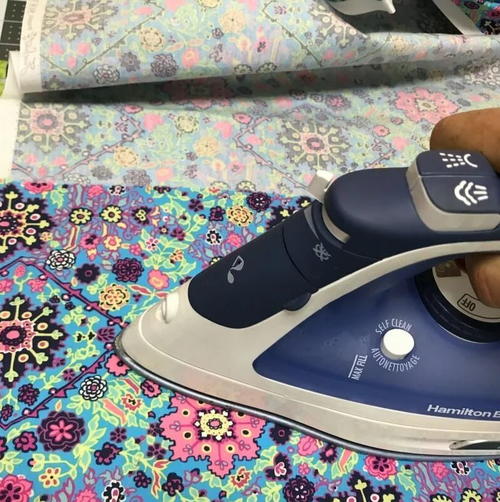
Place fabric print side down on a flat ironable surface. Place a Stiffen petal on top of the fabric.
-
Fold fabric over the Stiffen petal so Stiffen petal is sandwiched between the fabric.
-
Iron the fabric using a hot steam setting and move the iron slowly over the fabric to ensure fabric bonds to the Stiffen. Bond fabric to all 8 petals. Cut away excess fabric from petals. Set petals aside.
-
To make the loopy fringe, measure the circumference of the clock face to determine the length of loopy fringe needed.
-
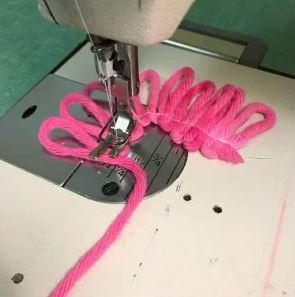
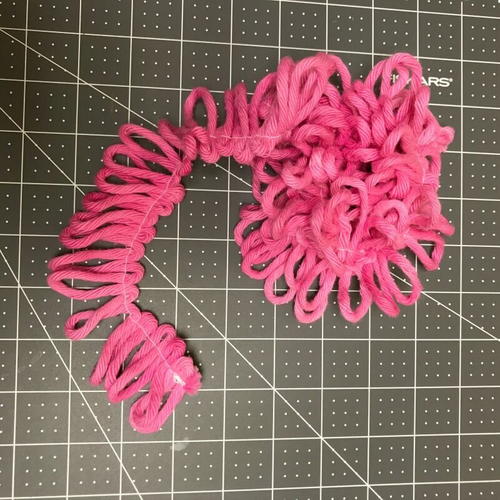
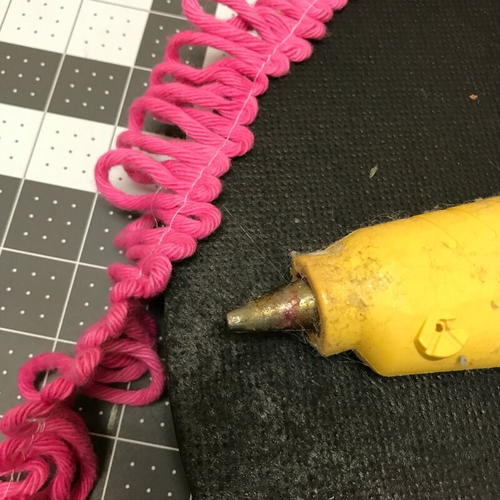
Working off the ball of fuchsia chunky yarn. Begin looping the yarn up and down. Loops should be 2” long. Stitch across the top of the loops to hold in place and create the loopy fringe trim.
-
Fringe trim length should be slightly longer than the measurement taken in Step 6.
-
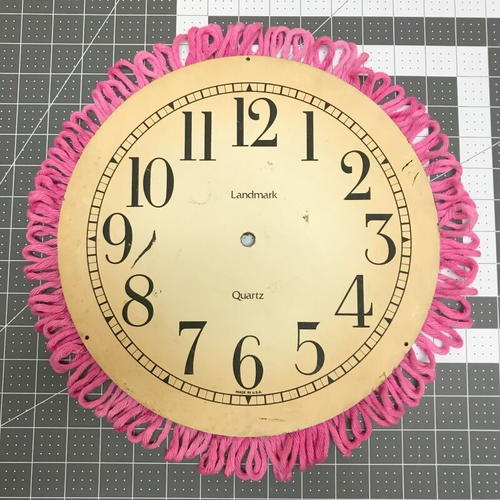
Hot glue the trim to the back edge of the clock face.
-
Fold, tuck, then hot glue loopy fringe edges in.
-
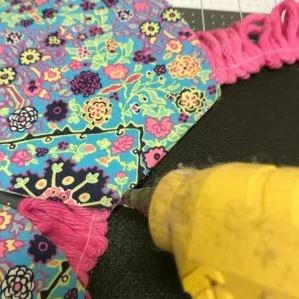
Hot glue the petals over the trim. Keep petals symmetrical by gluing one petal at 12, 3, 6 and 9 o’clock positions. Glue the remaining petals in between.
-
Attach clock mechanism following the package instructions. Add battery and hang.
What's your favorite style of home decor? Bohemian, elegant, or modern? Let us know below in the comments!
Read NextScrappy Owl PJ Holder


