How to Sew a French Knot
If you want to add intricate detail to your embroidery designs, learn how to do a French knot in embroidery.
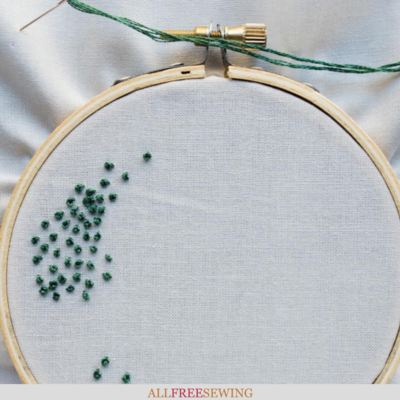
Looking like little bulbs of color across a fabric, French knots are a classic embroidery stitch, integral to fine detailing and surface texture. This stitch can be used to apply intricate detail to a design, such as the eyes of a character or the sunny center of a flower.
For an abstract design, the French knot can be used to make polka dots across a fabric. If you want to channel your inner-Georges Seurat, you can even use the French knot to make a pointillistic design in your embroidery. In this type of pattern, many knots of different colors are sewn such that when you look at the design from far away, an image appears.
The versatility and sophistication of the French knot have made it a staple embroidery stitch for centuries. However, it can be tricky to do without the proper guidance. Though it may seem impossible to master the technique of French knots, have to fear! This guide will show you how to become a French knot pro in eight simple steps.
Sign Up For More Free Patterns >>>
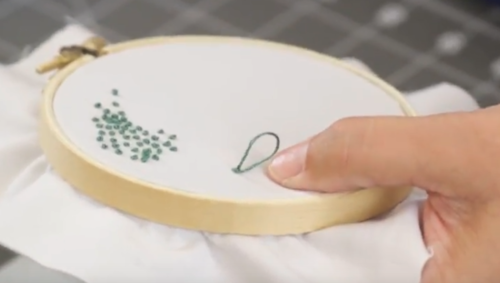
Watch the French knot video above and follow along with these instructions and tips below to master this embroidery basic that will help you add decorative touches to your sewing pieces.
Just starting out on your sewing adventures? While you learn about different embroidery stitches, you can compile a list of stunning and simple sewing projects for beginners with this free, downloadable eBook!Simple Sewing Projects: 16 Easy Sewing Projects for Beginners Free eBook
French Knot Instructions:
Materials
- Needle
- Embroidery floss
- Fabric
- Optional: embroidery hoop
-
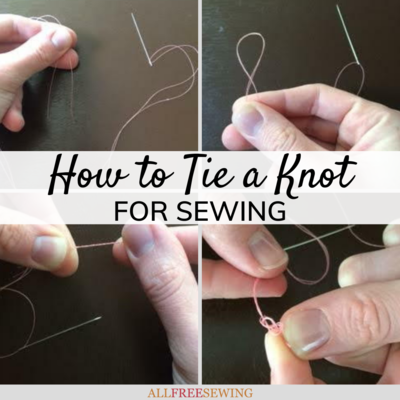
Thread your needle with the embroidery floss and tie in a knot at one end.
-
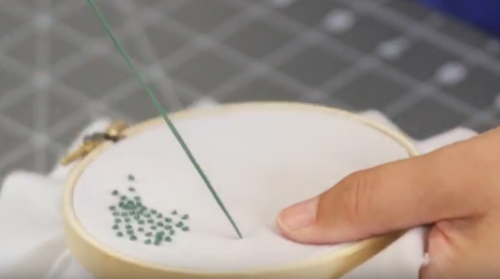
Push your needle from the back to the front of your fabric in the place you would like your French knot to be. Pull the thread through completely.
-
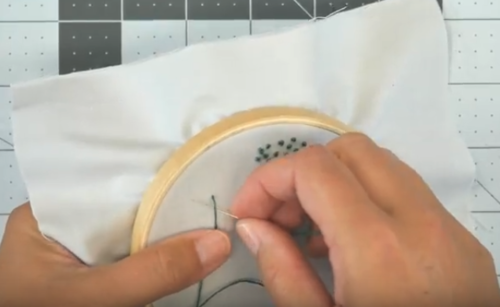
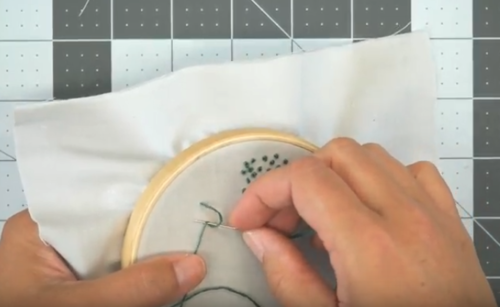
Hold the floss down against the fabric with your thumb, about a centimeter from your initial puncture. There should be a small loop of floss between the puncture and your thumb. Put the needle halfway underneath the loop of floss, but do not pull it through completely. The floss should touch the midpoint of the needle.
-
Pull the needle away from the original puncture so that the floss between the needle and the puncture is taut. The needle should be perpendicular to this length of thread.
-
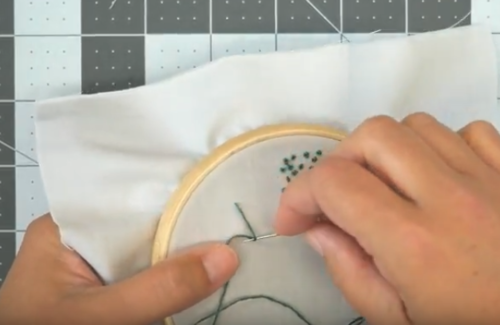
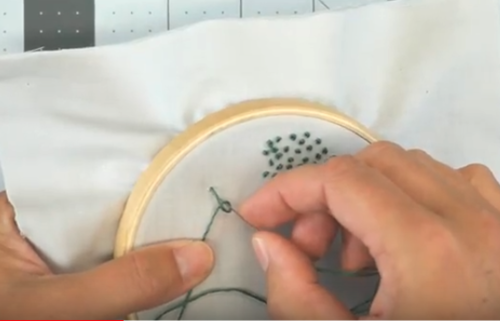
Twist the needle so that it can pass underneath the length of floss between your needle and your thumb. Moving from the right of the loop to the left, put your needle halfway through the underside of the floss. Do not pull the needle through completely.
-
With the floss still hooked around the needle, position the point of the needle near the original puncture mark. Press the needle halfway through the fabric, towards the back, leaving the loop of floss loose around it.
-
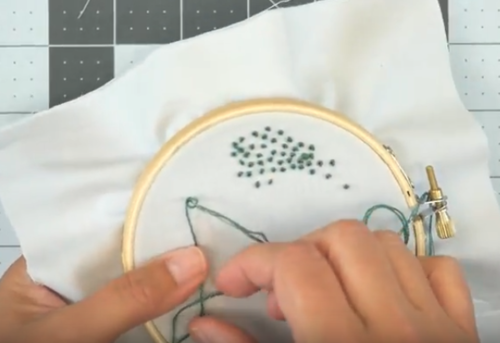
Pull the looped thread into a knot around the base of the needle so that it touches the front side of the fabric.
-
Pull the needle completely through the fabric.
-
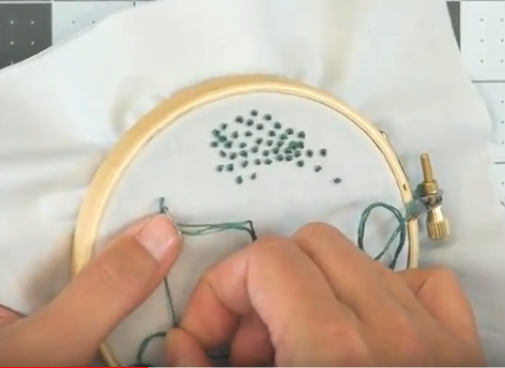
Repeat Steps 2-8 to make more knots.
French Knot Embroidery Projects and More Fun!
Now that you’re a certified French knot expert, it’s time to put your skill to work! Use your French knot in a premade pattern, or insert your own French knot accents to further embellish these embroidery projects. Swap out button eye detailing with an elegant French knot, or add a pointillistic background for extra color. You'll become an embroidery ace when you practice your new decorative stitch!
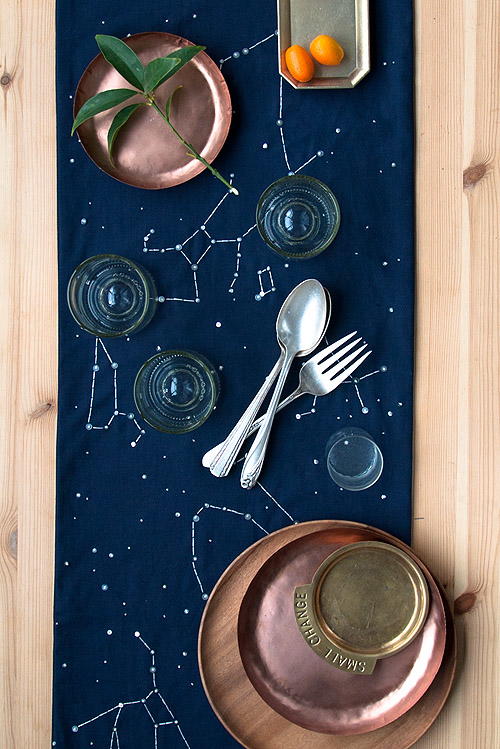
Bring a little cosmic flair to your dining spread with this French Dot Constellation Table Runner! With a French knot marking each of the major stars, you'll be connecting the dots all dinner long.
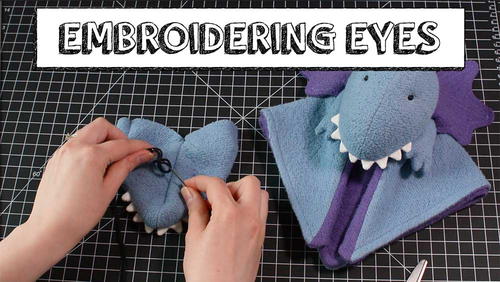
If you're a lover of stuffed animals or of kawaii embroidery designs, you'll love this short tutorial on sewing toys using a French knot stitch! Now each of your critters can have a beautiful set of eyes.
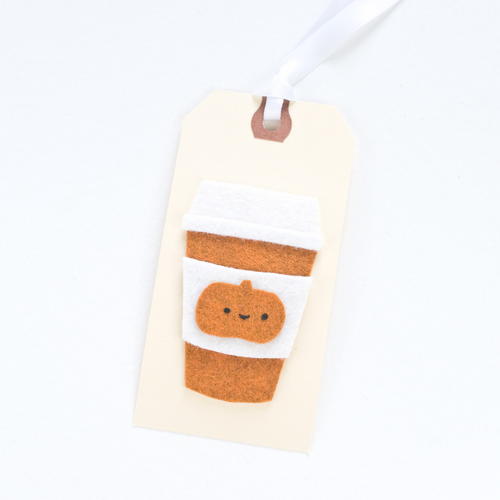
Whether this pumpkin spice applique is used as a gift tag or as embellishments for sewing accessories, it's guaranteed to be a crowd pleaser! You might even love this felt design more than PSLs.
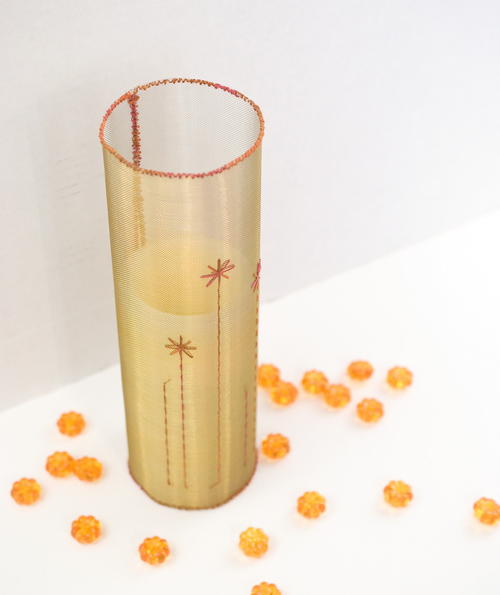
Give your home decor an embroidered glow-up with this DIY Mesh Candle Wrap. You can even use your new French knot sewing skill to add a polka dot pattern or a flower design! Super creative and pretty.
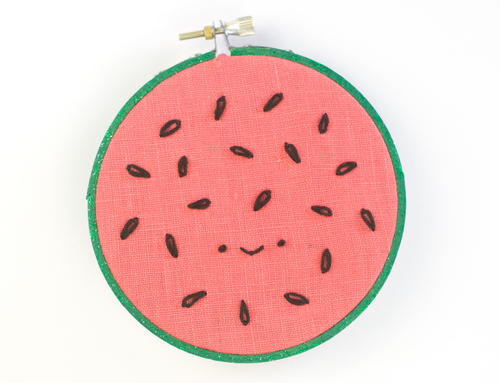
No one can be in a bad mood with this adorable wall decor! Summery, bright, and too cute to put in words, this Free Watermelon Embroidery Pattern is the perfect thing to test your French knot eyes on.
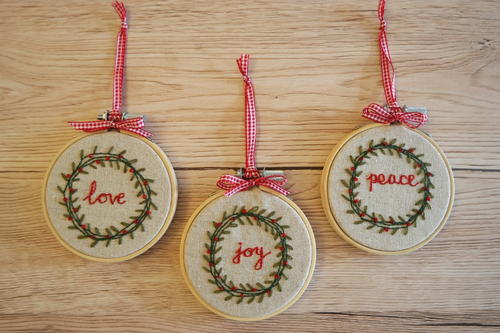
This Vintage Christmas Wreath Beaded and Embroidered Ornaments project combines lettering, embroidery and hand sewing, so its perfect if you want a nice little thing to work on that's not over-ambitious.
Read NextHow to End a Sewing Stitch
Your Recently Viewed Projects
Lynn K
Nov 28, 2018
I taught myself to make French Knots - from a typed instruction, without any pics so it's no wonder they've always looked a little crooked and sad. Following the wonderfully clear and illustrated instructions above, though, I have just made my first ever perfect French Knot, YAY!! A very good tutorial - thank you!
IreneMachine
Jul 01, 2018
I used to look at gorgeous pointillism embroidery designs and think that there was no way for me to make them. Who knew that you could make these textured stitches in literal seconds? SO simple!
Report Inappropriate Comment
Are you sure you would like to report this comment? It will be flagged for our moderators to take action.
Thank you for taking the time to improve the content on our site.

