How to Make a Sewing Pattern From an Existing Article of Clothing
Wondering how to make a pattern from existing shirt, dress, or other piece of clothing? This tutorial will show you!
I'm quite sure you know this feeling: once upon a time, you owned a gorgeous, store-bought garment that actually fitted perfectly. This is wonderful...
What's not so wonderful about it, is that after wearing it all the time, it reaches this point where you really cannot wear it any longer!
What to do?
It isn't always easy to find a pattern that matches the style lines and ease of the beloved garment! To make sure your new garment looks exactly like the old one, there is one perfect solution: copy the garment!
This tutorial shows you how to make a sewing pattern from an existing article of clothing without taking it apart.
Once I realized I could copy my favorite clothes, life got a whole lot better. It's a fantastic solution to avoid fitting problems, too, because the fit should be the same as what you already know you like. Let me show you exactly how to do it for yourself.
How to Make a Sewing Pattern From an Existing Article of Clothing
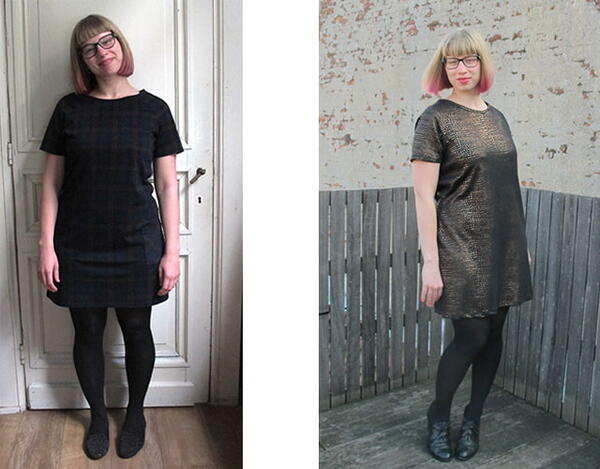
I'm showing you how you can trace your dress to make a copy but this technique can be used for shirts, pants, skirts, and many other pieces of clothing you have and want to replicate.
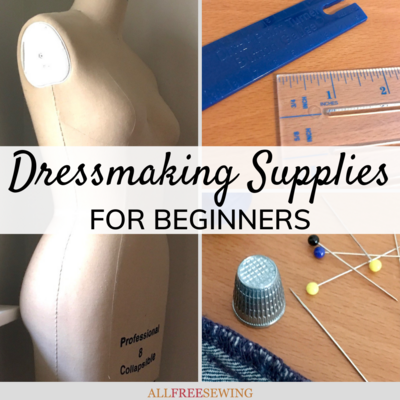
When it comes to making a sewing pattern from existing clothing, you only need a few items you probably have if you sew. A few things are optional, too.
Materials:
How to Copy a Garment:
- Place the piece of cardboard flat on the table (or on the ground if your table isn't big enough). Place a layer of pattern paper on top of the cardboard. Place your garment as flat as possible onto this surface.
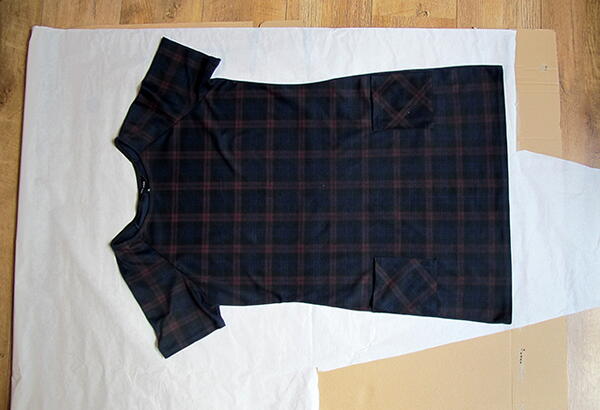
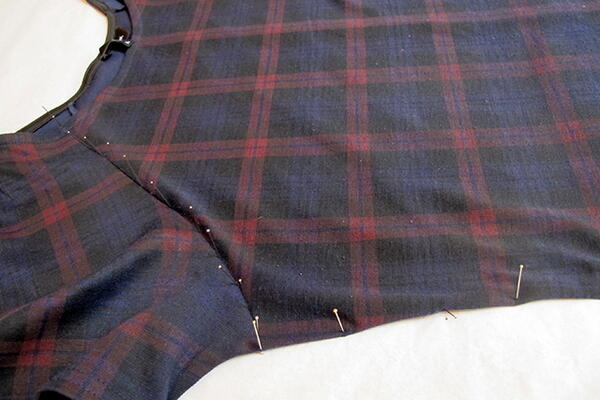
- Start by pinning one part (for example, the front piece) onto the cardboard, using pins. You pin straight through the seamlines. Make sure your pin goes through the garment, the pattern paper, and into your cardboard.
This is where a thimble or pins with a glass head come in handy. Trace the whole piece of this garment with pins. Don’t worry about the other parts yet, I'll get to those soon.
- Remove pins and garment from your pattern paper and put the garment aside. If everything went okay, you will find your pattern paper to be pierced. These holes are the holes made by your pins. They form the pattern piece.
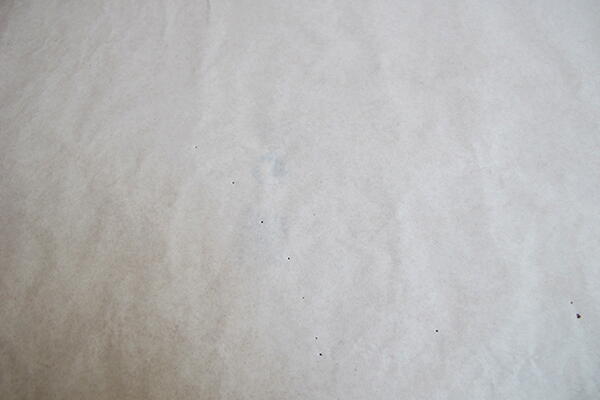
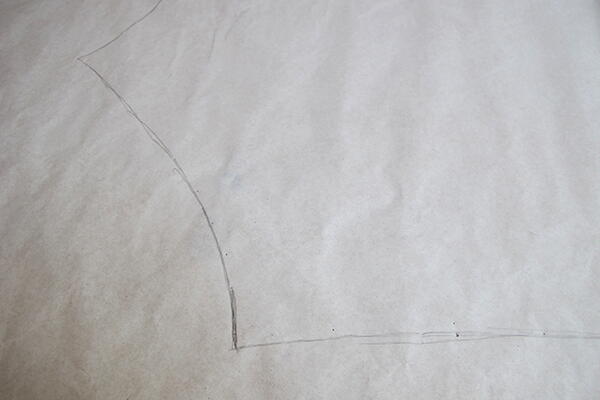
- Connect the dots! You can use a ruler or curve if necessary.
- Name your pattern piece and write down which garment it belongs to (for example, dress Hanne) Make sure you mark all seams, grainline, if the piece needs to be placed on the fold, and so on! Make sure you also add placement markings for pockets, darts...
If you prefer seam allowance on the pattern pieces, add those as well. Usually, it's about 1 cm – 1.5 cm for seams and 2 cm – 2.5 cm for hems.
Repeat this process for each part of the garment: front, back, collar, sleeves...
Below you can see my finished pattern pieces.
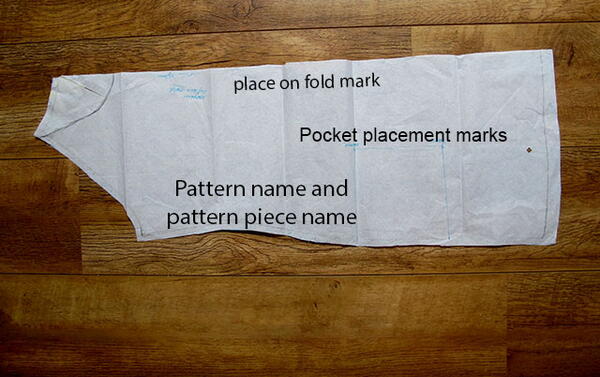
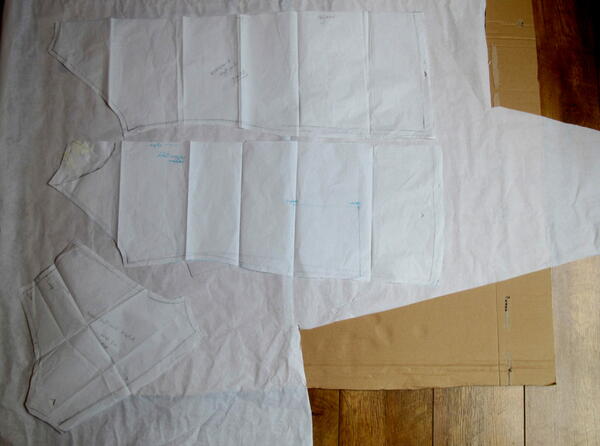
- You are ready to go ahead and cut out your fabric and sew up your garment!
Happy sewing!
