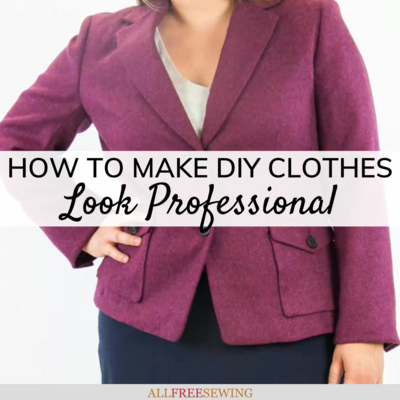
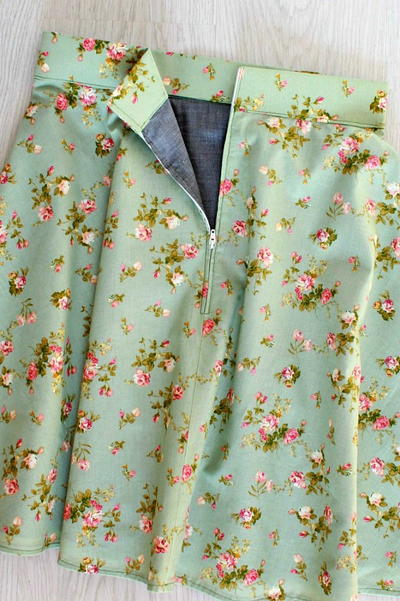
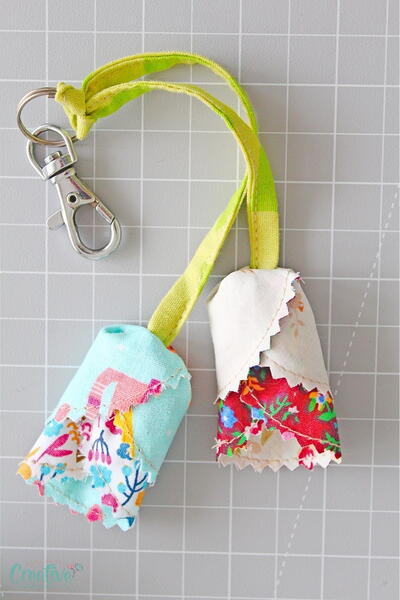
10 Tips for How to Make Homemade Clothes Look Professional
Learn how to sew professionally with these 10 tips for making clothes.
When you start looking into how to start sewing your own clothes, you will see a lot of tips on the basics and techniques you will need to know. However, it's less common to get professional sewing techniques that will assure your pieces come out perfectly.
On this page, How to Make Homemade Clothes Look Professional, you will find 10 important tips along with advice on going the extra mile to make what you sew up look like something purchased in a store. You don't have to be a professional sewist to make everything you make and wear look tailor or machine-made.
There’s nothing better than making a beautiful garment or accessory by hand and receiving compliments on your hard work. Homemade fashion and crafts don’t have to look unprofessional or dowdy- quite the opposite is actually true. Making your own clothes is a great way to look fashionable and stylish while still saving you time and money shopping.
With modern sewing machines and some old-fashioned patience, you’ll have people wondering where you purchased that beautiful piece! Let’s delve into some ways to achieve a polished look in your next wearable (or even decor) sewing project.
Sign Up For More Free Patterns >>>
PLUS! Jacket Alteration Video Tutorial
Have you ever wanted to alter your own suits? Our video series on jacket alterations will help walk you through the process. It's not as difficult and daunting as you think when you have a teacher who's as helpful as professional tailor Mary Beth. Give the first video a watch!
How to Make Homemade Clothes Look Professional
1. Use quality materials
You’ll get better results by using materials of high quality and good condition. This doesn’t mean that you have to spend top dollar on the most expensive fabrics and other materials!
To maintain a professional look, simply choose supplies that are perfect in texture and in the ideal color, with no visible damage or snags (before you’ve even used them in your crafting).
Additionally, purchase materials that seem like they will stay looking “fresh” after several uses and years. Even if you’re only wearing or using the project once or twice, higher quality materials will still keep it from tearing or falling apart at your event.
Extra Tip: If you’re a bargain shopper you can often find premium fabrics and notions at great prices, both in stores and online.
2. Double-check your measurements
Another way to ensure your sewing endeavor looks polished is to double-check all the measurements before the final steps. It’s really easy to get mixed up when making and using a pattern or even approximating measurements.
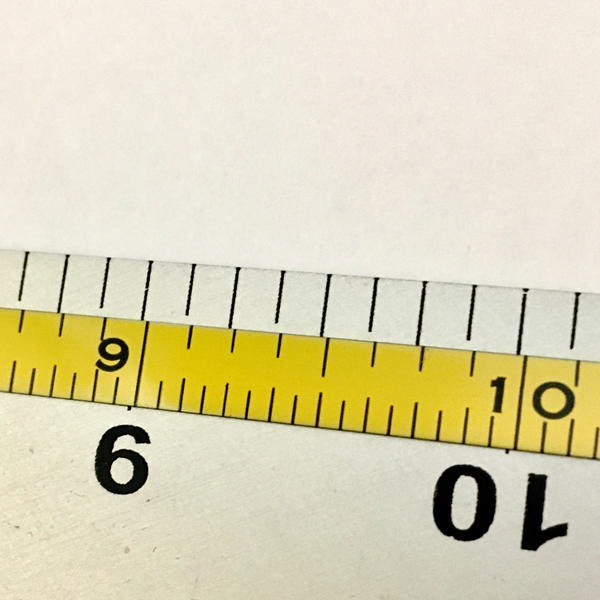
You should even check your ruler to make sure it’s accurate as they can sometimes be off by several millimeters or fractions of an inch if printed incorrectly.
3. Know your tools
"Take the time to get to know your sewing machine. I know how hard it can be to jump into making all the projects you're excited about, but you'll save so much time in the long run and be more proud of your creations in the end.
No matter how well the pattern pieces are cut or how easy the instructions are to follow along, your project won't turn out it's absolute best if your sewing machine isn't set to the correct settings or you aren't using the correct needle for the fabric. I've learned this the hard way!
Also, give yourself grace. We all get frustrated working on projects sometimes but that doesn't mean you have to quit. Make friends with your seam ripper and take breaks if you're getting frustrated but it will be SO worth it in the end." — Lisa, Creative Fashion Blog
4. Make a prototype or sample
Creating a sample before the final version is another way to add a professional look to your sewing projects. Known as a “toile” in the fashion world, a sample made from a less expensive fabric can help you work out any errors before using your fancier material. Try to use a similar weight fabric in order to get a similar result for your final version.
5. Use embellishments
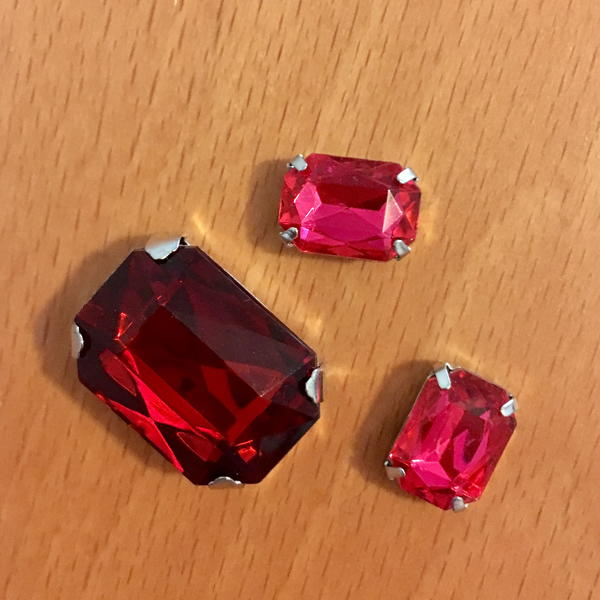
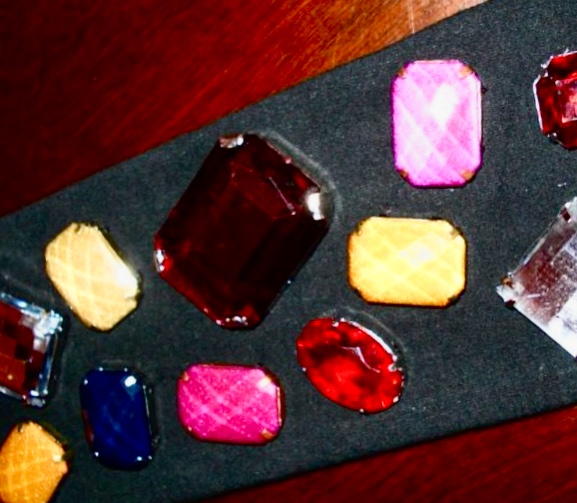
Adding embellishments like sequins, beads, embroidery, and more will take your homemade sewing project to the next level. Just like on fancy designer clothing and accessories you see in a boutique, sewn-on "bling" that’s applied thoughtfully can make an item look like it was professionally made by the finest craftspeople. Shop around for affordable yet impressive-looking adornments and notions for your projects.
6. Take your time
Try to avoid rushing your sewing project (unless you have no choice). Rushing almost always leads to mistakes that are totally preventable but can take hours to fix.
For example, you could damage your fabric if you’re cutting it too quickly, or you could mix up pieces and connect them the wrong way. Work methodically but not at a frantic pace for the most professional results.
Extra Tip: If you keep making frustrating mistakes on your sewing project, put it down and take a break for a while. Go for a walk or listen to your favorite song. You can then come back refreshed and ready to sew more effectively.
7. Make sure the finishing is perfect
From your top stitching to your sequins to the attachment of your buttons, the visible finishes of your garment or project can make or break its professionalism.
For example, any decorative threads should be even and sewn with care. These little details make a huge difference and can make your handmade item "wow" everyone!
"The most important thing for me to have great and professional-looking results is investing in learning and practicing the basic sewing skills. From installing a zipper to learning how to press your clothes properly. Always serge your edges or use lining.
Additionally, working in peace does so much better for our work at the end. When I begin to stress about my sewing, I take a step back and go for a walk or a drink around the house, then return and can totally see things more clearly.
If you are unsure of how a seam would end up looking, practice first with a scrap of fabric. Is better to throw away a scrap than your final project! Finally, enjoy yourself!" — Dafhtne, My Golden Thimble
8. Clean up loose threads
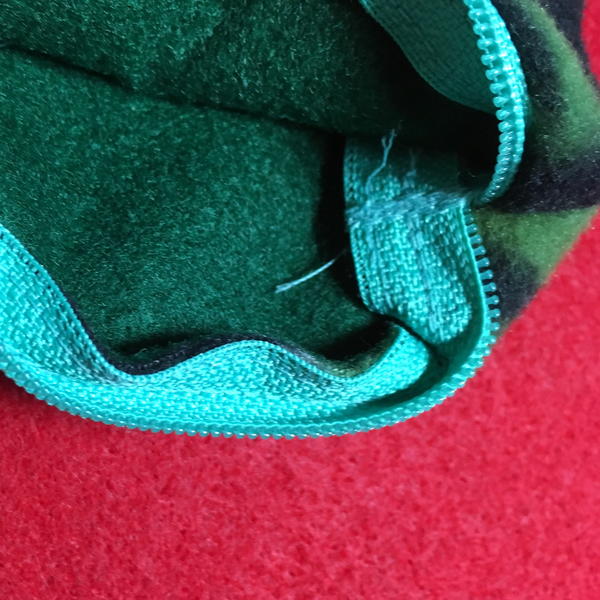
Trimming loose threads and other excess materials should also be an essential step in your process. Use a small pair of scissors and go over the entire garment or project before you’re finished.
This is also a great way to double-check for any mistakes or errors you’ve made along the way, allowing you to repair them before wearing or using your work.
9. Iron and press carefully
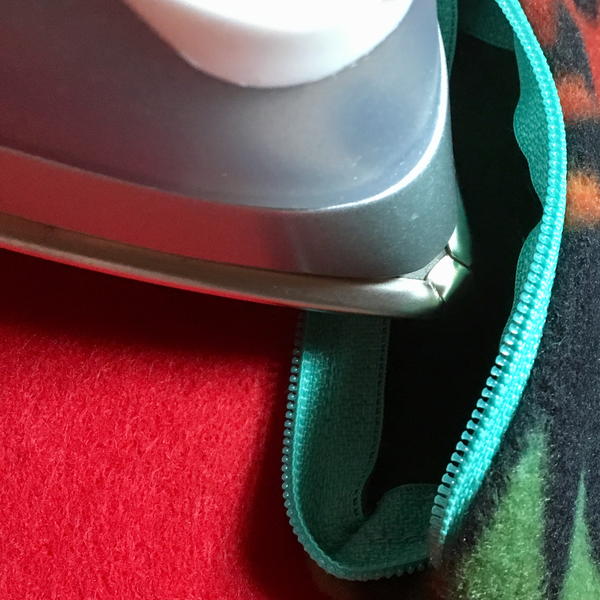
After you're finished trimming stray threads and checking over your garment, be sure to iron it to give it the final professional touch. This also applies to wearable accessories like wristlet pouches, scarves, etc.
It will allow seams and hems to flatten for a uniform look as well as take out any wrinkles in the material. Learning to iron correctly takes time and practice!
Most important is applying the correct pressure, temperature, and timing when pressing your material- or it may develop a shiny lamination or even be ruined. Using the correct ironing board and shapes (like a sleeve board) will also give you the best results.
10. Style it properly
Finally, your project should be properly styled with other items that are also of high quality. If you’ve spent so much time, money, and effort on creating a professional-looking garment you don’t want to mix it with less “polished” pieces. This includes non-clothing items as well, extending to home décor and other crafts.

Want More?
Learn how to make a sewing pattern >>
What other ways do you add a professional touch to your sewing?
Let us know in the comment section below!
Read NextHow to End a Sewing Stitch
Your Recently Viewed Projects
Report Inappropriate Comment
Are you sure you would like to report this comment? It will be flagged for our moderators to take action.
Thank you for taking the time to improve the content on our site.


