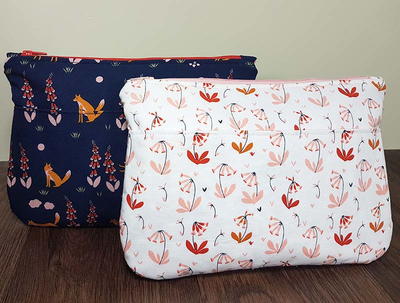
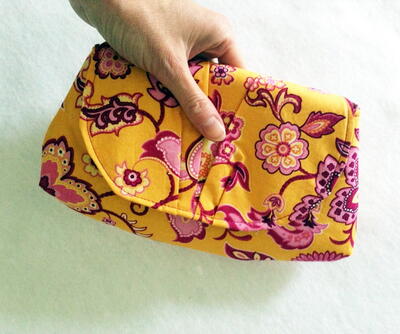
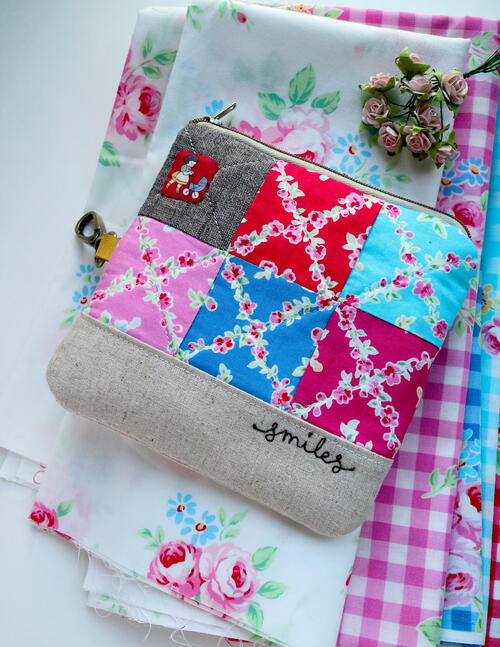
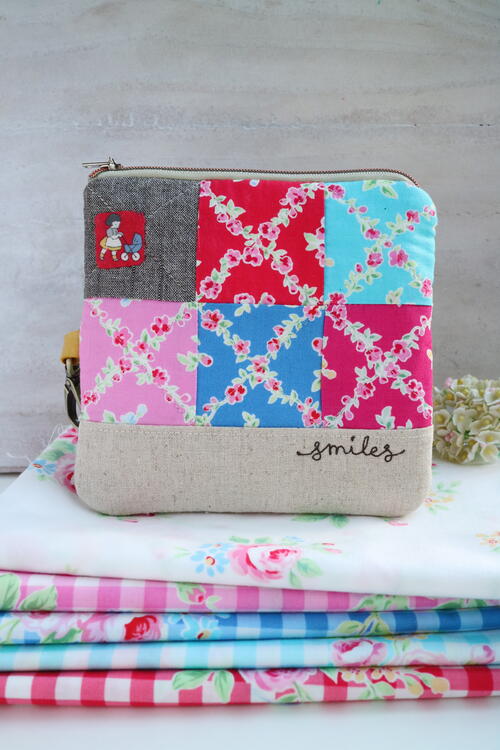
Patchwork Zipper Pouch

Have you got a bunch of lovely scraps of fabric, but no clue how to use them? Rather than tossing them out and letting them fill up a landfill, make this adorable little zipper pouch instead! This is also a great project if you have assorted prints that match up, such as in the example, if you want something that feels more intentional. This little stunner includes a bit of embroidery at the very bottom for a touch of whimsy.
FINISHED SIZE: 6” square
Measurements include 1/4” seam allowances. Sew with right sides together unless otherwise stated.
Primary TechniqueSewing

Materials List
- 6 squares of 2 1/2” assorted prints
- 2 - 6 /12” x 2” rectangle linen
- 1/8 yard of medium weight fusible batting
- 6” zipper
- 1/8 yard of lining fabric
- 1/8 yard of Fusible interfacing
- 2 - 1 1/2” squares of assorted prints
- Temporary marking pen
- Neutral thread, Dark brown thread
- 2” strap leather for tap
INSTRUCTIONS
Cut the following:
From lining, cut:
- 2 - 6 1/2” square
From medium weight fusible batting, cut:
- 2 - 6 1/2” square
From fusible interfacing, cut:
- 2 - 6 1/2” square
Pouch body
-
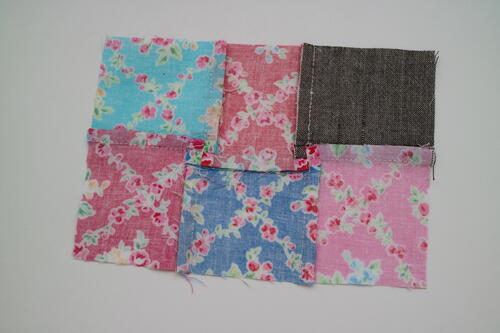
Referring to photo, lay out 3 squares in 2 rows and sew together.
-
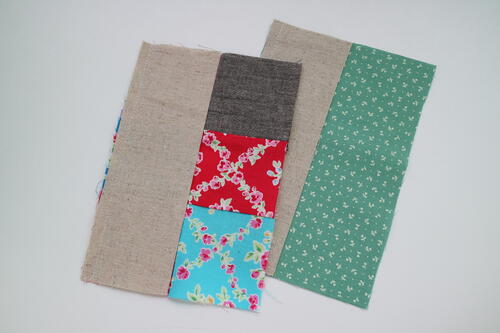
Sew 6 1/2” x 2” linen on step 1 matching the long edges. Sew 6 1/2” x 4 1/2” mint print and 6 1/2” x 2” linen together for the pouch back.
-
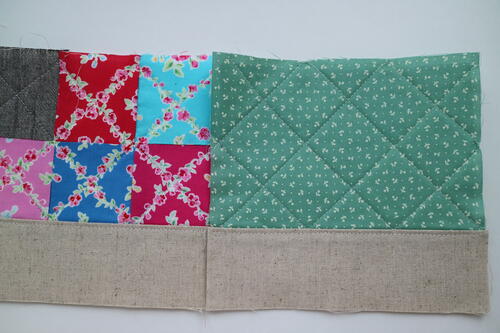
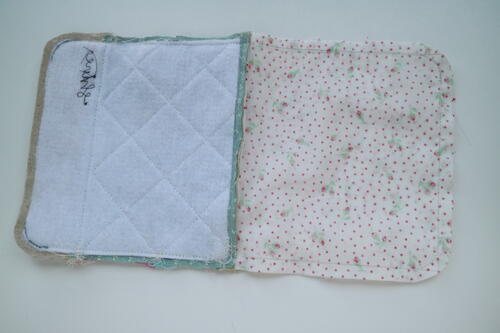
Fuse the fusible batting on the wrong sides of pouch front and back. Quilt as desired.
-
With dark thread, sew ‘smiles’ word on the linen side.
-
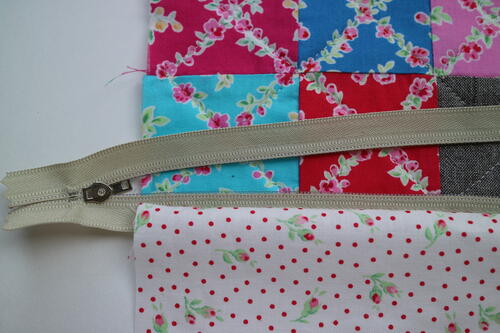
Attach the 6” zipper.
-
When attaching the zipper, place the lining under the pouch front and back, wrong side inside.
-
Referring to the photo, sew all the way, leaving 3” gap on the lining for turning. Insert the leather strap on one side before sewing the pouch sides.
-
Through the hole, turn right side out and press in shape.
-
Attach 1 1/2” square red print by hand for additional detail.

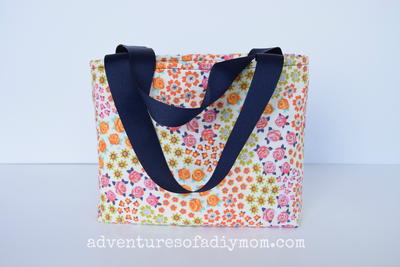
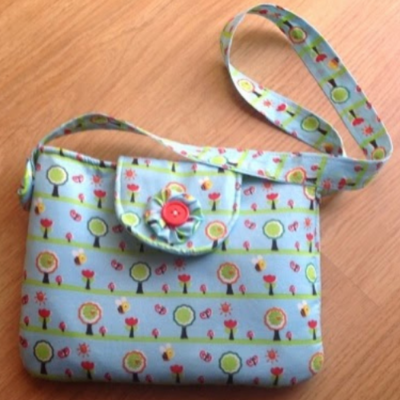
Read NextLittle Girl Purse with Flap