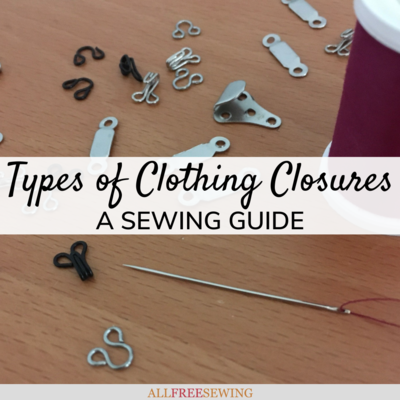
How to Sew a Two Hole Button
Learn how to sew on a 2-hole button for garments, bags, and more.

Learn how to sew on a button by hand with this tutorial. Sewing buttons is a simple skill to learn but many of us don't know we need it until one of our buttons falls off. Of course, whether you are a sewist or not, learning how to sew a button is vitally important when making any buttoned projects.
With this tutorial, How to Sew a Two Hole Button, you will be walked through the simple process of sewing a button that has two holes.
Looking for how to sew a one hole button? Click here for our shank button tutorial. For four-hole buttons, be sure to take a look at How to Sew a 4-Hole Button.
Below, you will find a written step-by-step tutorial for hand sewing buttons that have two holes. After that, there's a quick video tutorial that will visually walk you through the process.
Once you learn how to sew a button and how to make buttonholes, you will be all set for making your own closeable garments, adding closures on bags and purses, and more.
Sign Up For More Free Patterns >>
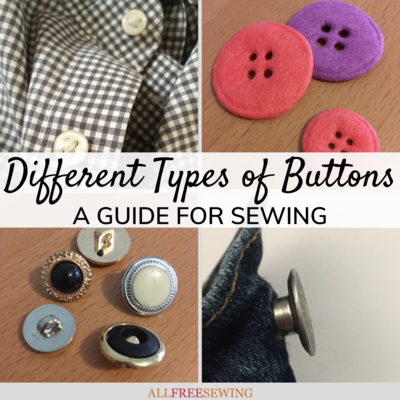
Materials Needed:
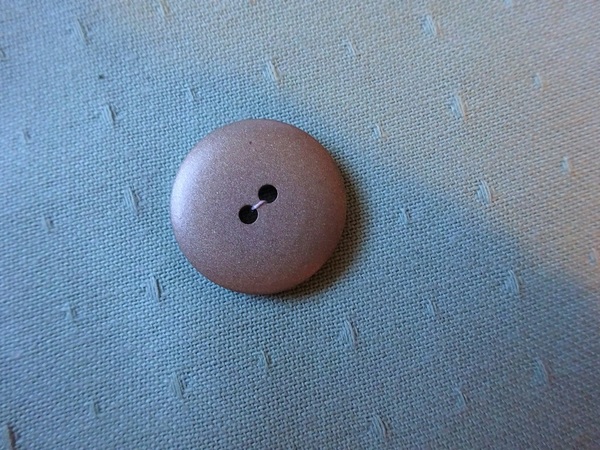
- 2-hole button
- Thread
- Needle
- Scissors
- Ruler (optional)
- Pin (optional)
Project Type: Learn a Technique
Time to Complete: Under an hour
Sewn by: Hand
Skill Level: Beginner
WATCH! Two-Hole Button Video Tutorial:
Click the play button on the video and watch our quick how-to on sewing 2 hole buttons. This quick walk-through will show you the movements. It's always easier to visualize when you can see it in action.
How to Sew a 2 Hole Button:
Learn how to replace a button or sew a button on a shirt, dress, or any light piece of fabric. This hand button sewing method is a simple way to sew a basic button, whether it has two holes or four holes.
We asked Remona from The Stitching Scientist for her best tip when hand sewing buttons. She says,
"I always use double-threaded needed when I sew buttons. It secures the button faster and stronger than a single-threaded needle."
This makes it stronger with less effort, which is always a plus in our book. You can double up the thread or use a heavier-weighted thread, too. It depends on what material you are sewing as well.
Once you start sewing buttons, you will see what works for you and with the fabrics you are sewing.
- Gather your materials.
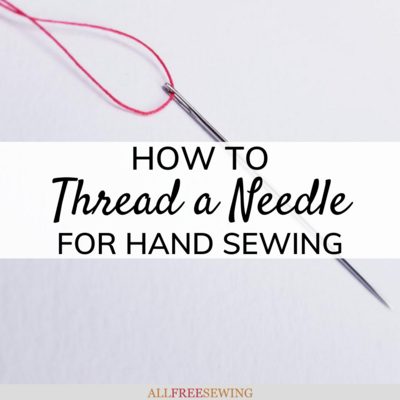
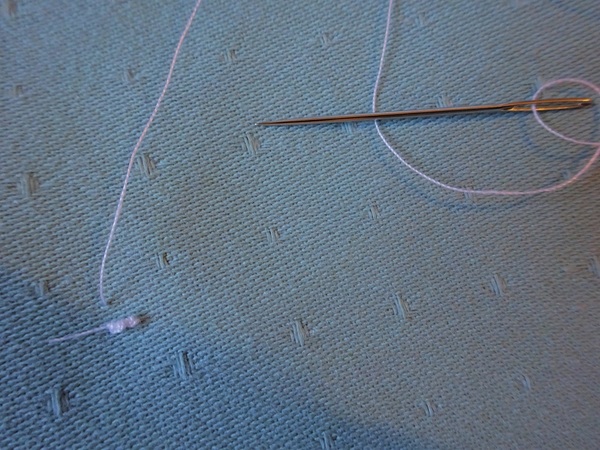
Thread your needle and tie a knot at the end. The length of your thread will vary on the size of your button but about 15-20 inches should be enough.
Notes:
Use strong thread or double the string so that it is stronger. You will want this button to hold! Always use a color that matches your fabric or a color that you want to be seen as it will be visible.
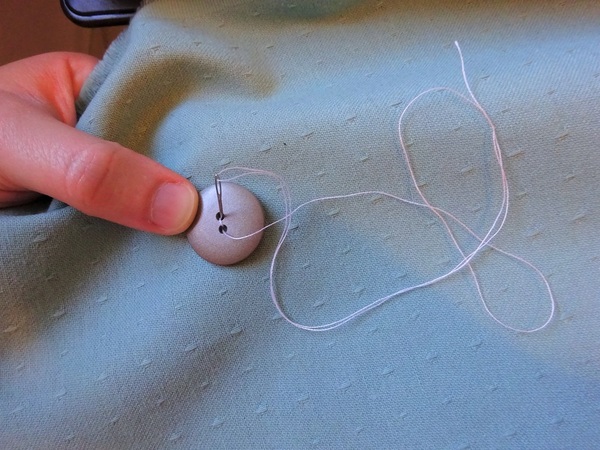
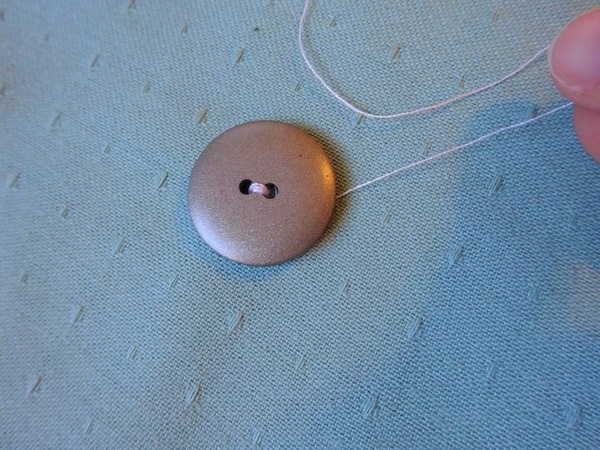
Adding a tail (as shown in image 2 below) will allow you to tie the thread once you finished, which helps create a more secure hold.


- Hold the button down on the fabric in the correct positioning. Use a ruler if needed to measure where the buttonhole on the corresponding side is or will be.
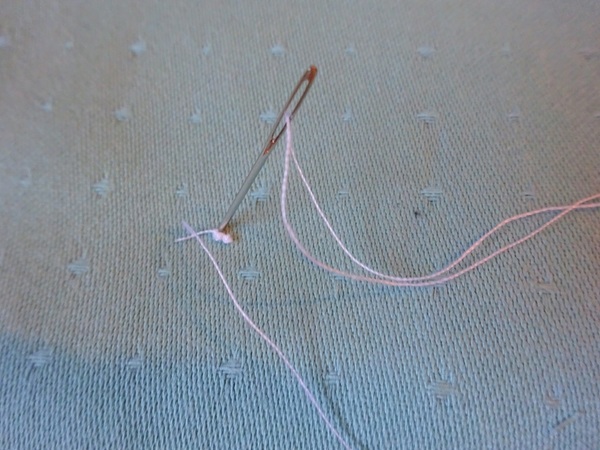
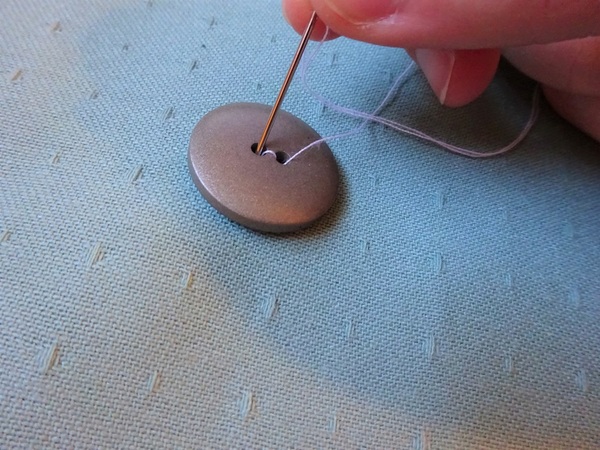
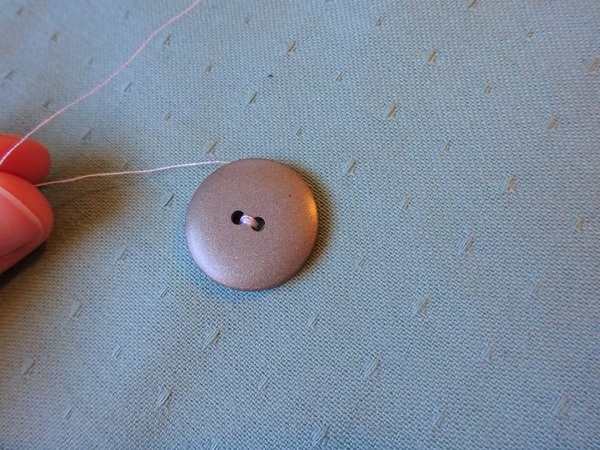
- While holding the button in place, push the threaded needle up through the back of one of the holes in your button. Pull until your knot/excess thread reaches the back of the fabric.

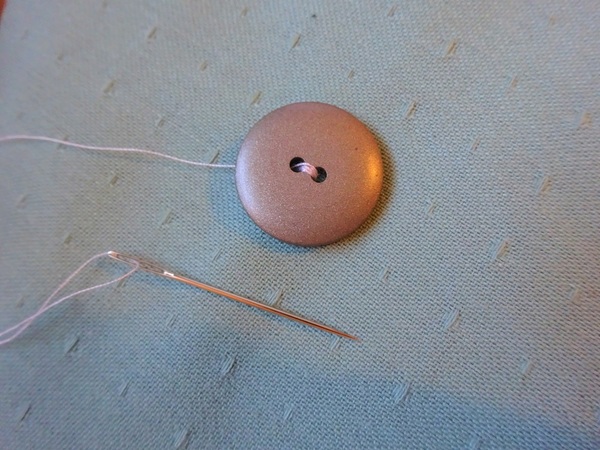
- Push the needle through the second hole from the front of the button through to the back. Do not pull tight but make sure that all of the excess thread has moved through.
Notes:
Remember, you want a little bit of extra space between the fabric and button so that it is functional. For reference, look at one of the shirts in your closet. This is more of an issue with 4-hole buttons but it's still important to remember when hand sewing buttons.
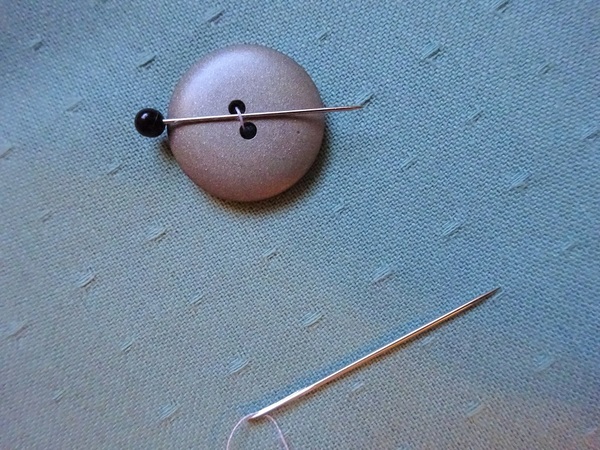
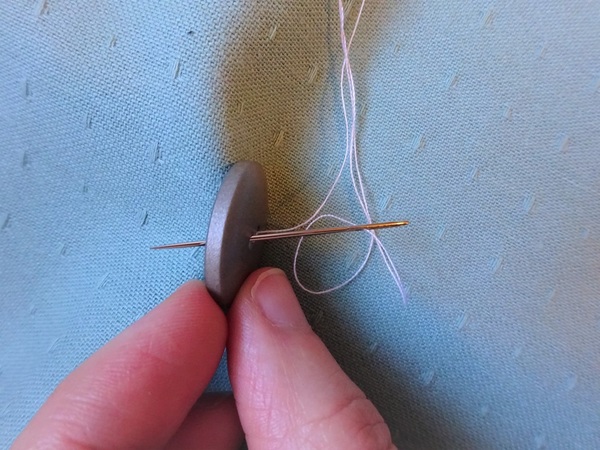
A trick to assure your thread is not pulled too taut is to place a pin or needle between the holes on the front of your button while making your first stitch through (image 3 below). Remove the pin when you are finished stitching.
- Push the threaded needle through the original hole from the back to the front once again.
- Push it through the other hole from the front to the back (this is a repeat process of steps 3 and 4 above).
- Repeat steps 3 and 4 one to two more times. You should be able to loosen your grip on the button after the second pass.
Try lightly pulling your button to determine if you have sewn enough thread through the two holes. If it seems like it is strong enough, move on to the next step. If not, continue sewing through the button holes until you are ready to finish.
- Optional: Remove the pin from the notes in step 4 if applicable. If you want some extra strength and space between the button and fabric, you can wrap the thread around the thread pieces that are under the button but above the fabric.
This means you will push the threaded needle through the second hole on the front of the button down but not through the fabric. Your needle will be in between the button and fabric.
Wrap the thread three to five times and then push the threaded needle down the center through the fabric to the back of your piece. This is referred to as a "shank" for your button.
- To finish, instead of going up through the hole as done previously, run the threaded needle horizontally through the back set of thread stitches two to three times in different directions to tighten.
You can also pull a little of the fabric through as well as an extra measure of security.

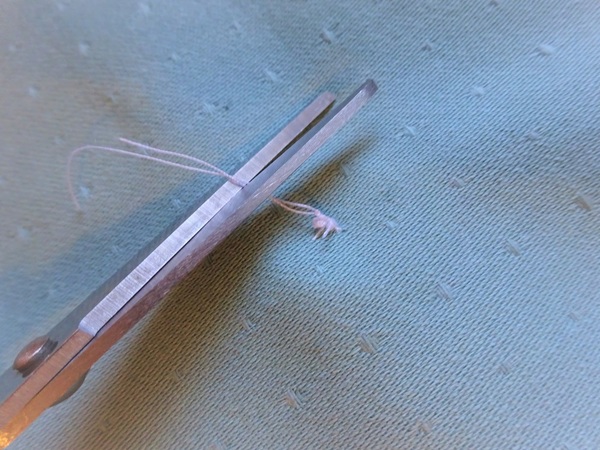
- Cut the thread with enough excess to tie and then take the two strand (or four if you doubled) and knot them together. Cut off the remaining extra thread.
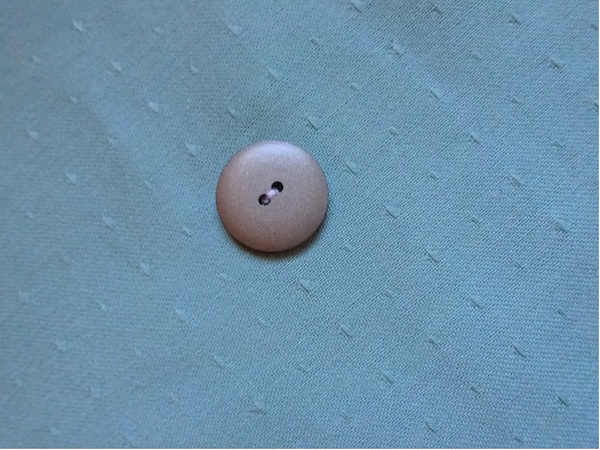
Your button is sewn!
Download the Two Button Sewing Infographic
Download our how to sew a two hole button infographic so that you have the steps ready when needed in one handy (and printable) graphic.

BONUS! How to Make a Buttonhole on a Sewing Machine
Learn how to create the perfect buttonhole with your sewing machine. This technique can intimidate even the most experienced sewists, but not with this tutorial. Our friend Angel walks you through the process with a video. Plus, we have the written instructions for non-visual learners. Click on the image or the red button below to view the video and written tutorials.

Want More?
Printable Sewing Cards for Kids >>
What is your favorite thing to sew?
Let us know in the comments!
Your Recently Viewed Projects
Thanks for your comment. Don't forget to share!
Weberme
Sep 30, 2018
I always sew my buttonholes way to tight and now I know why. I never knew to leave a little slack. I always pulled tight. I love the idea about putting a pin in the middle. I will do this the next time and I enjoyed the right way to sew the 2 and 4 hole buttons. # National Sewing Month
KLC
Jul 20, 2017
I lose a lot of buttons, so I have been sewing them back on for years. Though, it took a long time for me to figure out how to do it correctly.
Report Inappropriate Comment
Are you sure you would like to report this comment? It will be flagged for our moderators to take action.
Thank you for taking the time to improve the content on our site.