Winter Wool DIY Cape
Learn how to make a cape for winter with this beginner-friendly tutorial.

Are you looking for a trendy new sewing project to add to your winter wardrobe? Look no further!
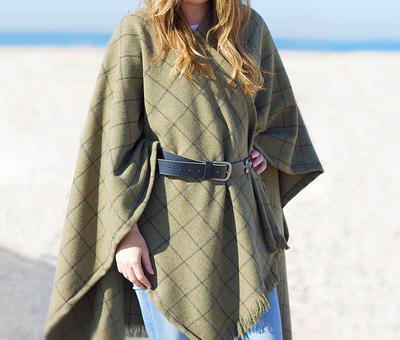
Try sewing this Winter Wool DIY Cape. This classic, vintage-inspired cape is a beginner sewing project that only takes half an hour of your time and uses only 1.5 to 2 yards of fabric.
This cape sewing tutorial that is inspired by trends in high fashion is sure to keep you stylish and warm as the days get colder.
So, if you've been hesitant to make your own DIY winter cape, this is the best one to start with.
Sign Up For More Free Patterns
Project TypeMake a Project
Time to CompleteUnder an hour
Sewn byMachine

Materials List
- Amplify® RazorEdge™ Serrated Fabric Shears (8")
- 1 ½ to 2 yards wool fabric
- Sewing machine and thread
- Pins
If you loved this DIY cape tutorial and are looking for more winter sewing projects, then check out these fleece sewing projects you'll want in winter.
>>Sewing with Fleece: 35 Free Patterns
Instructions:
-
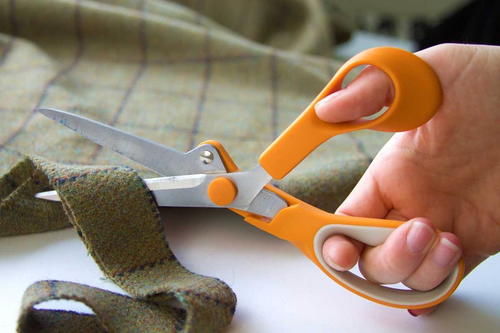
Trim the wool fabric to between 1½ yards to 2 yards in length using the 8” Amplify Fabric Shears. The amplify shears will be able to cut through several layers of fabric with ease, simplifying this task. Depending on your height, you will want to adjust the fabric length to be shorter or longer.
-
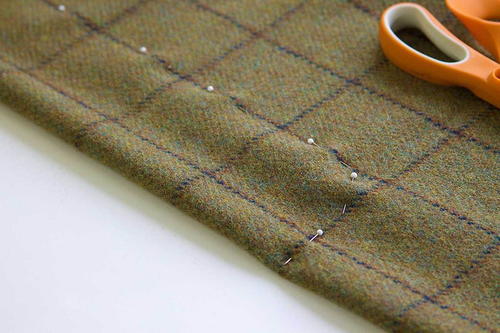
To create the neck opening, fold the wool in half lengthwise, so that the two finished ends meet. Find the center of the folded edge and place a pin at this point. Next, pin 3” away from the fold, through both layers of wool and at a slightly curved position. Pin in a straight line 3” away from the fold, all the way to one end of the fabric. Cut the wool along the pinned line.
-
To finish the neck opening, edge neatly. Open up the cape and fold the cut edge 1/2” to the wrong side and sew it down.
-
To fringe the two short ends of the cape, gently pull out individual threads in the weave of the fabric until the fringe reaches your desired length. If necessary, sew a straight line across the top of the fringe to prevent further fraying.


