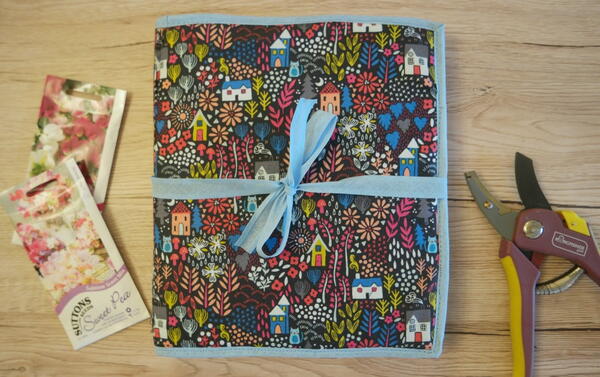
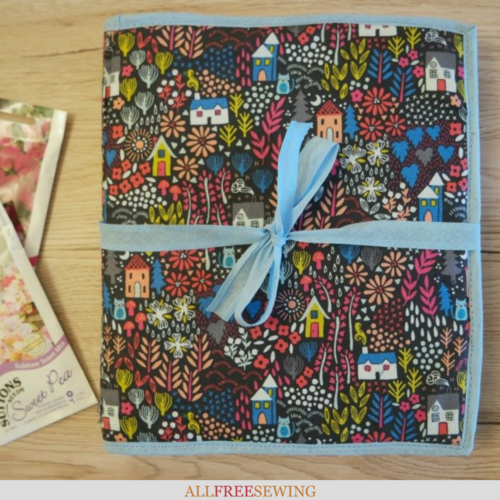
DIY Seed Packet Organizer (Free Sewing Pattern)
Make your own seed storage with this pretty and functional seed packet organizer sewing pattern.
If you have trouble remembering what you've planted, when and where, this DIY organizer helps to keep track of the flowers and vegetables you're growing.
This free sewing pattern is perfect for any gardener. There are pockets for seed packets, seed markers, a pen, and space for a notebook so you can write down anything else you need to remember.
There are 8 pockets, although you could adapt the design so that the finished organizer has more or fewer pockets. This DIY Seed Packet Organizer project is suitable for someone with intermediate sewing skills and can be completed in an evening.
If you don't garden yourself, then keep this awesome garden sewing pattern in mind for a loved one who is a green thumb. Anyone who plants, weeds, and spends a lot of time in their garden will love sorting and staying organized with this fabric holder.
The fabric used for this pattern is adorable but there are so many fabrics you could use for this that would be equally ideal. Floral, herb, or other nature-themed prints, or a geometric design would work, too. Get creative and have some fun with it.
Sign Up For More Free Patterns >>>
Seed Packet Organizer Sewing Pattern
This DIY seed organizer is a great way to stay organized and put a little more fun and excitement back into planting.

Organizer Materials
- 2 fat quarters in complementing colors/patterns (Fabric A and Fabric B)
- Bias binding
- Foam interfacing (such as Soft and Stable or Vlieseline)
- Sew in interfacing
- Sewing machine
- Scissors
- Rulers
- Other common sewing notions
Notes:
- When making the pockets, if you are using a directional print, divide the height measurement in half and add 1 cm (1/4 inch).
- Otherwise, a 1 cm (1/4 inch) seam allowance is included.
- Images follow steps.
Measure and Cut Fabric and Interfacing
From Fabric A cut:
2 rectangles 23 cm x 26 cm (9 inches x 10 inches)
2 rectangles 5 cm x 22 cm (2 inches x 8-1/2 inches)
1 rectangle 12 cm x 22 cm (4-3/4 inches x 8-1/2 inches)
From Fabric B cut:
2 rectangles 23 cm x 26 cm (9 inches x 10 inches)
4 rectangles 23 cm x 13 cm (9 inches x 5 inches)
From interfacing cut:
4 rectangles 23 cm x 6.5 cm (9 inches x 2-1/2 inches)
2 rectangles 5 cm x 11 cm (2 inches x 4-1/4 inches)
1 rectangle 12 cm x 11 cm (4-3/4 inches x 4-1/4 inches)
From foam interfacing cut:
2 rectangles 23 cm x 26 cm (9 inches x 10 inches)
Make the Seed Packet Pockets
- Take one of the long rectangles cut from Fabric B. Fold it in half lengthways with the wrong sides together. Slip a piece of interfacing inside.
- Cut a piece of bias binding a couple of cm longer than the long edge of the pocket. Open out the bias binding and pin one edge to the long raw edge of the pocket on the wrong side.
- Sew the bias binding to the pocket, keeping close to the fold.
- Fold the bias binding over the raw edge and pin to the right side of the pocket so that all the raw edges are enclosed. Topstitch the bias binding (see image below).
Repeat these steps with the other 3 long rectangles.
Make the Other Pockets
- Take one of the pocket pieces and fold it half widthways with the right sides together. Pin a piece of interfacing to one side.
- Sew along the sides and the bottom (see image below).
Then trim the seams and turn out.
- Cut a piece of bias binding slightly longer than the open edge of the pocket. Open out the bias binding and pin the edge to raw edge of the pocket, on the inside.
- Sew the bias binding to the pocket, keeping close to the fold.
- Fold the bias binding over the raw edge and topstitch in place.
Make the other pockets in the same way.
Sew the Seed Packet Pockets to the Lining
- Take one of the pockets and pin to one of the lining pieces so that the bottom of the pocket is 17 cm down from the top of the lining. Sew the bottom of the pocket the lining.
- Take the second pocket and pin it over the first one so that the top is 2.5 cm (1 inch) down from the top of the first pocket. Sew along the bottom.
- Repeat Step 2 with the third and fourth pockets.
- Find the center and sew down the middle of the pockets.
Sew the Other Pockets to the Lining
- Take the notebook pocket and pin it to the other lining section so that it is 2 cm (3/4-inch) in from the left-hand edge and the bottom. Sew along the sides and the bottom.
- Pin the other 2 pockets so that they are 2 cm (3/4-inch) up from the bottom and the right-hand side of the lining and 1 cm (1/4-inch) away from each other. Sew along the sides and the bottom.
Assemble the Seed Packet Organizer
- Pin the lining pieces together with the right sides together. Sew along the center. Trim the seam then press it open.
- Cut a piece of bias binding long enough to go around the organizer and tie in a bow. Fold it in half.
- Put the outer pieces with the right sides together. Sandwich them between the pieces of foam interfacing. Slip the bias binding in between the cotton pieces and pin. Sew the center seam. Trim and press open.
- Pin the sections of the organizer together with the wrong sides together. Cut a piece of bias binding long enough to go around the outside edge of the organizer, plus a couple of extra cm.
Open out the bias binding and pin one edge to the raw edge of the organizer on the inside. Sew the bias binding to the inside of the organizer.
- Fold the bias binding over the raw edges. Pin it to the outside so that the raw edges are enclosed. Topstitch all the way around.
All done. Fill with supplies!
BONUS! Garden Sewing Projects
Now that you have your lovely new seed packet organizer, we thought you might like to see a few more garden-related sewing patterns to try.
- Garden Bucket Tool Belt: This DIY gardening aid is a many-pocketed tool apron you can fasten around any bucket you use while gardening.
- Vertical DIY Herb Garden: Grow herbs nearly anywhere with this hanging herb garden. It's a fun and versatile project that you can keep indoors or out.
- Easy 10 Minute Garden Gloves: This Easy 10 Minute Garden Gloves sewing tutorial will show you how to turn an old sweatshirt into beautiful gloves for gardening.
- DIY Garden Apron: Shown below! This nice DIY apron pattern isn't just for the kitchen or garden. Protect your clothing doing any tasks in or out of the house.
- Quilted Garden Tote: Carry all of your gardening tools and necessities, like your seed packet organizer, in this useful Quilted Garden Tote.
- DIY Fabric Planter: Say goodbye to boring planters. This fun and creative planter is a great way to bring some color to any area of the home.
- Garden Arm Protectors: Make a pair of these arm protectors to save your arms from cuts and scratches when out in the garden.
- Upcycled Placemat Flower Holder: Shown below! Worry no more about carting your blooms from place to place with this ingenious recycled holder.


