Girl’s Ribbon Pillowcase Dress Tutorial
Learn how to sew a pillowcase dress in just four steps!

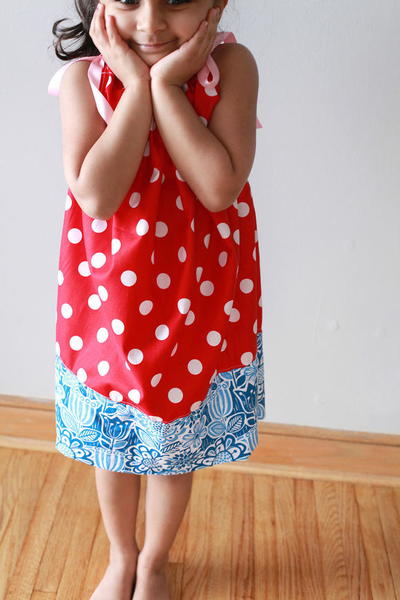
The pillowcase dress is the ultimate little girl's outfit. Loose enough to run around in and stylish enough to be the star of the playground, this dress style can't be beaten. This Girl’s Ribbon Pillowcase Dress Tutorial will show you how to make your own child's pillowcase dress in four simple steps! You can use one or two patterns for the main dress and its hem, so your daughter can add as much color to her outfit as she wants. The dress is fastened around the neck with a ribbon that ties into precious bows on both shoulders. Because it's fashioned after a pillowcase, this design won't take you hours to tailor, and your daughter will love the extra roominess. Just cut, sew, and go for a lovely dress your daughter won't want to take off!
Project TypeMake a Project
Time to CompleteIn an evening
Sewn byMachine

Materials List
- Fabric
- Ribbon
- Thread
- Sewing machine
- Pillowcase
- 10'' Fabric shears
- Cutting mat (18'' x 24'')
- Acrylic ruler
Now that your little girl is dressed to the nines, it's time to give your closet a similar update. With this free, downloadable eBook, 15 Sewing Patterns for Women's Dresses, you can look just as fabulous as your daughter with just a little bit of time at the sewing machine!15 Sewing Patterns for Women's Dresses Free eBook
Instructions
-
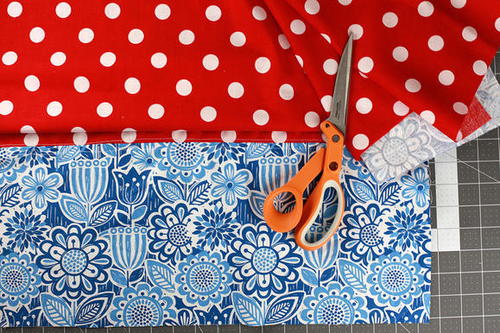
Fold fabric width-wise. Make sure that this width is at least 0.75 times your measured chest circumference. For the length, measure the required length and add seam allowances for the hem and ribbon casing at the neck. Using the 10'' fabric shears, cut the fabric to the required length. You can choose to patch two fabrics together for this pattern, or you can make an easier version by using just one fabric.
-
For the ribbon casing on the top, fold and iron a 1/4'' strip, fold and iron a larger width (slightly wider than the ribbon you are using) and sew in place.
-
Fold and iron the required hem at the bottom of the dress and sew in place. Sew the front and back of the dress right sides together. Turn inside out and iron in place.
-
Insert ribbons and your dress is ready!


