What Is Fusible Interfacing Used For?
Find out what fusible interfacing is, the types of interfacing, and all you need to know about how to use it in this simple guide.
If you've ever seen the word "fusible interfacing" during a sewing project and have felt confused, you're not alone. What is interfacing, and what makes it fusible? What types of interfacing are there? How do you use fusible interfacing?
These are some of the questions that many sewists face at the start of their sewing careers. However, there's no reason to fear. This simple explanatory guide will answer those questions and more so that you can carry on with your sewing escapades without missing a beat.
In this guide, you will learn three main things: What fusible interfacing is and what it is used for, the types of interfacing, and how to use fusible interfacing. Once you learn what it is, the purpose of interfacing, and how to use it, you will see how essential it is in certain sewing projects and you will wonder how you ever lived without it!
Armed with this knowledge, you'll be able to use fusible interfacing like a pro! Plus, we've added a few projects that use interfacing after this guide so you can put it to the test.
Sign Up For More Free Patterns >>>
Table of Contents
What Is Fusible Interfacing and What Is It Used For?
Types of Interfacing
How To Use Fusible Interfacing
What Is Fusible Interfacing and What Is It Used For?
Fusible interfacing is a material that is attached to a fabric by heat to add stiffness to the fabric. Non-fusible interfacing is exactly the same as fusible interfacing except that it is attached by sewing it down instead of with the application of heat.
Julie Garza, in her Craftsy.com article “How and When to Use Interfacing,” asserts that interfacing allows the fabric to maintain its shape, add thickness, prevent fraying, or to attach an applique.
Interfacing is often used to stiffen cuffs and collars on shirts, and to reinforce buttonholes. Interfacing can also be used to keep stretchy fabric, like jersey, from stretching out of shape.
Types of Interfacing
According to Sandy Huntress in her CreateForLess.com article “Interfacing - Choosing the Right Type and Weight,” there are several different types of interfacing, each of which has unique properties and is suited to particular fabrics or purposes.
- Fusible Interfacing: interfacing that is attached through a heat-activated adhesive ironed to the wrong side of the fabric.
- Sew-In or Non-Fusible Interfacing: interfacing that is attached to the fabric by sewing it in place, often between two layers of fabric. This type of interfacing is best for textured fabrics or fabrics that can’t be ironed.
- Woven: interfacing that is made from interwoven warp and weft fibers. This type does not stretch and should be cut like fabric, on the bias or lengthwise grain. It is best for woven fabric.
- Non-woven: interfacing that does not have a grain, like felt or fleece. This type can be cut in any direction.
- Knit: a stretchy interfacing best for a knitted fabric, like jersey or ribbed fabrics.
How To Use Fusible Interfacing
Though it may seem daunting, attaching fusible interfacing to fabric is a piece of cake. All you need is an ironing board, an iron, your desired fabric, and the fusible interfacing.
Follow this three-step tutorial, and you'll be attaching interfacing to your sewing projects like a pro in no time.
- Lay your fabric right-side-down on the ironing board.
- Lay the interfacing in the desired place on your fabric. Fusible interfacing generally has two sides: a bumpy side and a smooth side. Place the interfacing so that the bumpy side touches the wrong side of your fabric.
- Iron the fusible interfacing into place by pressing the iron down for 10-15 seconds. To move the iron around, lift it away from the interfacing first. Reposition it in the desired area and press again.
Sewing Projects Using Fusible Interfacing:
These sewing patterns will give you a better idea of how to use fusible interfacing in your work. So many pretty designs, all needing fusible interfacing to be successful.
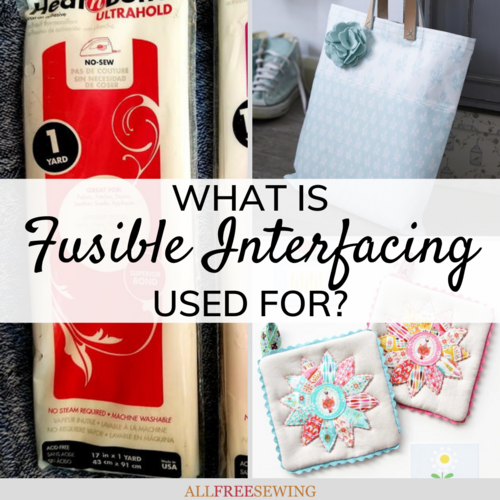
- Vintage Dresden Potholder Pattern - If you quilt, you are probably familiar with the Dresden plate design. This takes that classic look for gorgeous and useful potholders.
- Two-Print Bag - Soft and elegant, this handy bag uses two different pretty fabrics to create a beautiful design for a tote that you'll want to take with you everywhere.
- First Aid Kit Sewing Pattern - You never know how important it is to carry around a first aid kit until you need one. This pattern happens to provide you with the cutest design to hold all your important medical supplies.
- Autumn Leaves Pincushion Tutorial - Cute, simple, and convenient, this pincushion has a handmade touch but a professional finish that is a perfect mix for your sewing room.
- Padded Case for Reusable Straws - Go green by using reusable straws and keep them organized and protected by creating this padded case. It flawlessly fits straws for the whole family on the go.
- DIY Fabric Bookmarks with Felt Applique - These felt bookmarks are super easy to make and fun to use. Even the kids can get involved with this easy project that requires very little sewing but a lot of imagination.
Have you ever used fusible interfacing?
Tell us about it!

