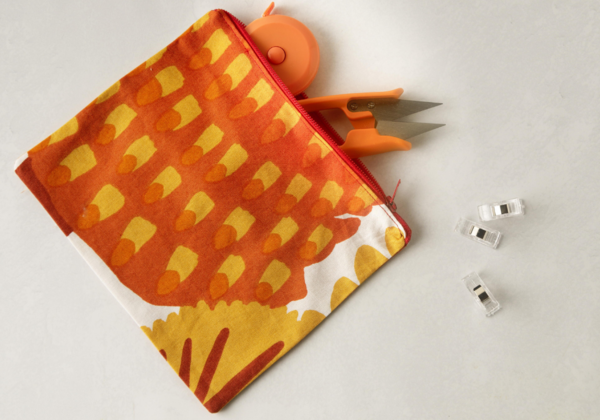
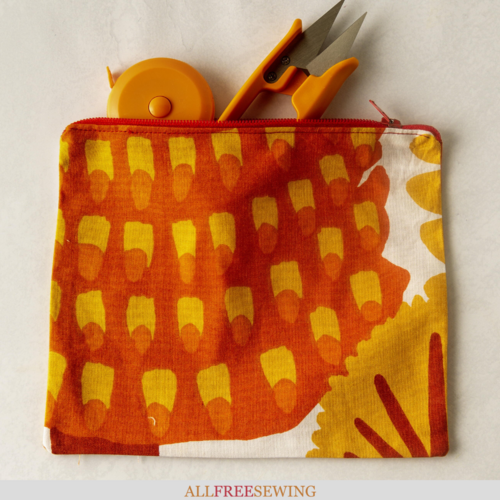
How to Sew a Zipper in a Purse
Wondering how to insert zipper in a bag? With this step-by-step tutorial, learn how to sew zipper pouches.
Sewing a zipper may seem intimidating for new sewists, but it's surprisingly easy once you know the basic steps. Knowing how to sew a zipper will allow you to make sophisticated home and fashion accessories, and even garments.
It's definitely a skill that's worth learning if you want to improve your sewing skills. Learn how to install a zipper (more specifically, how to sew a zipper in a purse) by making a basic and versatile zippered pouch.
By combining the step-by-step how-to with an easy project will make any beginner (or even experienced) sewist feel more comfortable going forward with sewing projects that involve zippers.
There are a few different ways to sew on a zipper to bags and other sewing projects but this is one of the easiest ways to do it: using a sewing machine and a zipper foot attachment.
Sign Up For More Free Patterns >>>

Zipper Pouch Supplies
- 9-inch zipper
- Two pieces of fabric, 9 x 7 inches
- Zipper foot
- Matching thread
How to Sew a Zipper:
Step 1: Attach Zipper Foot to Machine
The zipper foot is the star of this task. It will allow you to sew close to the zipper teeth for a secure, smooth finish.
The presser foot is adjustable and can be fitted to the left or right of your sewing needle, depending on where the zipper teeth are located. The foot applies even pressure to the teeth as you sew along.
Step 2: Line Up the Zipper
Place the right side of the zipper along the 9-inch right (patterned/pretty) side of one of the pieces of fabric. Match up the edges and clip or pin them into place.
Step 3: Stitch the Zipper to Fabric
Stitch the zipper in place. You may have to unzip the zipper at first to sew down the edge of one side (to get around the zipper head). The needle should be close to the zipper teeth.
Step 4: Continue Sewing Zipper onto Pouch Piece
Once you have sewn about an inch or two, rezip the zipper and continue sewing.
When you are done, flip the fabric piece over with the right side of the fabric facing up.
Step 5: Add Opposite Side of Pouch Fabric
Lay the other piece of fabric on top, right side down, making sure to line up the edge with the unsewn side of the zipper. Pin or clip into place. Sew along the edge of the zipper teeth. You may need to unzip it part of the way in order to sew around the zipper head.
Step 6: Open and Press Zippered Pouch Pieces
Once both sides are sewn onto each side of the zipper, open it up and press.
Step 7: Topstitch Zippered Pouch Pieces
Topstitch along the zipper edge. This will help secure the zipper in place as well as provide a finishing touch.
Step 8: Sew the Zippered Pouch
Unzip the zipper. Pin or clip the fabric pieces together and sew a 1/4-inch seam allowance around the sides and bottom of the pouch. Turn the pouch right side out and press, if needed.
Enjoy!
Make pouches, pillowcases, pants, or dresses with zippered opening with ease with this simple technique.
About the Author
About the Author:
Debbie Wolfe is an author and freelance writer in home, garden, DIY, and lifestyle topics. Debbie has written for leading online media outlets and online retailers, including HGTV, The Home Depot, Walmart, Family Handyman, Realtor, and more. Her book, Do-It-Yourself Garden Projects and Crafts, from Skyhorse Publishing, features a variety of practical DIY projects to beautify your garden and home.
Visit her website!
Want More?
50+ Purse Sewing Patterns >>
What's the first project with a zipper you plan to make?
Let us know in the comment section!

