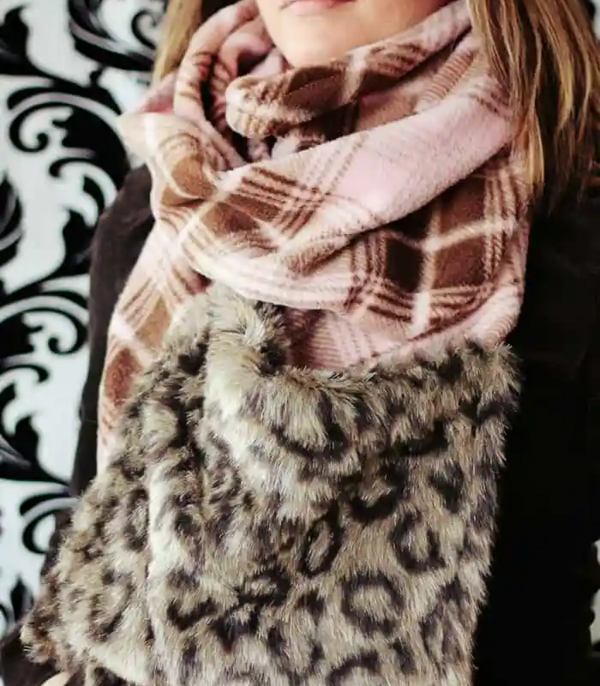
Fleece and Faux Fur Scarf With Pockets
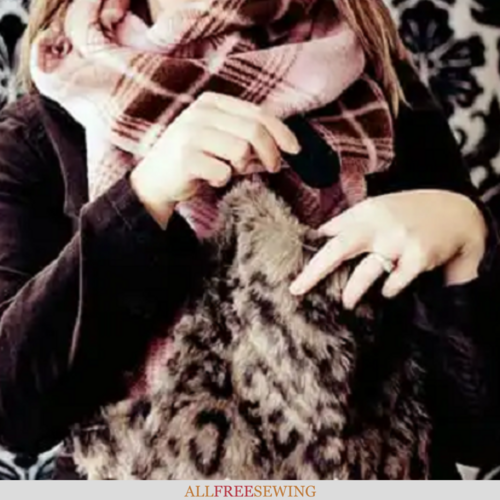
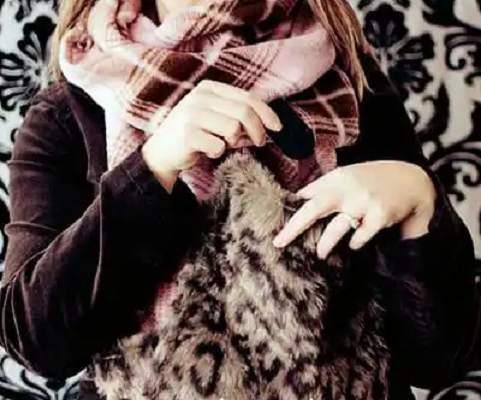
Make a super warm scarf with pockets for hands, phones, or other trinkets. It's a must-make for cold weather.
Don't buy just any fleece scarf with pockets you come across. With this Fleece and Faux Fur Scarf With Pockets tutorial, any sewist can DIY their own new favorite scarf. It's soft, luxurious, and handy dandy pockets. What more could you want?
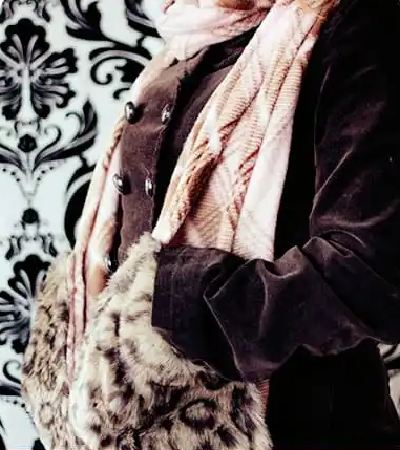
This DIY pocket scarf is a fun project for any trendy sewist to try. Let this simple tutorial show you how to sew a scarf with the added bonus of fur pockets! Keep both your neck and hands warm in style.
Angel Hickman Peterson will lead you through each step. You can always watch the video tutorial for this project, which can be found after the written instructions.
Most likely you have seen a fleece scarf with pockets in your shopping or sewing pattern search because this style of scarf is super trendy. However, buying one isn't as exciting as making your own, especially when you want different fabrics, colors, lengths, and more customizations.
Two of the warmest and most popular fabrics are used in this project: fleece and faux fur. Choose these materials in complementary colors or power clash to make a lovely and comfortable scarf that you won't be leaving at home this winter.
Sign Up For More Free Patterns
Fleece and Faux Fur Scarf With Pockets
Materials:
• 2/3-yard of fleece
• 1/3-yard faux fur
• Thread
• Sewing machine
• Rotary cutter
• Mat
• Ruler
Skill Level: Easy
Project Type: Make a Project
Time to Complete: Under an Hour
Sewn By: Machine
Fleece and Faux Fur Scarf With Pockets Tutorial:
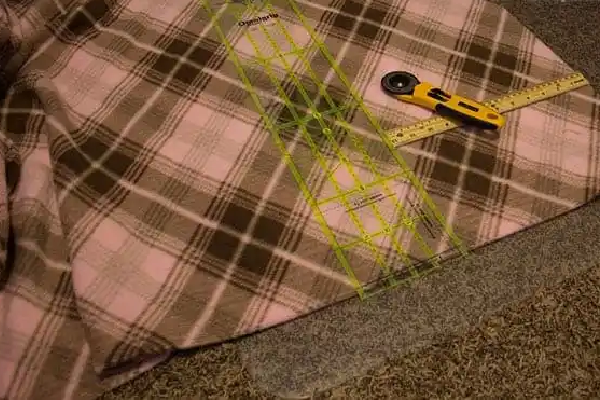
- Cut two 12-inch wide x 60-inch long strips of fleece.
Note: I like long scarves you might want to shorten this if you prefer them shorter.
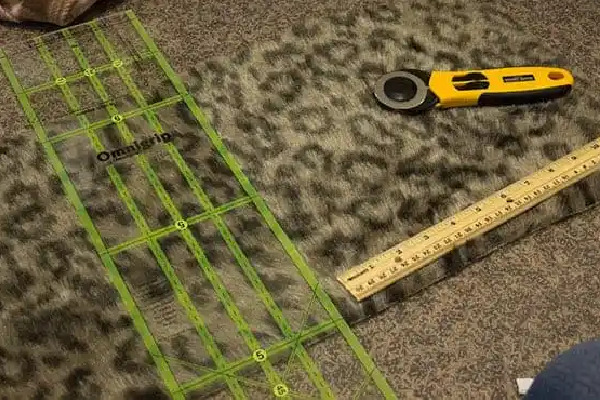
- Cut two pieces of faux fur that are 12-inch wide x 12-inch long. Once you cut the fur, be sure to shake the fur outside to avoid a mess (you also might want a lint roller handy).
- With right sides together, pin the two pieces of the fleece stripes together and sew, using a 1/2-inch seam allowance.
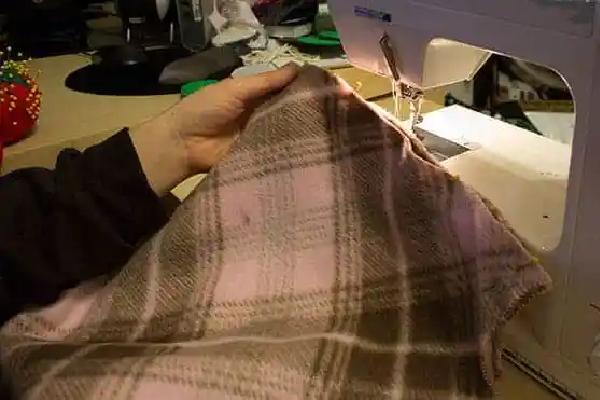
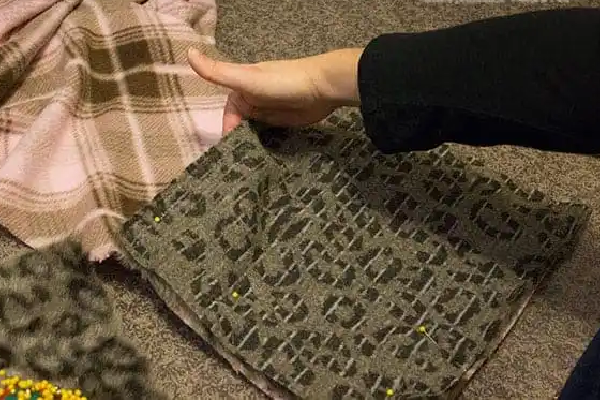
- At one end of the scarf, pin the fur right side to the right side of the fleece, being sure that you leave the top open for turning.
Notes: Be sure that the nap (the direction the fur lies) is going in the same direction on both ends of the scarf. It will look funny if one side is up and another side is down. Just pet the fur to determine the nap.
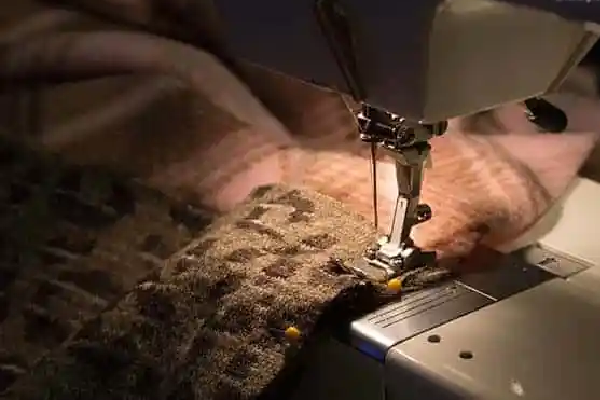
- Then sew all the way around (again leaving the top open) using a 1/2-inch seam allowance. On the side seams, be sure to start 1/2-inch down from the open top.
- Trim corners and turn right side out. Turn the top under 1/2-inch and topstitch the gap shut (you can do this with a machine as the fur hides the stitches). Repeat on the other end of the scarf.
- Once you have turned both ends right side out, you will notice that the sides of the scarf just above the fur will fold in because of the seam allowance used when we added the fur. Turn it under 1/2-inch and use a zigzag stitch to sew along the edges all the way down the scarf on both sides. This will give it a nice finished look.
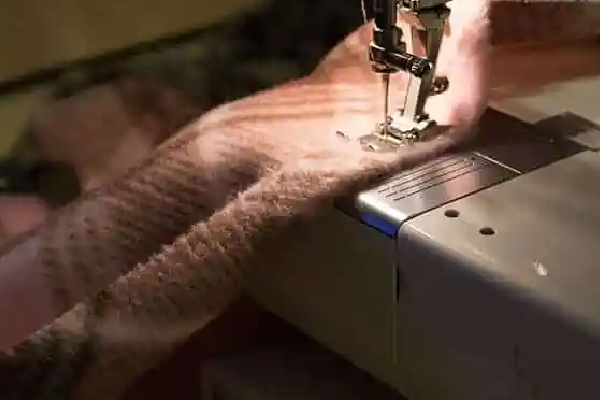
- Now it's time to make the pocket. Flip the fur end of the scarf so the fur is on the outside and the right side of the fleece is touching the right side of the fleece. Pin.
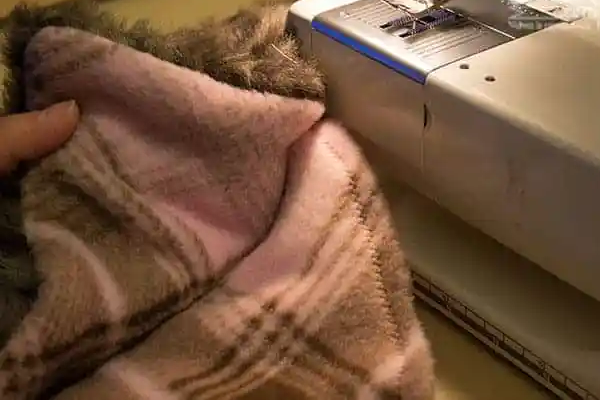
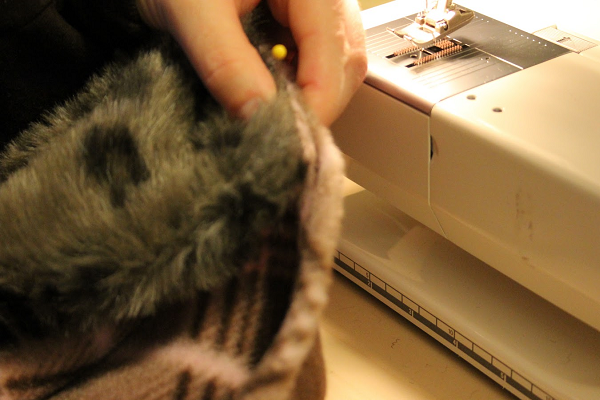
- Topstitch through all the layers, using a 1/2-inch seam allowance. Take your time as you are dealing with a lot of material. Repeat on the other end of your scarf.
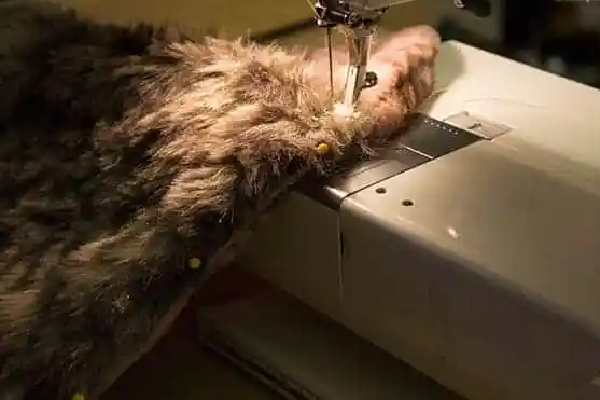
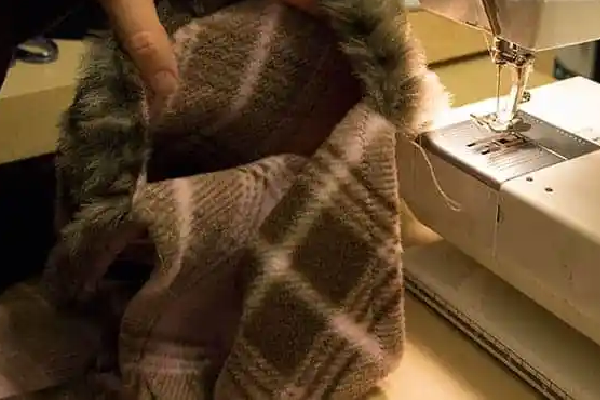
- Trim your threads. Using a needle, pull the fur out of the seam to hide your stitches (depending on the length of the fur you might need to pull it out of the side seams too). You're finished!
Fleece and Faux Fur Scarf With Pockets Video Tutorial:
If you're a visual learner, don't miss the YouTube tutorial. In the video, Angel will walk you through the process with helpful visuals.
Ways to Modify the Fleece and Faux Fur Scarf With Pockets:
Everyone has a different preference when it comes to scarves. The beauty of a DIY scarf is that you can customize and adjust it to your wants and needs. Here are a few ideas:
- Change the width of the scarf.
- Make it wider to make it more "wrap" like/
- Make it skinnier to make it less bulky.
- Make the scarf shorter or longer.
- This scarf is on the long side but you can make it even longer if you want.
- Make it shorter for more of an infinity scarf look or if you don't want to wrap it multiple times.
Want More?
19 Infinity Scarf Sewing Patterns >>
Which scarf style is your favorite?
Let us know in the comments!
Read NextScrapbuster Infinity Scarf
Your Recently Viewed Projects
Report Inappropriate Comment
Are you sure you would like to report this comment? It will be flagged for our moderators to take action.
Thank you for taking the time to improve the content on our site.

